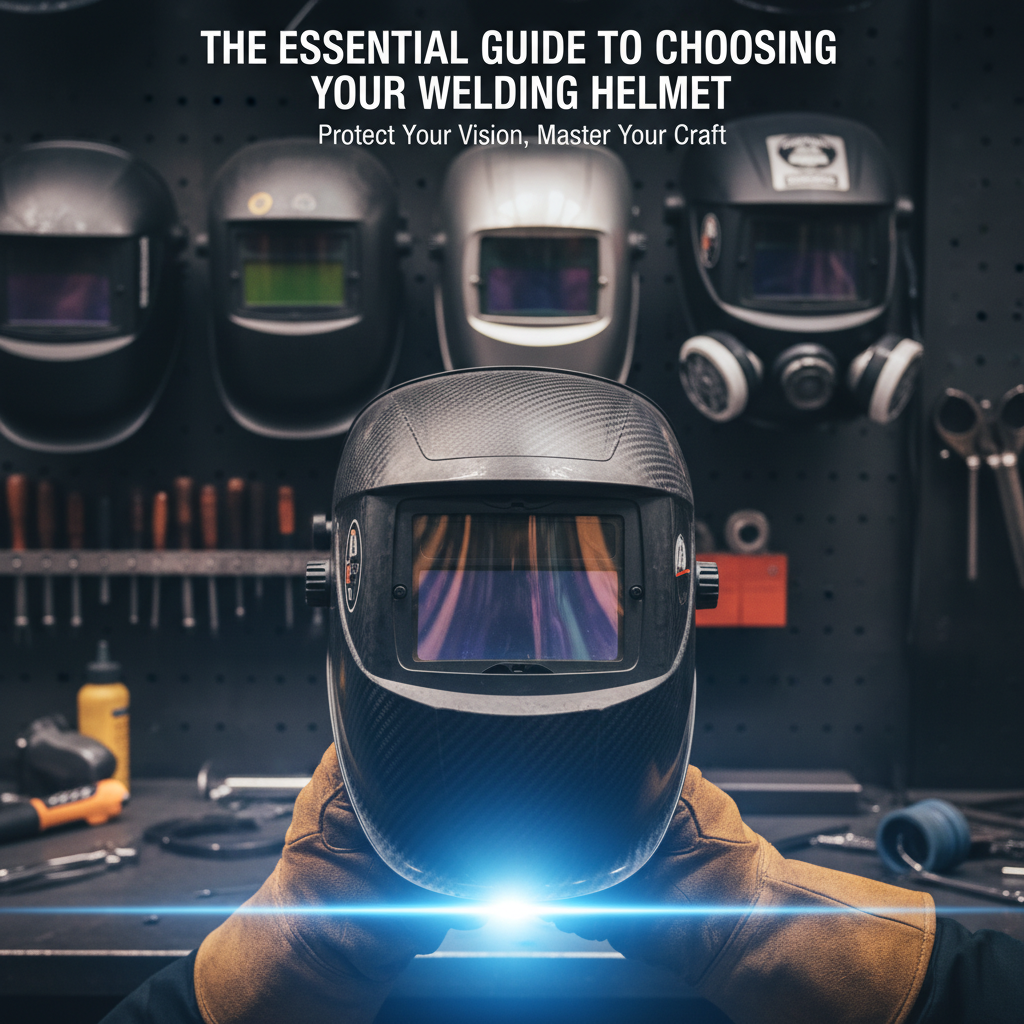
The Essential Guide to Choosing Your Welding Helmet
Choosing the Right Welding Helmet: The Direct Answer
The right welding helmet is defined as the one that provides correct lens shade for your arc current, reliable UV/IR protection, and comfort you can wear for long shifts. If your helmet is too dark, too light, or uncomfortable, you will either struggle to see the puddle or fail to protect your eyes and face consistently.
Why Welding Helmet Selection Matters More Than Most People Think
A welding helmet is not just a safety accessory; it is a precision tool that directly affects visibility, productivity, and fatigue. Inconsistent protection or incorrect shade can slow your work and increase the risk of eye strain or arc exposure.
Welding eye and face hazards include intense visible light, ultraviolet (UV) radiation, infrared (IR) radiation, heat, and impact from spatter. Industry consensus from major standards organizations requires that helmets provide dependable radiation filtering and impact resistance for the welding process being used.
Key definition to guide your purchase
Auto-darkening welding protection is defined as a helmet lens that automatically changes from a light shade to a dark shade in response to the welding arc. This reduces the need to manually flip down the helmet and can improve workflow for tasks with frequent transitions.
Step 1: Match the Helmet Lens Shade to Your Welding Process
The most important technical decision is selecting the correct lens shade range for the current and process you use. Most welding failures in the real world come from using the wrong shade, not from using the “wrong brand.”
Lens shade requirements vary primarily by the welding process (MIG, MAG, TIG, stick/SMAW, plasma cutting) and the amperage. Many reputable manufacturers publish shade charts inside their documentation and in product manuals, and professional workshops also follow commonly referenced ANSI guidance for filter performance.
Common Shade Ranges by Welding Process & Amperage (ANSI-style guidance)
| # | Process & typical current | Typical shade range | Best visibility setting goal | Beginner comfort* |
|---|---|---|---|---|
| 1 | TIG (DC) ~20–80A | Shade 9–13 | Clear tungsten/filler path without “squinting” | ★★★★★ |
| 2 | MIG (CO₂/Ar) ~60–150A | Shade 10–13 | Stable puddle contrast on thinner sheet | ★★★★☆ |
| 3 | MIG (CO₂/Ar) ~150–250A | Shade 11–14 | Reduce flare while keeping wire placement readable | ★★★★☆ |
| 4 | Stick/SMAW ~40–90A | Shade 10–12 | Maintain bead guidance through brighter arc bursts | ★★★☆☆ |
| 5 | Stick/SMAW ~90–160A | Shade 12–14 | Balance slag visibility with arc filtering | ★★☆☆☆ |
| 6 | MAG (CO₂-rich) ~80–200A | Shade 11–14 | Handle higher arc brightness during longer welds | ★★★★☆ |
| 7 | Plasma cutting (rated lens) ~10–40A | Shade 8–12 | Target accurate edge tracking for cut line | ★★★☆☆ |
How arc sensitivity and switching speed affect safety and quality
Arc sensitivity is defined as how readily the auto-darkening lens detects the arc and adjusts to the welding mode. If sensitivity is set too low, the lens may delay darkening; if set too high, ambient light can trigger false darkening.
The key difference is switching speed controls how fast the lens goes from the light state to the dark state when you strike the arc. Faster response reduces the chance of eye exposure during ignition, which is where many welders notice “flash” or temporary discomfort.
Practical guidance for common workflows
- For MIG welding: You typically need a shade range that supports moderate to high amperage, with stable darkening under continuous arc exposure.
- For TIG welding: You often need higher sensitivity and appropriate shade for lower amperage with a more focused arc.
- For stick welding (SMAW): You generally need robust shade filtering that handles higher arc brightness and spatter intensity.
- For plasma cutting: You may need a helmet or lens specifically rated for cutting conditions, including different arc characteristics than welding.
Step 2: Understand Helmet Types (Auto-Darkening vs Fixed Shade)
Auto-darkening helmets are usually the best fit for most modern fabrication workflows, while fixed shade helmets can be suitable for occasional hobby use. The right choice depends on how often you transition between welding and non-welding tasks and how much you value convenience and eye comfort.
Auto-darkening welding helmets
Auto-darkening helmets use sensors to detect the arc and change the lens tint automatically. This can reduce head movement and improve line-of-sight when positioning the torch or electrode.
Auto-darkening is defined as a dynamic filter state where the lens is transparent enough for viewing but rapidly darkens during arc exposure. Many premium models also provide adjustable shade, sensitivity, and grind mode (light state) to support prep and surface cleaning.
Fixed shade welding helmets
Fixed shade helmets use a single predetermined shade. They are typically less expensive and mechanically simpler, but they require manually raising the helmet to see your work area.
The key difference is fixed shade helmets trade convenience for simplicity, while auto-darkening helmets add electronics to improve usability and reduce the need for frequent helmet flipping.
Specialty helmets for TIG, MIG, and other processes
Specialty helmets are designed to handle the sensitivity and visibility demands of specific operations. TIG welding, for example, benefits from fine control and clear viewing of the tungsten and filler path, while MIG welding often emphasizes stable detection during longer arc-on periods.
When comparing models, look for manufacturer claims around “TIG mode,” higher sensor sensitivity ranges, or lens performance notes for low-amperage starts.
Step 3: Prioritize Safety Standards, Ratings, and Protection Claims
Look for helmets that meet recognized safety standards and clearly state compliance. A trustworthy helmet will provide impact protection and certified UV/IR filtering rather than vague marketing language.
Standards to search for on the product documentation
In North America and many international markets, welding safety performance is commonly aligned with standards published or adopted by ANSI and other national bodies. Depending on region, you may also see references to CSA-related requirements.
Safety certification is defined as a formal performance verification process that assesses lens optical quality, UV/IR filtering, and often impact or fragmentation resistance. If a helmet does not provide ratings clearly, you are taking unnecessary risk.
What impact resistance should cover
- Impact from spatter: Hot, molten particles can strike the face shield area.
- Fragmentation: Grinding and slag removal can create sharp debris trajectories.
- Heat resistance: Continuous welding environments demand materials that do not deform quickly under thermal stress.
UV and IR protection you can trust
UV and IR radiation are present in welding arcs at harmful levels and can contribute to “arc eye,” also known as photokeratitis. High-quality lenses block UV and attenuate IR to safe exposure levels when used correctly.
The key difference is UV/IR protection is not “optional.” A helmet must reliably filter radiation across the range of conditions you are welding, not just during ideal scenarios.
Step 4: Choose the Right Lens Technology (Viewing Area, Clarity, and Comfort)
A high-quality helmet lens is defined as one that gives you clear puddle visibility while maintaining stable filtering. Lens clarity affects torch control, weld bead consistency, and the time it takes to achieve a correct weld profile.
Large viewing area and optical quality
Most welders benefit from a larger viewing window because it helps with seam tracking and reduces neck strain. Many helmets advertise optical clarity and uniformity, which can improve the perceived “puddle contrast” during welding.
When comparing products, check whether the lens is described as having consistent optical performance and whether the shade setting is adjustable for your amperage range.
Comfort features that matter during long shifts
Comfort is a safety factor because fatigue reduces posture control and can lead to inconsistent helmet placement. A well-balanced helmet helps you maintain a stable weld line and reduces the urge to lift the helmet or reposition awkwardly.
- Weight and balance: A lighter helmet reduces arm and neck fatigue.
- Headgear adjustability: Dial or ratchet adjustments allow consistent fit across different tasks.
- Padding and ventilation: Better airflow can reduce heat buildup during extended welding.
- Face seal design: A comfortable seal improves protection from spatter and sparks.
Step 5: Evaluate Speed of Darkening, Sensitivity, and Grind Mode
The best auto-darkening helmets combine fast switching speed with dependable arc detection and a clearly labeled grind mode. These features support both welding accuracy and pre-weld surface prep.
Switching speed and why it affects “arc flash” risk
Switching speed is measured in fractions of a second. Faster response times can be critical at arc start, where the eye can receive the highest intensity exposure.
Switching speed is defined as the time it takes for the lens to transition from a light state to a dark state after arc ignition is detected. Delays can create a brief but harmful window of exposure.
Sensitivity adjustment for varied shop lighting
Shop conditions vary: sunlight near doors, bright overhead lighting, and reflective surfaces can all affect lens detection. A helmet with sensitivity control helps you tune behavior so the lens responds primarily to your arc rather than the environment.
Grind mode for surface prep
Grind mode is defined as a helmet setting that keeps the lens in a lighter state suitable for grinding and non-arc work. This is especially useful for fit-up, removing mill scale, and bevel prep without repeatedly flipping the helmet.
If you grind frequently, confirm the grind mode rating and ensure it is appropriate for your grinding tools and materials.
Common Buyer Questions (Professional Q&A)
What is the best welding helmet for beginners?
For beginners, the best option is usually an auto-darkening helmet with an adjustable shade range, good arc sensitivity control, and comfortable headgear. Beginners benefit most from features that reduce the chance of “flash” and improve consistency in positioning the weld.
Can I use one helmet for MIG, TIG, and stick welding?
Yes, many multi-process helmets are designed for MIG, TIG, and stick, but you must match the lens shade range and detection behavior to your lowest and highest amperage use. If you do TIG at very low currents, pay extra attention to sensitivity performance and “TIG mode” guidance from the manufacturer.
How do I choose the right shade number?
The right shade number is determined primarily by your welding current (amperage) and process. Use a manufacturer shade chart and compare it to your machine settings, then verify the fit between your real operating conditions and the chart recommendations.
What happens if my helmet shade is too light or too dark?
If the shade is too light, you may experience eye strain or arc flash discomfort because the arc is not adequately filtered. If it is too dark, visibility decreases, which can lead to slower bead placement and inconsistent penetration.
Are there brands widely used in professional shops?
Yes. Welding professionals frequently use helmets from well-known manufacturers such as Miller Electric and Lincoln Electric, along with reputable optics and safety-focused brands like 3M Speedglas. Always treat brand reputation as a starting point, not a substitute for verifying lens ratings, standards compliance, and the shade range matching your processes.
Buying Checklist: What to Confirm Before You Purchase
Before you finalize your welding helmet choice, confirm the essentials that affect safety and performance. The checklist below helps you avoid common mismatches between lens capability and real welding conditions.
- Lens shade range matches your amperage for MIG, TIG, and/or stick.
- Auto-darkening control includes adjustable sensitivity and clear shade settings.
- Switching speed is fast enough for your arc start and ignition style.
- UV/IR protection is explicitly stated and aligned with recognized testing or standards.
- Impact protection is rated for welding environments (spatter and debris resistance).
- Comfort includes adjustable headgear, balanced weight, and practical ventilation.
- Grind mode is available if you do surface prep frequently.
- Lens clarity supports bead placement and seam tracking without excessive distortion.
Conclusion: A Welding Helmet Is a Safety Decision and a Skill Multiplier
The essential guide to choosing your welding helmet comes down to three priorities: correct lens shade for your amperage and process, certified protection against UV/IR and impact, and comfort that keeps your helmet properly positioned during every weld. When you get these right, you protect your eyes and improve your weld consistency.
If you tell me which welding processes you use (MIG, TIG, stick, or plasma), your typical amperage range, and whether you prefer auto-darkening or fixed shade, I can help you narrow down the exact helmet specifications to look for.
Frequently Asked Questions: The Essential Guide to Choosing Your Welding Helmet
How do I choose the right shade for my welding helmet?
What does auto-darkening sensitivity and delay mean, and how should I set them?
What viewing area and helmet fit should I look for?
How fast should an auto-darkening welding helmet switch (reaction time) for my type of welding?
Do I need additional protection beyond a welding helmet (for example, gloves or safety gear)?
References
- Google Scholar search: welding helmet shade selection guide Google Scholar
https://scholar.google.com/scholar?q=welding+helmet+shade+selection+guide - Google Scholar search: auto-darkening welding helmet response time and safety Google Scholar
https://scholar.google.com/scholar?q=autodarkening+welding+helmet+response+time+safety - Welding helmet
https://en.wikipedia.org/wiki/Welding_helmet - Welding shade number
https://en.wikipedia.org/wiki/Welding_shade_number - 29 CFR 1910.252—Welding, cutting, and brazing
https://www.osha.gov/laws-regs/regulations/standardnumber/1910/1910.252 - 29 CFR 1910.133—Eye and face protection
https://www.osha.gov/laws-regs/regulations/standardnumber/1910/1910.133 - Welding Hazards (NIOSH)
https://www.cdc.gov/niosh/topics/welding/ - Welding (technology)
https://www.britannica.com/technology/welding
📅 Last Updated: July 06, 2026 | Topic: The Essential Guide to Choosing Your Welding Helmet | Content verified for accuracy and freshness.