How to Clean Salt and Sand From Helmets
To clean salt and sand from your helmet, first shake out excess debris and use a soft brush to remove remaining particles. Rinse gently with fresh water to eliminate residues. Apply a mild soap solution to the outer shell using a soft cloth, then rinse thoroughly. For the visor, rinse and wipe gently, using mild soap for deeper cleaning. Finally, inspect and clean the interior liner if needed. Follow these steps for proper maintenance and learn more about effective helmet care techniques.
Understanding the Importance of Helmet Maintenance
When it comes to safety gear, many don’t realize just how essential helmet maintenance is. Regularly checking and maintaining your helmet is vital for optimal helmet safety. The frequency of maintenance should align with your usage; if you ride frequently or in challenging environments, inspect your helmet after every use. Look for cracks, dents, or wear in the outer shell and foam liner. These can compromise your helmet’s protective capabilities. Additionally, clean the interior to prevent odor and bacteria accumulation, which can affect comfort and hygiene. Remember, a well-maintained helmet not only extends its lifespan but greatly enhances your safety on the road or trail. Prioritize maintenance; your freedom to ride depends on it.
Gathering the Right Cleaning Supplies
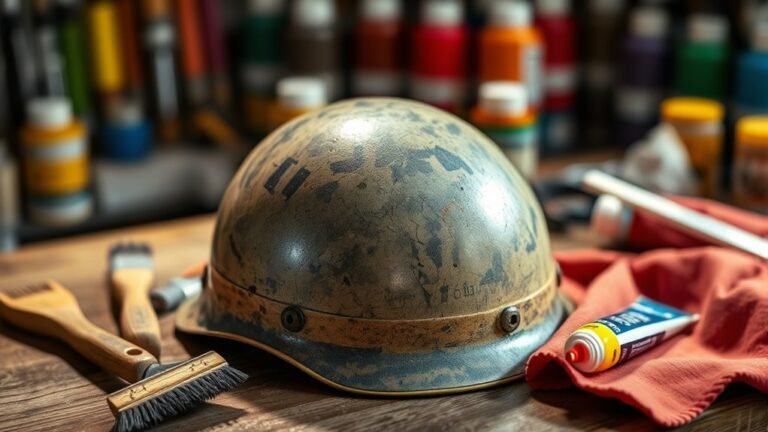
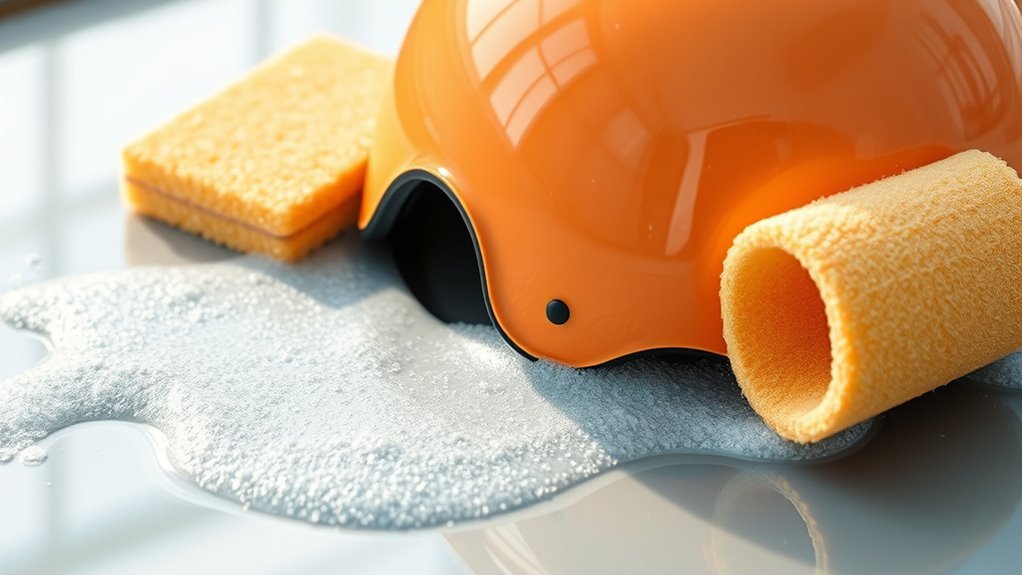
To effectively clean your helmet, you’ll need specific tools and cleaning solutions tailored for the task. Start by gathering essential cleaning tools, such as microfiber cloths and soft brushes, along with recommended cleaning solutions that won’t damage the helmet’s materials. Don’t forget to wear protective gear, like gloves and a mask, to guarantee safety throughout the process.
Essential Cleaning Tools
Gathering the right cleaning supplies is essential for effectively maintaining your helmet. Start with a soft cloth or microfiber towel, which won’t scratch the helmet materials. You’ll also need a soft-bristle brush to dislodge sand and salt from crevices without damaging the surface. A small sponge can help apply cleaning techniques without excessive abrasion.
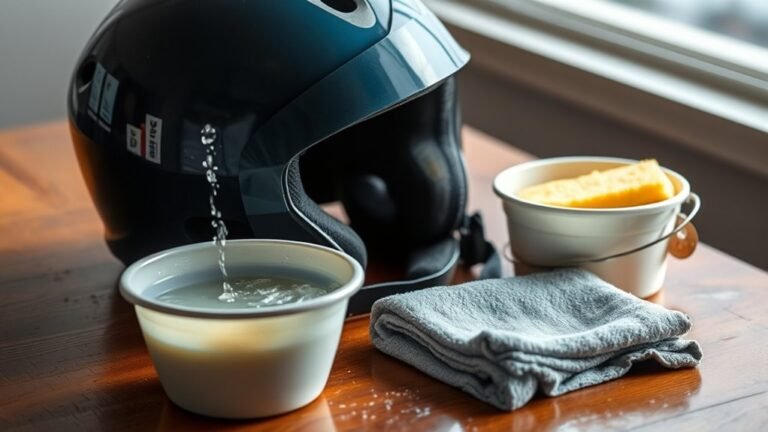
For stubborn grime, a bucket of warm water mixed with a mild soap is ideal, but avoid harsh chemicals that can degrade your helmet’s materials. Finally, have a water source handy for rinsing. With these tools, you’ll be well-equipped to guarantee your helmet remains in top condition, allowing you the freedom to focus on your ride without distraction.
Recommended Cleaning Solutions
While it’s important to have the right tools, choosing the right cleaning solutions is equally essential for maintaining your helmet’s integrity. You’ve got two primary options: natural cleaners and commercial solutions. Natural cleaners, like vinegar and baking soda, are effective and eco-friendly, making them great for regular maintenance. They won’t harm the helmet’s materials and are safe for the environment. On the other hand, commercial solutions offer convenience and may include specialized formulas designed to tackle tough grime and salt deposits. When selecting a commercial cleaner, verify it’s safe for the specific materials of your helmet. Whichever cleaning solution you choose, always follow the manufacturer’s guidelines to avoid damaging your helmet while promoting its longevity.
Protective Gear Needed
Cleaning a helmet requires careful preparation, and having the right protective gear is vital to guaranteeing your safety and comfort during the process. Start with gloves to protect your hands from cleaning solutions and debris. A mask will help you avoid inhaling any dust or chemicals, maintaining helmet safety. Eye protection is also important, as particles may become dislodged during cleaning. For gear maintenance, consider wearing old clothing to prevent staining. Finally, gather microfiber cloths and soft brushes to avoid scratching the helmet’s surface. By equipping yourself with these essentials, you’ll not only guarantee your own safety, but also prolong the life of your gear, enhancing your freedom on the road or trail.
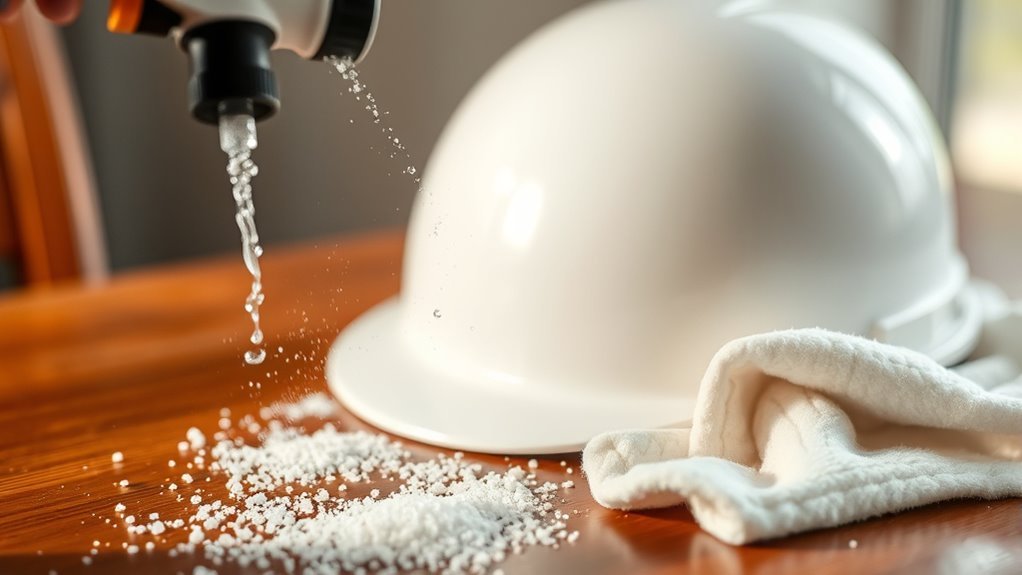
Removing Excess Sand and Salt

To effectively remove excess sand and salt from your helmet, start by shaking it out to dislodge loose debris. Next, use a soft brush to gently scrub any remaining particles without damaging the surface. Finally, rinse the helmet with water to wash away any residue and guarantee it’s clean.
Shake Out Debris
Begin by turning your helmet upside down and giving it a gentle shake to dislodge any loose debris, like sand or salt, that may have accumulated. Using effective shake techniques guarantees efficient debris removal. Make sure to perform this step in a controlled manner to avoid damaging the helmet’s interior.
| Shake Technique | Purpose |
|---|---|
| Gentle Upside Down | Dislodges loose debris |
| Side-to-Side Shake | Loosens stubborn particles |
| Quick Tap | Releases trapped sand |
Repeat the shaking process until you’re confident that most of the sand and salt is out. This simple action paves the way for a thorough cleaning, helping maintain your helmet’s integrity and performance.
Use Soft Brush
Gently brush the interior and exterior surfaces of your helmet with a soft brush to remove any remaining sand and salt. Use soft bristle brushes specifically designed for helmet surface care, as these won’t scratch or damage the materials. Start with the outer shell, working in small sections and ensuring you apply light pressure. Focus on areas where sand tends to accumulate, such as vents and edges. Once you’ve brushed the exterior, turn your attention to the interior padding. Carefully lift the fabric and reach any hidden spots where debris may linger. This methodical approach not only restores your helmet’s appearance but also enhances its longevity. Regular soft brushing is essential for maintaining peak performance and ensuring your freedom while riding.
Rinse With Water
Rinsing your helmet with water is essential for removing excess sand and salt that brushing alone may not eliminate. Start by using a gentle stream of fresh water, ensuring that you cover all areas of the helmet, including vents and straps. This helmet rinsing process helps dislodge particles that could cause damage over time. Be mindful of water safety; avoid using high-pressure hoses, as they can force water into sensitive areas. Instead, opt for a controlled flow to protect any electronic components. After rinsing, tilt the helmet to drain excess water and air dry it in a well-ventilated space. This method not only preserves your helmet’s integrity but also enhances your riding experience.
Cleaning the Outer Shell
The outer shell of your helmet is its first line of defense against environmental elements and impacts, making proper cleaning essential for both maintenance and safety. Begin by selecting a mild soap suitable for your helmet’s outer shell materials—be it polycarbonate, fiberglass, or carbon fiber. Use a soft cloth or sponge to gently scrub the helmet surface, ensuring you remove salt and sand without scratching. Rinse thoroughly with water to eliminate any soap residue. Avoid harsh chemicals or abrasive tools; they can damage the helmet’s integrity. After cleaning, dry the shell with a microfiber cloth to prevent water spots. Regular helmet surface care not only prolongs the lifespan of your helmet but also keeps it looking sharp for your next ride.
Caring for the Visor
Caring for the visor is vital for maintaining clear visibility while riding. Begin by rinsing the visor with clean water to remove any salt and sand particles. Use a microfiber cloth to gently wipe the surface, avoiding paper towels that can scratch the material. For deeper cleaning, apply a mild soap solution and rinse thoroughly. Always dry the visor with a soft cloth to prevent water spots. To guarantee visor protection, consider using a visor-specific cleaner that offers a protective coating against UV rays and scratches. Regular inspections for chips or cracks are significant; replace the visor if damaged. Proper visor care not only enhances your vision but also prolongs the life of your helmet.
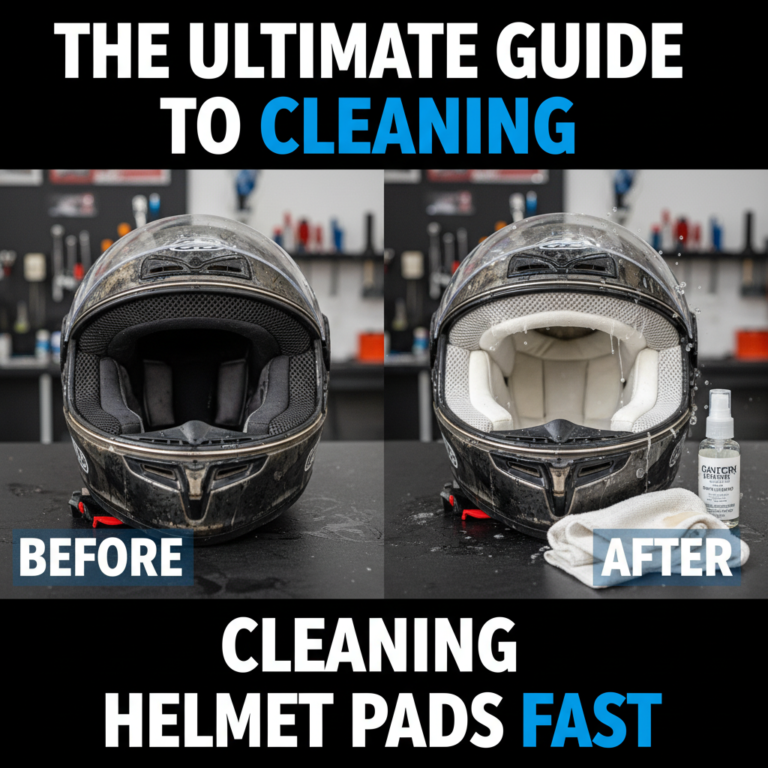
Cleaning the Interior Liner
While guaranteeing visibility through a clean visor is important, maintaining the interior liner of your helmet is equally critical for comfort and hygiene. Start with a thorough interior inspection to identify any dirt or moisture buildup.
To clean the interior liner effectively, follow these steps:
- Remove the liner, if possible, for a deep clean.
- Use a mild detergent mixed with water to wipe down surfaces.
- Rinse with clean water and allow to air dry completely.
This process not only enhances comfort but also supports moisture control, preventing unpleasant odors. Regular attention to the interior liner will guarantee your freedom on the road is matched by a fresh, clean helmet, keeping you safe and comfortable during your rides.
Drying and Storing Your Helmet Properly
Properly drying and storing your helmet is essential to prolonging its lifespan and guaranteeing peak performance. After cleaning, allow your helmet to air dry in a cool, shaded area. Avoid direct sunlight or heat sources, which can warp or degrade materials. For ideal helmet drying, remove any removable liners and let them dry separately. Once completely dry, store your helmet in a well-ventilated space, ideally in a dedicated helmet bag or on a shelf, away from extreme temperatures and moisture. Make sure it’s not placed under heavy objects to maintain its shape. Proper storage prevents dust accumulation and protects against potential damage, allowing you to enjoy the freedom of riding without worrying about your gear’s integrity.
Tips for Preventing Future Build-Up
After ensuring your helmet is clean and stored correctly, maintaining its condition becomes a priority. Implementing preventive measures in your maintenance routine will help minimize salt and sand build-up.
Maintaining your helmet is essential; prioritize cleanliness and preventive measures to avoid salt and sand buildup.
- Regular Inspections: Check your helmet after each use for any signs of build-up or damage.
- Quick Rinses: Rinse your helmet with fresh water after riding in sandy or salty environments to remove debris immediately.
- Protective Cover: Use a helmet cover when not in use to shield it from environmental elements.
Frequently Asked Questions
Can I Use Bleach to Clean My Helmet?
No, you shouldn’t use bleach to clean your helmet. Bleach can damage helmet materials, such as polycarbonate or fiberglass, compromising safety. Instead, opt for mild cleaning solutions that are specifically designed for helmets. These solutions effectively remove dirt and grime without harming the materials. Always check the manufacturer’s guidelines for cleaning to make certain you’re using appropriate methods that keep your helmet in top condition. Safety and preservation should be your top priorities.
How Often Should I Clean My Helmet?
You should clean your helmet regularly, ideally after every ride, especially if you’ve been in dusty or sandy conditions. Helmet maintenance is essential for preserving its integrity and ensuring safety. Depending on your riding frequency, aim for a thorough clean at least once a month to prevent buildup of dirt and grime. This cleaning frequency helps maintain visibility and comfort, allowing you the freedom to enjoy your rides without distraction.
Is It Safe to Wash My Helmet in a Washing Machine?
No, it isn’t safe to wash your helmet in a washing machine. The machine can cause damage to the helmet materials, compromising their integrity and protective features. Helmets are designed for safety, and exposing them to harsh agitation or high temperatures can weaken them. Instead, opt for a gentle hand cleaning method with mild soap and water. This way, you preserve the helmet’s effectiveness while keeping it clean and safe for use.
What Should I Do if My Helmet Smells Bad?
If your helmet smells bad, don’t worry—it’s just a fragrant reminder of your adventures! For smell removal, remove the inner lining and wash it with mild soap. Rinse thoroughly and let it air dry. To prevent future odors, consider using moisture-wicking liners or sprays designed for helmets. Regularly airing out your helmet after use can also help keep those pesky odors at bay, ensuring your headgear stays fresh for your next ride.
Can I Use a Pressure Washer to Clean My Helmet?
You shouldn’t use a pressure washer to clean your helmet. While it might seem effective, the force can damage various helmet materials, especially plastics and foams. Instead, opt for a gentle wash with mild soap and water. Always consider the helmet’s construction; some materials require specific care. Following manufacturer guidelines will guarantee your helmet remains intact and safe, allowing you the freedom and confidence to ride with peace of mind.
References
- https://www.wikiHow.com/Clean-a-Motorcycle-Helmet
- https://www.fhwa.dot.gov/publications/publicroads/11marapr/06.cfm
- https://www.motorcyclistonline.com/how-to-clean-your-helmet/
- https://www.rideapart.com/articles/103080/how-to-clean-your-motorcycle-helmet/
- https://www.nhtsa.gov/motorcycle-safety/helmet-use
- https://www.motonation.com/articles/how-to-clean-and-maintain-your-helmet
- https://www.cdc.gov/motorvehiclesafety/motorcycle/index.html