How to Use Resin Coating on Helmets
To use resin coating on helmets, start by selecting an appropriate resin based on desired strength and flexibility. Clean the helmet surface thoroughly and sand it for better adhesion. Gather tools like a mixing container and brushes, then mix resin and hardener accurately. Apply the mixture evenly while avoiding bubbles, and allow it to cure properly. Regular maintenance, including inspections and cleanings, is vital for longevity. Explore further steps for optimizing your helmet’s performance and appearance.
Choosing the Right Resin for Your Helmet
When selecting the right resin for your helmet, it’s crucial to take into account both the material properties and the intended use. Different epoxy types offer varying strengths and flexibility, which can greatly impact your helmet’s durability. For instance, a low-viscosity resin can easily penetrate small crevices, guaranteeing a stronger bond, while high-viscosity options provide a thicker layer, which might be more suitable for certain applications. You’ll want to take into account how the resin behaves under stress and environmental conditions, as these factors can influence performance. Ultimately, choosing the right epoxy type and evaluating resin viscosity will help you achieve peak protection and aesthetics for your helmet. This attention to detail guarantees you’re ready for any adventure without compromising safety.
Preparing Your Helmet for Coating
Before applying resin coating to your helmet, it’s essential to assure that the surface is properly prepared, as this step directly impacts the adhesion and overall effectiveness of the coating. Start with helmet cleaning; remove dirt, grease, and any existing finish using a suitable cleaner. A clean surface assures ideal bonding with the resin. Next, proceed to surface sanding. Use fine-grit sandpaper to gently scuff the helmet’s exterior, creating a rough texture that enhances adhesion. Be meticulous during this process, as uneven sanding can lead to flaws in the final coat. After sanding, wipe away any dust with a lint-free cloth, leaving a pristine surface ready for your resin application. Taking these steps will help you achieve a durable, high-quality finish.
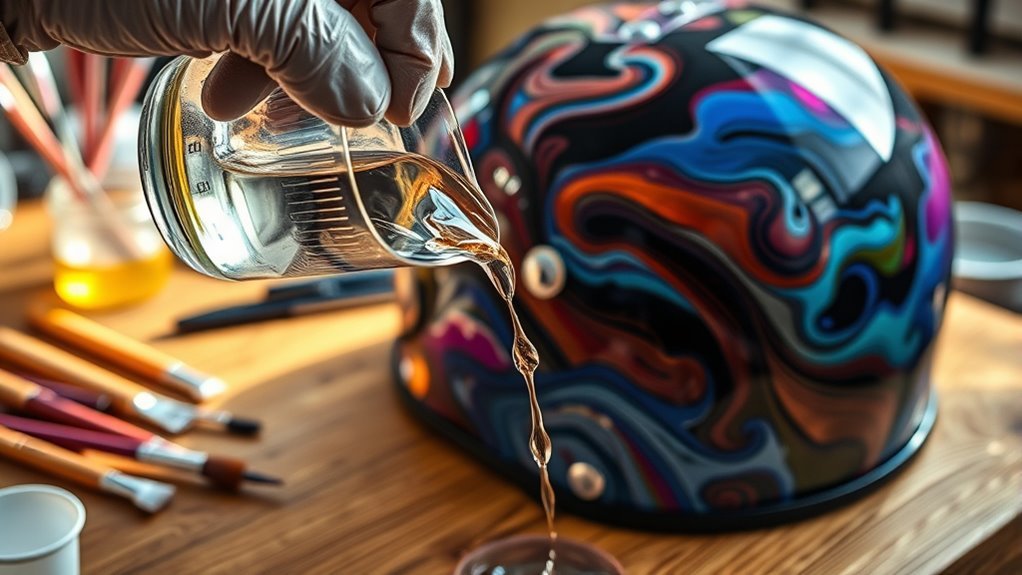
Gathering Necessary Tools and Materials
To effectively apply resin coating to your helmet, you’ll need to gather specific tools and materials that guarantee a smooth process and high-quality finish. Prioritize your tool selection for best results. Commonly needed tools include a mixing container, stir sticks, and a brush for application. For material sourcing, make sure you have high-quality epoxy resin and a suitable hardener.
Here’s a quick reference table to help you:
| Tools | Materials |
|---|---|
| Mixing container | Epoxy resin |
| Stir sticks | Hardener |
| Application brush | Protective gloves |
With the right tools and materials, you’ll set yourself up for a successful resin coating experience.
Mixing the Resin Properly
Properly mixing the resin is vital for achieving a durable and smooth finish on your helmet. Start by measuring the resin ratios carefully; typically, you’ll need one part hardener to two parts resin. Use a digital scale for accuracy. When it comes to mixing techniques, employ a clean, disposable container and stir thoroughly for at least three minutes, ensuring no streaks remain. Avoid introducing air bubbles; a slow, steady mixing motion helps with this. If you’re adding pigments or fillers, incorporate them gradually to maintain the correct resin ratios. Once mixed, let the resin sit for a few minutes to allow any bubbles to rise. This preparation is essential for a successful application, so take your time to get it right.
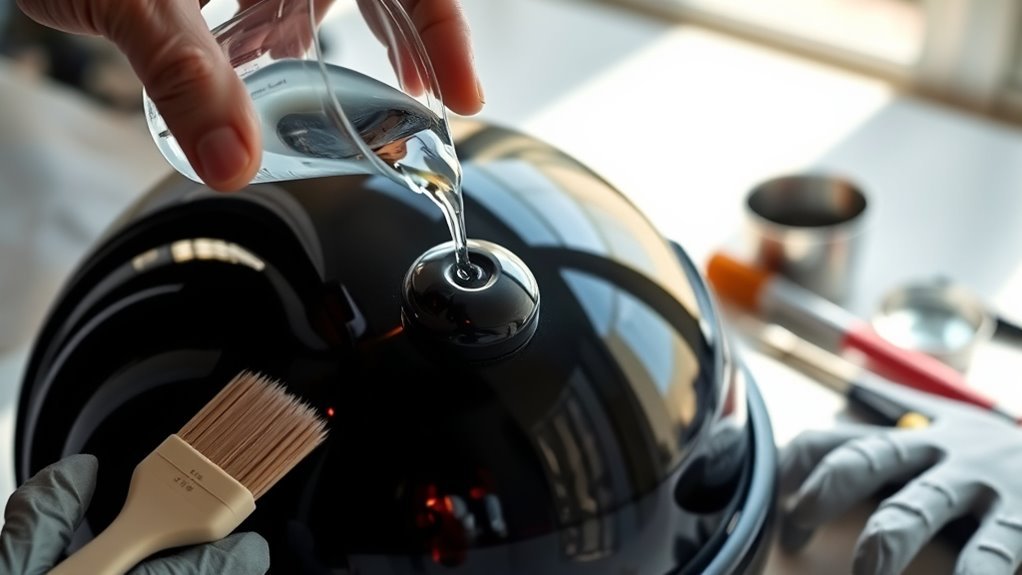
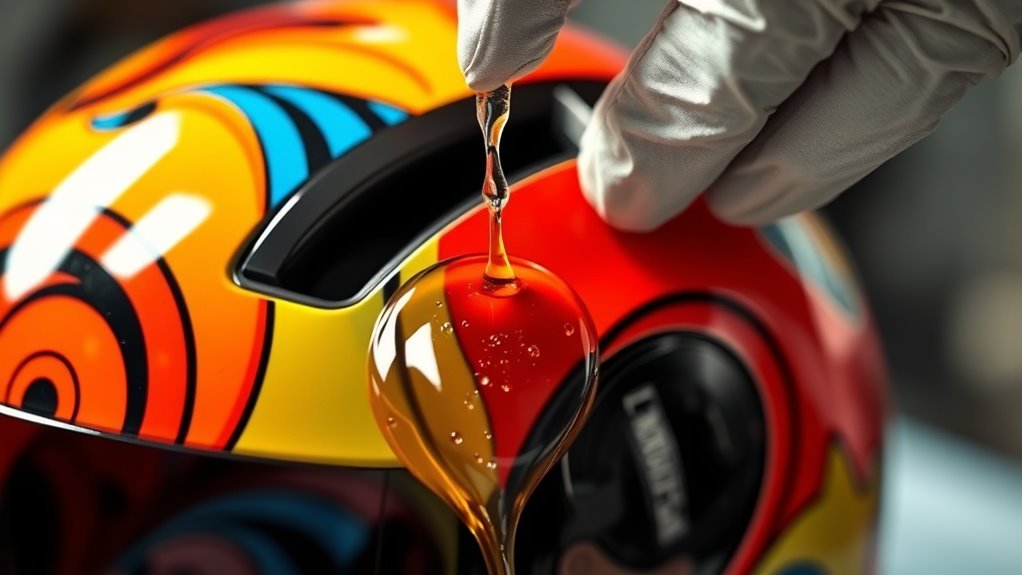
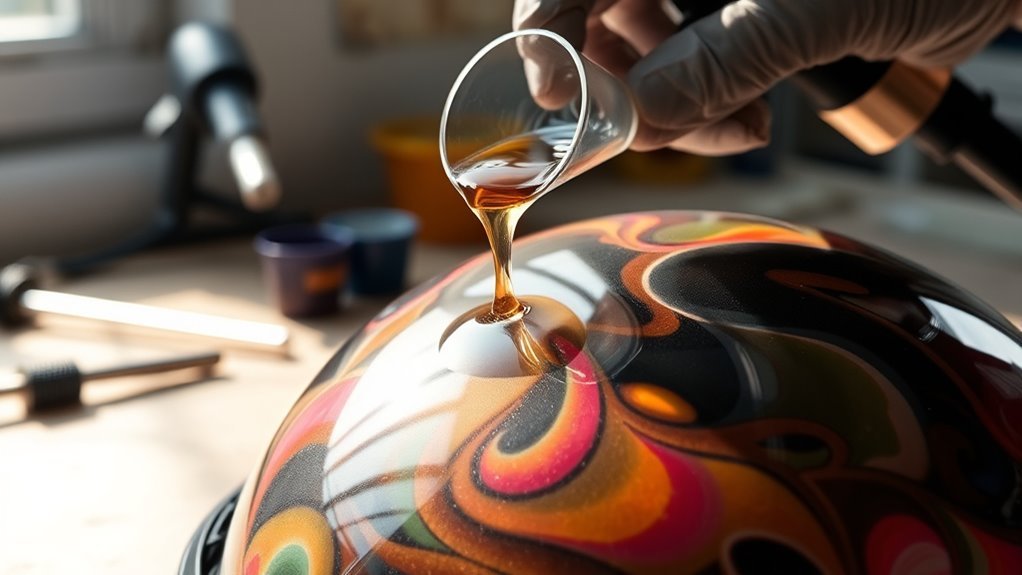
Applying the Resin Coating
To achieve a successful resin coating on your helmet, you’ll need to start by properly preparing the helmet surface to guarantee ideal adhesion. Once the surface is ready, mix and apply the resin evenly to avoid any inconsistencies. Finally, follow the curing and finishing process closely to guarantee a durable and professional-looking result.
Prepare the Helmet Surface
Preparing the helmet surface is essential for achieving a smooth, durable resin coating. Start by selecting effective helmet preparation techniques to guarantee peak adhesion. Remove any existing paint, stickers, or debris using fine-grit sandpaper or a suitable chemical remover. Then, employ appropriate surface cleaning methods, like wiping the helmet with isopropyl alcohol or a degreaser, to eliminate oils and contaminants. Rinse thoroughly and let it dry completely. Inspect the surface for imperfections, and if needed, sand down rough areas for an even texture. This meticulous preparation creates a clean slate for the resin, enhancing its performance and longevity. By focusing on these details, you’re guaranteeing your helmet not only looks good but also withstands the test of time.
Mix and Apply Resin
Mixing and applying resin requires careful attention to detail to guarantee an even and durable coat. Start by selecting the appropriate resin types for your helmet, as different formulations provide varying levels of flexibility and strength. Follow the manufacturer’s instructions for mixing ratios closely. Utilize precise mixing techniques, such as using a clean stir stick and a mixing cup, to make sure all components blend uniformly. Avoid introducing air bubbles, as these can compromise the final finish. Once mixed, pour the resin onto the helmet, using a brush or roller for even distribution. Work quickly, as resin begins to set rapidly. Always apply in a well-ventilated area, making sure safety and ideal curing conditions for a resilient coat.
Cure and Finish Process
Once the resin has been applied evenly over the helmet, the next phase involves curing and finishing the coating to achieve maximum durability and aesthetic appeal. You’ll need to maintain the appropriate cure temperature, typically between 70°F and 80°F (21°C to 27°C), to guarantee the resin hardens correctly. Monitor the curing process closely, as variations in temperature can impact the final results. Once cured, gently sand the surface with fine-grit sandpaper to eliminate any imperfections and enhance the finish shine. After sanding, apply a thin layer of a clear topcoat to protect the resin and boost its gloss. Allow this final layer to cure fully, guaranteeing your helmet not only looks fantastic but also stands the test of time.
Ensuring Even Coverage and Avoiding Bubbles
To achieve an even resin coating on helmets, it’s crucial to pay attention to the application technique, as this can greatly influence the final finish. Start with thorough surface preparation; clean and sand the helmet to eliminate any contaminants that could cause adhesion issues. When mixing the resin, make sure it’s blended thoroughly to minimize air pockets. Apply the resin using a consistent technique, like a brush or roller, avoiding excessive pressure, which can trap air. For bubble prevention, consider using a heat gun or torch briefly after application to encourage bubbles to rise and pop. Always work in a controlled environment with stable temperature and humidity to maximize your chances of achieving that flawless coat.
Curing Process and Drying Time
The curing process is critical in achieving a durable and effective resin coating on helmets. To guarantee ideal results, you need to maintain an appropriate curing temperature, typically between 70°F to 80°F (21°C to 27°C). This range allows the resin to polymerize effectively, resulting in a hard, resilient finish.
Simultaneously, monitor the drying conditions; excessive humidity can hinder the curing process, leading to a tacky surface. Ideally, work in a well-ventilated area with low humidity to facilitate quicker drying. Make certain to allow the resin to cure for at least 24 hours before handling the helmet. This time frame guarantees that the coating has fully hardened, providing the protection you expect from your resin-coated helmet.
Final Touches and Maintenance Tips
While guaranteeing your resin-coated helmet is protected, it’s essential to apply final touches and establish a maintenance routine. Your helmet’s final appearance will reflect the care you take in maintaining it.
| Task | Frequency |
|---|---|
| Inspect for damage | Monthly |
| Clean with mild soap | Bi-weekly |
| Reapply resin | Annually |
To enhance the longevity of your resin coating, avoid harsh chemicals and direct sunlight. Regular inspections will help identify wear before it becomes significant. Cleaning with mild soap prevents dirt build-up, preserving that polished look. By adhering to this maintenance routine, you’ll guarantee your helmet remains a reliable companion on every adventure, embodying the freedom you seek.
Frequently Asked Questions
Can I Use Resin on a Painted Helmet?
Yes, you can use resin on a painted helmet, but you need to guarantee proper helmet preparation first. Start by thoroughly cleaning the surface and checking for any imperfections in your painting techniques, as these can affect adhesion. Lightly sanding the painted area can help the resin bond better. Always apply a test patch to assess compatibility before proceeding with the full application, guaranteeing your helmet remains protected and visually appealing.
Is Resin Coating Safe for All Helmet Materials?
Resin coating can symbolize a protective shield, but it isn’t universally safe for all helmet materials. Different resin types, like epoxy or polyurethane, have varying compatibilities. For instance, while epoxy might adhere well to fiberglass, it could damage certain plastics. Always check your helmet’s material before applying resin, as compatibility is key to ensuring safety and maintaining structural integrity. Taking these precautions lets you ride freely, knowing your gear is well-protected.
How Long Will the Resin Last on My Helmet?
The resin durability on your helmet can vary based on factors like exposure to UV light, temperature, and wear. Typically, a well-applied resin coating can last several years, providing excellent helmet protection against scratches and minor impacts. However, it’s vital to regularly inspect the coating for signs of deterioration. If you notice any cracks or peeling, it’s a good idea to reapply the resin to maintain ideal performance and safety.
Can I Remove Resin Coating if Needed?
Yes, you can remove resin coating if needed. Think of it like peeling an orange; with the right resin removal techniques, you can carefully strip away the layer without damaging the helmet underneath. Begin with thorough helmet surface preparation, ensuring any residue is minimized for a clean finish. Use a solvent designed for resin removal, applying it gently to avoid compromising the helmet’s integrity. Always follow safety guidelines during the process for best results.
What Should I Do if the Resin Is Too Thick?
If the resin’s too thick, you’ll need to contemplate resin thinning techniques. Start by adding a compatible thinner to the mixture in small increments, stirring well to guarantee even consistency. Adjust until you achieve the desired viscosity for application. Employing proper application techniques, like using a spray gun or brush, can also help in achieving a smoother finish. Remember, thin layers often yield better results than a single thick coat.
References
- https://www.wikiHow.com/Repair-a-Helmet
- https://www.safetyandhealthmagazine.com/articles/20619-safety-helmet-repair-and-reconditioning
- https://www.cdc.gov/niosh/topics/respirators/
- https://www.ncbi.nlm.nih.gov/pmc/articles/PMC6873581/
- https://www.helmet.org/helmet-standards-and-standards-development/
- https://www.bikeradar.com/advice/buyers-guides/how-to-clean-your-helmet/
- https://www.helmets.org/
- https://www.ihsa.ca/education_resources/education_resources/helmet_safety.aspx