Using UV Resin for Clear Helmet Parts
Using UV resin for clear helmet parts enhances both durability and appearance. The resin cures quickly under UV light, providing a crystal-clear finish while ensuring excellent resistance to impacts and scratches. Proper preparation, including cleaning surfaces and mixing resin without bubbles, is essential for ideal results. Safety is paramount, so always wear protective gear. For tips on achieving a flawless finish and creative design ideas, the following sections offer valuable insights.
Understanding UV Resin and Its Properties
UV resin, a versatile synthetic polymer, has gained popularity in various applications, including clear helmet parts, due to its unique properties. Understanding its resin chemistry is vital; it involves a mixture of oligomers and monomers that react under UV light. When exposed to ultraviolet radiation, the curing process begins, transforming the liquid resin into a solid state. This rapid polymerization not only enhances durability but also offers excellent optical clarity, important for helmet visibility. You’ll appreciate how the cured resin exhibits superior adhesion and resistance to impact. The precise control over the curing process allows you to achieve specific attributes, tailoring the resin for best performance in demanding conditions. This freedom of customization makes UV resin an attractive choice for manufacturers seeking innovation.
Advantages of Using UV Resin for Helmet Components
While many materials are used in helmet manufacturing, the advantages of using UV resin for components are particularly compelling. By opting for UV resin, you’ll experience significant improvements in your helmet’s performance and appearance. Consider these benefits:
- Durability Benefits: UV resin offers exceptional resistance to impacts and scratches, ensuring your helmet components withstand the test of time.
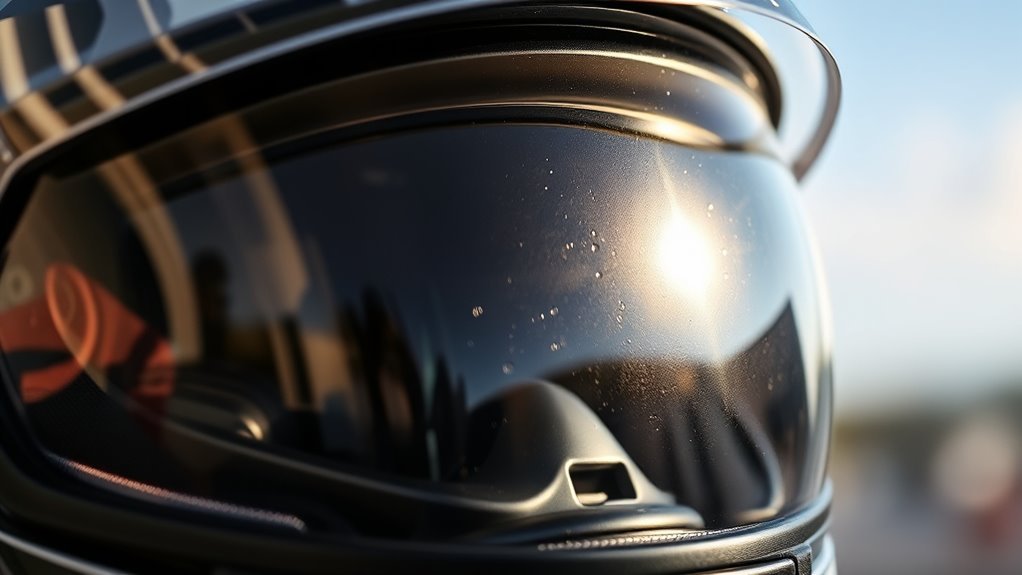
- Aesthetic Appeal: Its crystal-clear finish enhances the overall look of your helmet, providing a sleek, professional appearance.
- Quick Curing: UV resin cures rapidly under UV light, allowing for efficient production and quick repairs.
- Versatility: You can easily mold UV resin into various shapes, making it ideal for complex helmet designs.
These advantages make UV resin a smart choice for enhancing your helmet’s functionality and style.
Essential Tools and Materials for Working With UV Resin
When you’re ready to work with UV resin, having the right tools and materials at your disposal is vital for achieving the best results. Start with high-quality resin types specifically formulated for UV applications; these will guarantee ideal clarity and durability. You’ll need a mixing container and stir sticks for precise mixing techniques, as improper ratios can affect the final outcome. A UV light source is essential for curing the resin effectively, along with gloves and a mask for safety. Don’t forget to have a clean workspace and protective covering to avoid any spills. Finally, consider using a small brush or applicator for detailed work on clear helmet parts, guaranteeing a smooth application and professional finish.
Step-by-Step Guide to Applying UV Resin on Helmet Parts
Applying UV resin to helmet parts requires careful attention to detail to guarantee a flawless finish. Follow these steps to verify effective application techniques and ideal curing methods:
Applying UV resin to helmet parts demands precision to achieve a perfect finish. Follow these essential steps for optimal results.
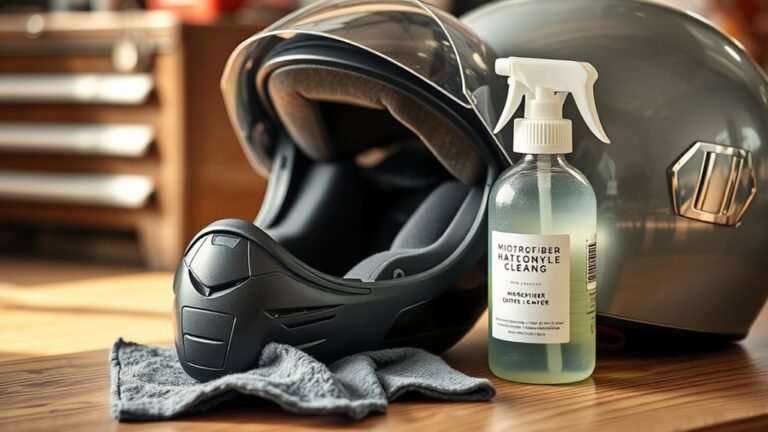
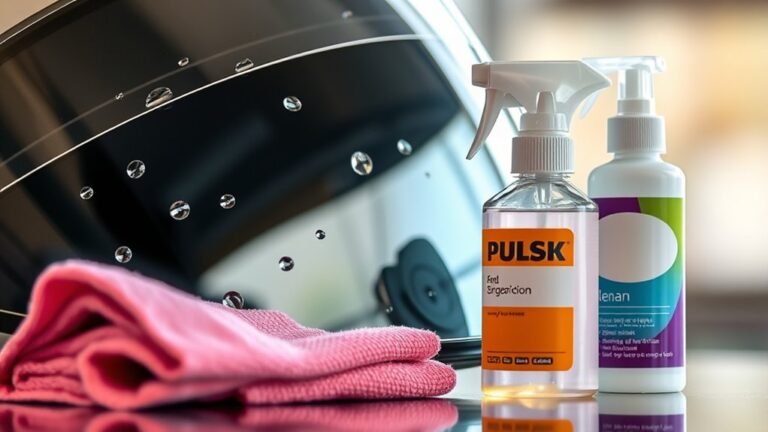
- Prepare the Surface: Clean the helmet parts thoroughly to remove any dust or grease.
- Mix the Resin: If necessary, combine the UV resin with any additives, verifying an even consistency.
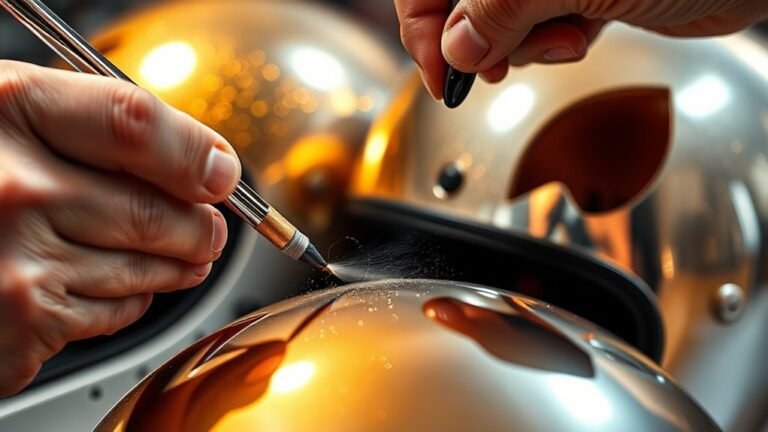
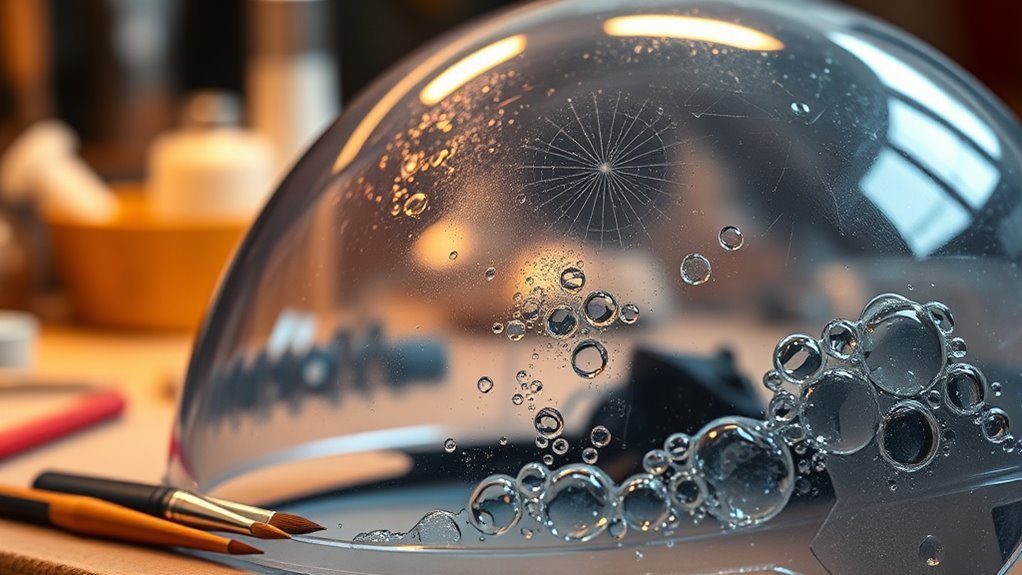
- Apply the Resin: Use a brush or applicator to spread the resin evenly across the surface, avoiding air bubbles.
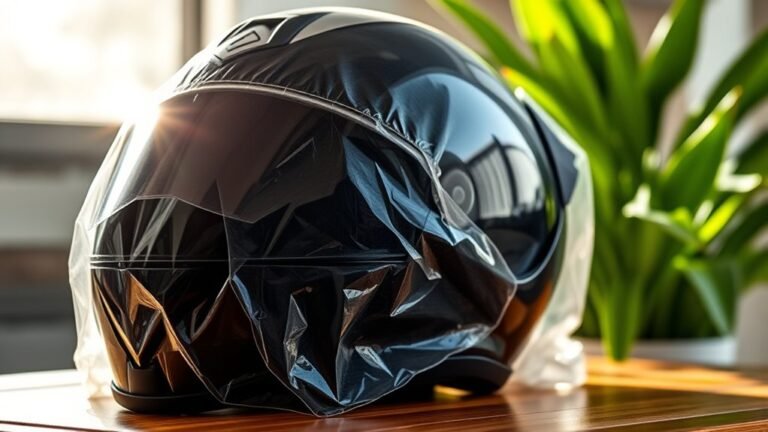
- Cure the Resin: Place the helmet parts under a UV light for the recommended curing time to harden the resin properly.
Tips for Achieving a Professional Finish
Achieving a professional finish with UV resin on helmet parts hinges on several key techniques that enhance both appearance and durability. Start by confirming your surface is clean and free from dust, as this is vital for adhesion. After applying the resin, utilize effective polishing techniques to eliminate any imperfections or bubbles. Fine-grit sandpaper followed by a polishing compound can work wonders in achieving a smooth surface. Don’t rush the curing process; allow the resin to fully harden under UV light for best results. Finally, add those finishing touches, like a clear coat, to enhance gloss and protect against scratches. This meticulous approach not only elevates the aesthetic but also guarantees your helmet parts stand the test of time.
Creative Applications and Design Ideas
While exploring the potential of UV resin for clear helmet parts, you’ll find numerous creative applications that can elevate both functionality and aesthetics. Here are some innovative ideas to inspire your custom embellishments:
Exploring UV resin for helmet parts opens up a world of innovative designs that enhance both style and function.
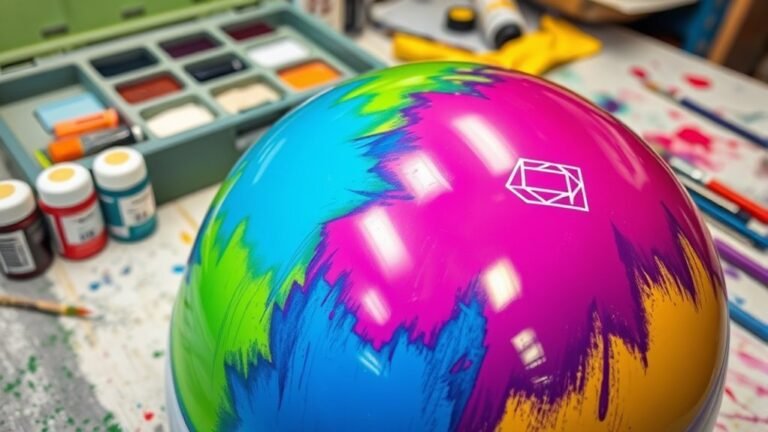
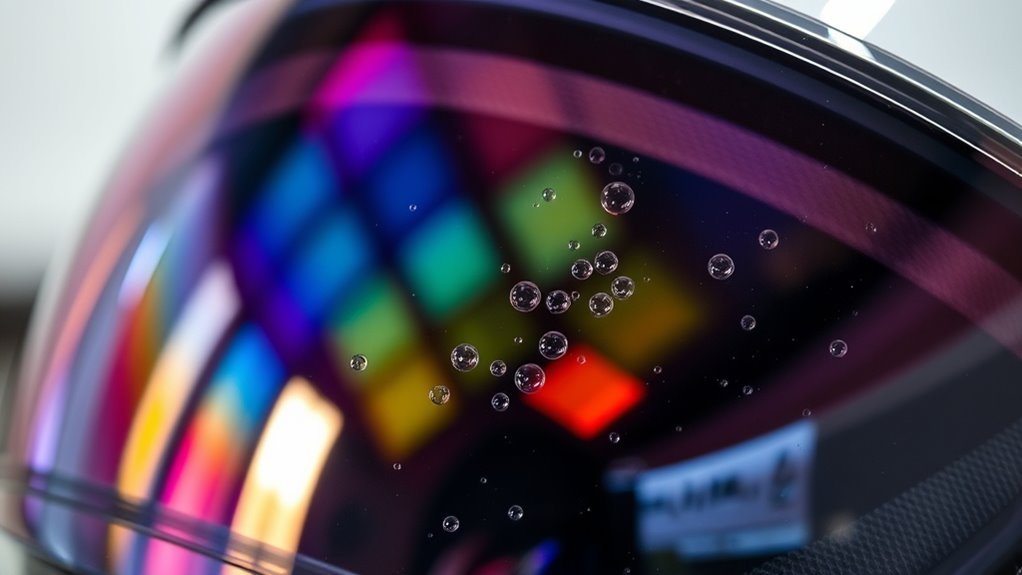
- Personalized Visors: Create unique designs by embedding logos or graphics directly into the resin.
- Lightweight Reinforcements: Use UV resin to strengthen vulnerable areas without adding significant weight.
- Decorative Elements: Incorporate colorful pigments or materials for eye-catching effects in helmet accents.
- Integrated LED Holders: Design functional mounts for LED lights that enhance visibility while maintaining a sleek appearance.
These creative designs not only enhance the helmet’s look but also allow you to express your individuality and freedom in customization.
Safety Considerations When Using UV Resin
When working with UV resin, it’s essential to prioritize your safety by using appropriate personal protective equipment (PPE) such as gloves and safety goggles. Make certain your workspace is well-ventilated to minimize exposure to fumes and UV light. By taking these precautions, you can effectively reduce health risks associated with UV resin usage.
Personal Protective Equipment
As you work with UV resin, it’s crucial to prioritize personal protective equipment (PPE) to guarantee your safety. Following PPE regulations not only protects you but also assures proper helmet maintenance. Here are four essential items to use:
- Safety goggles: Protect your eyes from resin splashes and UV exposure.
- Nitrile gloves: Prevent skin contact with resin, minimizing health risks.
- Respirator mask: Guard against harmful fumes and particles released during curing.
- Protective clothing: Use long sleeves and aprons to shield your skin from accidental spills.
Ventilation and Workspace Safety
Guaranteeing adequate ventilation is essential for maintaining a safe workspace when using UV resin, as it helps mitigate exposure to potentially harmful fumes. Implementing effective ventilation systems and organizing your workspace minimizes risks and enhances productivity. Here’s a table outlining key ventilation strategies:
| Strategy | Benefits | Implementation Tips |
|---|---|---|
| Natural Ventilation | Cost-effective, fresh air flow | Open windows, use fans |
| Mechanical Systems | Consistent airflow | Install exhaust fans |
| Air Purifiers | Reduces airborne contaminants | Choose HEPA filters |
| Workspace Layout | Enhances safety | Keep clear pathways |
| Regular Maintenance | Guarantees effectiveness | Clean filters regularly |
Frequently Asked Questions
How Long Does UV Resin Take to Cure Fully?
UV resin typically takes about 1 to 2 hours to cure fully, depending on factors like thickness and UV light intensity. During the curing process, the resin hardens as it’s exposed to UV light, creating a strong bond. Guarantee even coverage and proper exposure to achieve ideal results. Keep in mind that while the surface may feel dry sooner, a full cure may take longer, so patience is key for durability.
Can UV Resin Be Painted or Colored?
Yes, you can paint or color UV resin, but there’re some nuances to take into account. Think about how color mixing can transform your project; certain paints are more compatible than others. Solvent-based paints may not adhere well, while acrylics usually work better. Always test a small area first to guarantee adhesion and the desired effect. With the right approach, you can achieve vibrant finishes that enhance your resin creations and express your unique style.
What Is the Shelf Life of UV Resin?
The shelf life of UV resin typically ranges from six months to two years, depending on storage conditions. To maximize this lifespan, keep the resin in a cool, dark place, away from direct sunlight and extreme temperatures. Make sure the container is tightly sealed to prevent moisture contamination. Regularly check for changes in viscosity or appearance, as these can indicate degradation. Proper storage helps you maintain the resin’s effectiveness and guarantees your projects achieve the best results.
Is UV Resin Waterproof Once Cured?
Isn’t it great to know that UV resin, once fully cured, is indeed waterproof? This makes it perfect for various UV resin applications. When you use proper curing techniques, you guarantee a strong, durable finish that withstands moisture. However, remember that while it’s waterproof, UV resin isn’t immune to UV degradation over time. So, if you’re seeking freedom from water damage, verify your application is well-cured and protected from prolonged sunlight exposure.
Can UV Resin Bond With Other Materials?
Yes, UV resin can bond with other materials effectively due to its strong adhesive properties. When cured, it creates a durable connection between surfaces like glass, metal, and certain plastics. The resin’s versatility allows for various applications, but it’s crucial to make sure surfaces are clean and properly prepared for ideal bonding. If you’re looking for a reliable adhesive solution, UV resin can provide the freedom to combine different materials seamlessly.