How to Weather Your Cosplay Helmet for Realism
To weather your cosplay helmet for realism, start by choosing lightweight materials like EVA foam or sturdier plastic options like ABS. Prepare the surface by cleaning and priming it. For scratches, use fine-grit sandpaper and a craft knife, and create rust effects with textured sponges and acrylic paints. Layer your colors using washes and dry brushing for depth. Finally, seal your work with a matte finish to protect it. There’s much more to explore for achieving the perfect look!
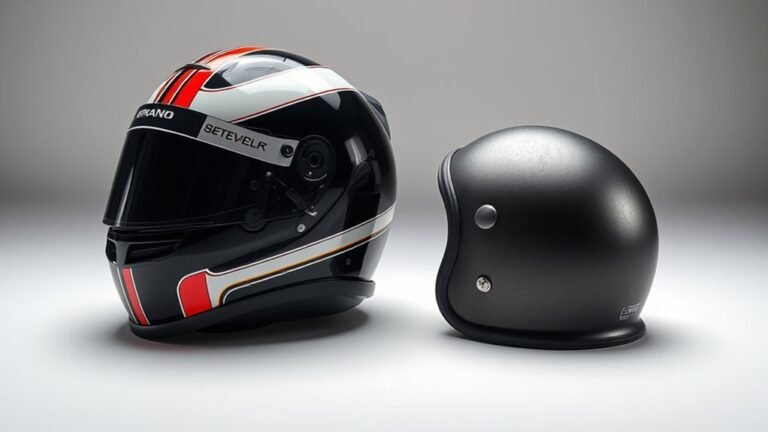
Choosing the Right Base Material
When you’re diving into the world of cosplay, choosing the right base material for your helmet can make all the difference, especially if you want it to withstand the rigors of conventions and wear. Foam types like EVA and polyethylene are popular for their lightweight and flexible properties, allowing for comfort during long events. EVA foam, in particular, can be easily shaped and painted, making it ideal for detailed designs. On the other hand, plastic options, such as ABS or PVC, offer sturdiness and can provide a more polished look. While heavier, these materials can better withstand impact. Ultimately, it’s about balancing aesthetics with durability, ensuring your helmet not only looks amazing but also stands the test of time on your cosplay journey.
Preparing Your Helmet for Weathering
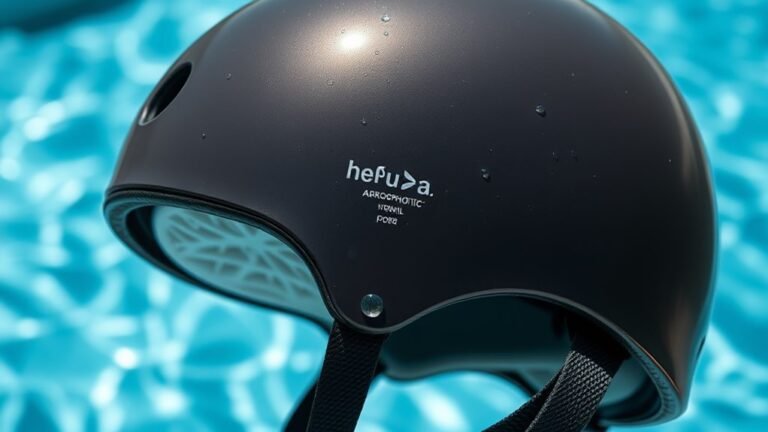
Before you start weathering your helmet, it’s vital to verify its surface is properly prepared to achieve the best results. Proper helmet preparation guarantees the weathering techniques you’ll apply adhere effectively and look authentic. Start with thorough surface cleaning to remove any dust, grease, or old paint. Here’s what you need to do:
Ensure your helmet’s surface is clean and smooth for optimal weathering results. Proper preparation is key to authenticity.
- Use mild detergent and water to clean the surface.
- Sand down rough edges for a smoother finish.
- Apply a primer if necessary, which can enhance paint adhesion.
- Let the helmet dry completely before moving on.
Techniques for Creating Scratches and Dents
Creating realistic scratches and dents on your cosplay helmet can transform it from a polished piece to a battle-worn masterpiece. For scratch techniques, grab a fine-grit sandpaper or a craft knife to carve shallow lines across the surface. Vary the depth and direction for authenticity. You can also use a heat source to create melted “burn” marks, adding to the worn look. For dent creation, gently press a rounded object against the helmet’s surface, or use a hammer and a soft cloth to prevent damage. Experiment with different tools, like a screwdriver, to create unique imperfections. Remember, the goal is to evoke stories of battles fought, so don’t hold back on your creativity!
Painting for a Worn Look
When you’re ready to paint your helmet for that authentic worn look, start by selecting base colors that mimic the wear and tear of real materials. Layering techniques, like dry brushing and washes, can add depth and nuance, creating a weathered effect that tells a story. Remember, it’s all about building up those layers gradually to achieve that perfect aged appearance.
Choosing Base Colors
As you engage in the process of painting your cosplay helmet, selecting the right base colors is essential for achieving that authentic, worn look. Understanding color theory will help you choose hues that not only complement each other but also reflect the character’s history. Here are some tips to get you started:
- Consider the character’s environment: Think about where they’ve been and what influences their look.
- Choose muted tones: Bright colors can appear too new; opt for earthier shades.
- Experiment with color layering: Start with a base and build up complexity for depth.
- Test your colors: Always do a swatch test to guarantee you get the desired effect before committing.
Layering Techniques Explained
Layering techniques play an essential role in achieving that authentic, weathered appearance for your cosplay helmet. Start with your base colors, then introduce layering strategies to create depth. Use a sponge or brush to apply a lighter shade on raised areas, while darker tones can fill in crevices to emphasize texture variations. Don’t shy away from using dry brushing to enhance highlights, giving your helmet the illusion of wear. Mixing in some metallics can add a worn, rusted effect. For further realism, consider using a wash to settle into the details, bringing out the contours. Ultimately, balance is key; guarantee each layer complements the others for a cohesive, battle-worn look that tells a story of adventure and resilience.
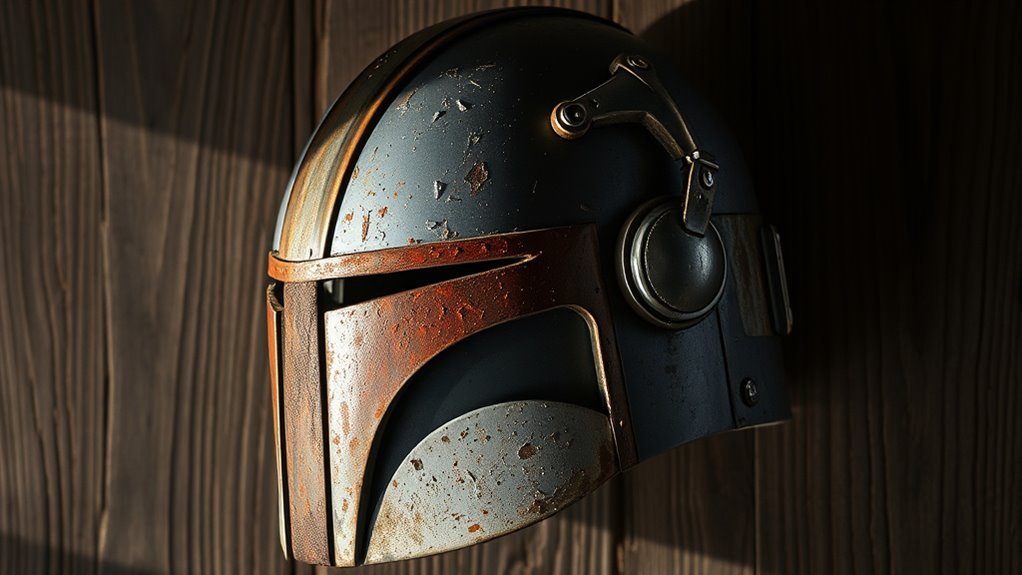
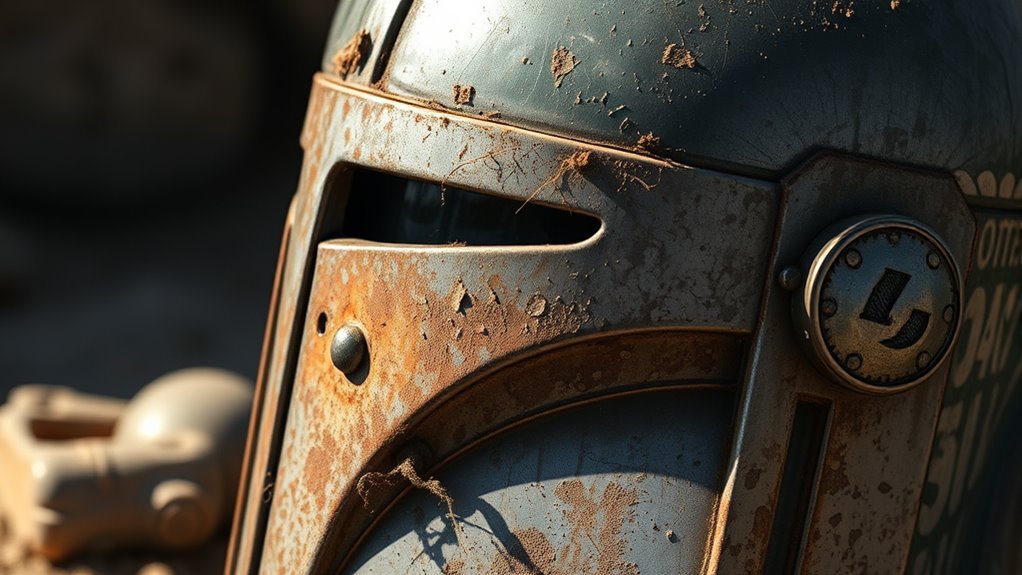
Adding Rust and Dirt Effects
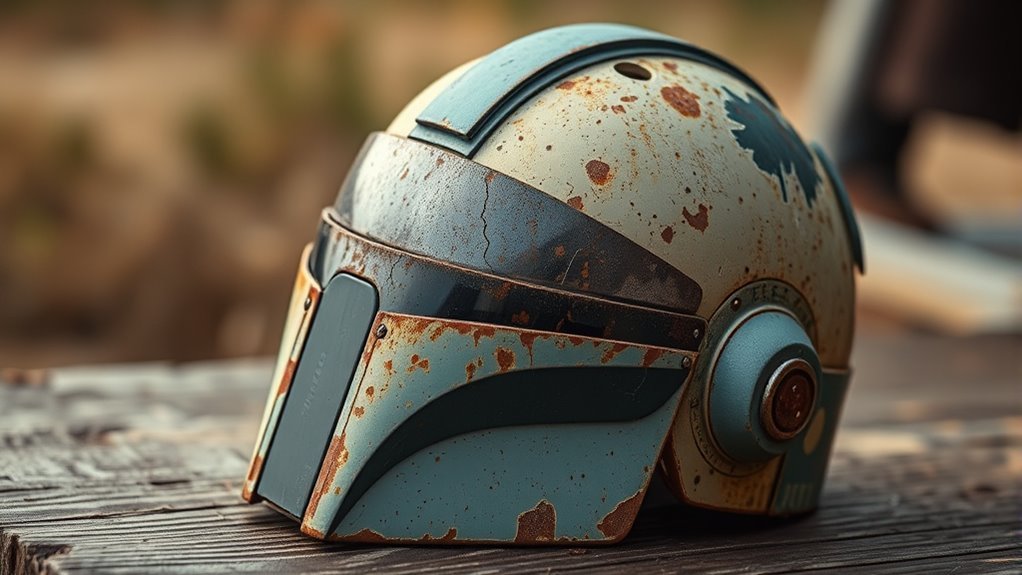
To truly age your cosplay helmet, you’ll want to select the right materials for adding rust and dirt effects. Techniques like using a rust-colored pigment or a textured sponge can create a convincing decay, while layering dirt can enhance the overall appearance. By combining these elements thoughtfully, you’ll add depth and authenticity to your creation, making it look like it’s been through countless battles.
Choosing the Right Materials
When it comes to achieving a realistic weathered look for your cosplay helmet, selecting the right materials is essential. You’ll want to evaluate the material properties and durability considerations to guarantee your effects hold up over time. Here are some materials to think about:
- Acrylic Paint: It’s versatile and adheres well to various surfaces.
- Textured Spray Paint: Adds a gritty finish that mimics wear.
- Weathering Powders: Perfect for creating depth and realistic dirt effects.
- Epoxy Resin: Ideal for adding rust effects with a durable finish.
Choosing materials that complement each other not only enhances the visual appeal but also assures your helmet can withstand the rigors of wear, letting your creativity shine through every detail.
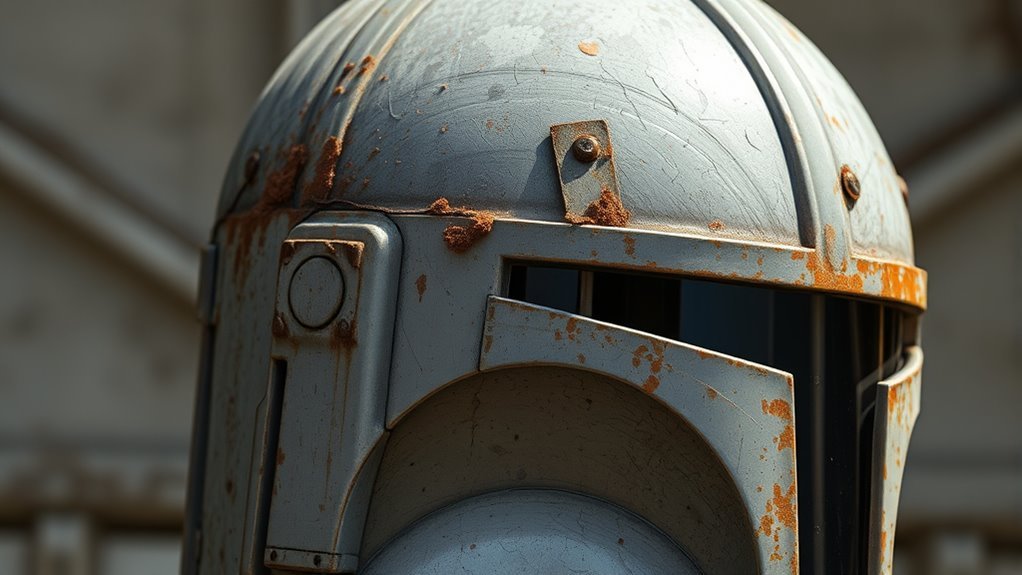
Techniques for Rust Application
After selecting the right materials, it’s time to bring your helmet to life with authentic rust and dirt effects. Start by applying rust paint in varying layers to create an organic rust texture. Use a sponge or brush to dab on the paint, focusing on edges and crevices where rust would naturally accumulate. For added realism, mix a little brown or orange paint into your rust paint for depth.
Here’s a quick reference table to guide your technique:
| Layer Type | Application Method | Effect |
|---|---|---|
| Base Rust | Spray, even coat | Creates initial rust layer |
| Texture Rust | Sponge, uneven dabs | Adds depth and realism |
| Highlight Rust | Dry brush, focused areas | Emphasizes aging and wear |
Experiment until you achieve the desired look!
Adding Depth With Dirt
While achieving a realistic weathered look for your cosplay helmet, adding depth with dirt can greatly enhance the overall effect. Dirt application not only mimics the wear and tear from battle but also brings out realistic textures that catch the eye. Here’s how to get started:
- Use a dry brush technique with brown and black acrylics for subtle grime.
- Consider using powders or pigments for a natural, dusty finish.
- Mix fine sand with paint to create a gritty texture.
- Apply a light wash of diluted paint to settle into crevices for added depth.
Experiment with these methods to find the perfect balance that resonates with your character, making your helmet truly stand out.
Utilizing Washes and Dry Brushing
A well-painted cosplay helmet can transform your look, but adding depth and realism requires the skillful application of washes and dry brushing. Start with a wash application, using a diluted paint or ink to settle into the crevices, enhancing details. Choose darker tones to mimic shadows, creating an aged effect. Let it dry completely before moving on.
Next, employ dry brush techniques for highlights. Dip a stiff-bristled brush into a lighter paint, then wipe off excess until it’s nearly dry. Gently drag the brush across raised surfaces, allowing the color to catch the edges. This method brings out textures and adds dimension, making your helmet appear battle-worn and authentic. Together, these techniques elevate your cosplay, giving it that striking, realistic finish.
Sealing Your Weathered Finish
Once you’ve achieved that perfect weathered look on your cosplay helmet, sealing it properly is essential to guarantee your hard work lasts. Choosing the right sealant can enhance your finish durability while protecting against wear and tear. Here are some sealant options to evaluate:
- Acrylic Spray Sealant: Quick-drying and great for a matte finish.
- Polyurethane: Offers a durable, glossy layer but can be tricky to apply.
- Mod Podge: Ideal for a more textured look and easy to work with.
- Varnish: Provides a strong, protective coat but can alter colors slightly.
Final Touches: Personalizing Your Helmet
After sealing your weathered finish, it’s time to add those final touches that truly make your helmet stand out. Custom decals are a fantastic way to personalize your piece; choose designs that reflect your character or your own unique style. You can create your own graphics or source them from talented artists online. When applying, use a clear adhesive for durability, ensuring they lay flat to avoid peeling.
Consider adding unique designs, like battle scratches or personal symbols, using fine brushes and acrylic paints. Don’t shy away from splashes of color to break up the monotony of gray or metallic tones. Finally, a matte spray coating can protect your artwork while keeping that gritty, authentic look. Your helmet will be a true reflection of you!
Frequently Asked Questions
Can I Weather a Plastic Helmet Effectively?
You can definitely weather a plastic helmet effectively. Like they say, “A stitch in time saves nine,” so start with proper surface preparation. Clean the helmet thoroughly, then use painting techniques like dry brushing and sponging to create layers of wear. Incorporate colors like browns and grays for depth. Don’t forget to seal your work with a clear coat to protect it. With patience and creativity, your helmet will look battle-worn and realistic!
How Long Does the Weathering Process Take?
The weathering process can take anywhere from a few hours to several days, depending on your time management and the techniques you choose. If you’re applying paint washes or using sandpaper, you might finish quicker. However, if you’re layering textures or letting washes dry between applications, it could extend the time. Experimenting with various weathering techniques also adds to the fun, allowing you to achieve that perfect, battle-worn look that makes your cosplay stand out.
Will Weathering Affect My Helmet’s Durability?
Will weathering affect your helmet’s durability? Absolutely, it can! But isn’t that the price we pay for authenticity? When executed properly, weathering enhances your helmet’s visual appeal without greatly compromising its longevity. However, be cautious with the techniques and materials you choose—harsh chemicals or excessive abrasion might weaken it. Embrace the artistry of wear and tear, but always consider those durability concerns to guarantee your helmet stays strong for countless adventures ahead.
What Materials Are Best for Creating Realistic Rust?
For creating realistic rust, you’ll want to use aging materials like acrylic paints and weathering powders. Rusting techniques such as sponging or dry brushing can help achieve that authentic look. Start with a base of burnt sienna, then layer on darker shades for depth. Don’t forget to add a matte varnish for a finished touch. Experimenting with various textures will give your helmet a worn, battle-hardened appearance that truly stands out.
Can I Remove Weathering Effects Later if Needed?
Absolutely, you can remove weathering effects later! Think of it as a temporary adventure in creativity. Using various weathering techniques, you can create layers of detail, but if you change your mind, restoration methods like gentle cleaning with soap and water or a mild solvent can help restore your helmet’s original state. Just be cautious—test on a small area first. Enjoy the freedom to experiment, knowing you can always revert to your helmet’s pristine look!
References
- https://www.wikihow.com/Make-a-Cosplay-Helmet
- https://www.cosplaytutorial.com/
- https://www.costumewall.com/cosplay-tips/
- https://www.instructables.com/How-to-Make-a-Cosplay-Helmet/
- https://www.therpf.com/forums/
- https://www.craftsmanshipmuseum.com/
- https://www.seamwork.com/issues/2018/5/cosplay-tips
- https://www.nerdist.com/article/cosplay-tips-how-to-paint-and-weather-armor/
- https://www.reddit.com/r/cosplay/comments/4c9a9h/beginners_guide_to_weathering_your_cosplay_armor/