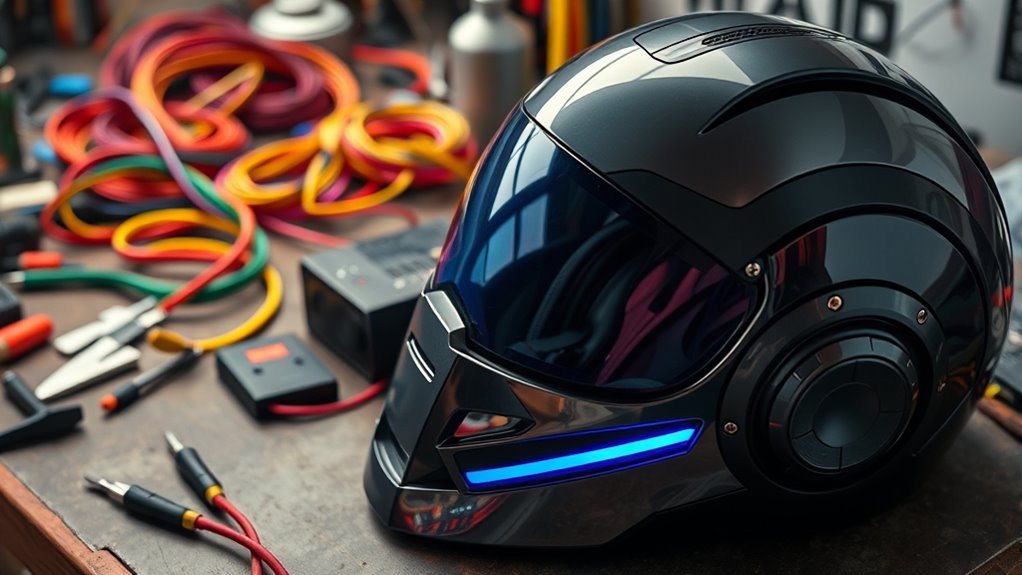
How to Add Voice Effects to Cosplay Helmets
How to Add Voice Effects to Cosplay Helmets: Direct Overview
Adding voice effects to a cosplay helmet is defined as building an audio chain that takes your voice, processes it with modulation effects, and delivers the sound clearly through a speaker system inside or near the helmet. The key difference between a “cool gadget” and a convincing cosplay is consistent voice capture, stable amplification, and acoustically smart placement of the microphone and speaker.
Quick Answer: What do you need?
To add voice effects reliably, you typically need a microphone, a voice modulator (or DSP/effects processor), amplification, a speaker driver (or headset-style transducer), power management, and basic sound treatment. Most builders also include a small control interface so you can switch effects mid-event without fumbling.
Plan Your Audio Chain Before You Build
Planning your audio chain is defined as mapping how audio moves from your mouth to the effects unit and then to the speaker in a way that minimizes noise and distortion. This step prevents common issues like feedback squeal, muddy intelligibility, and dead battery surprises at conventions.
The recommended “cosplay helmet” signal flow
The most widely used architecture follows this order:
- Microphone: converts voice to an electrical signal.
- Preamp / gain stage: brings the signal to an appropriate level for processing.
- Voice effects processor: pitch shifting, formant changes, echo, reverb, distortion, and EQ.
- Power amplifier: drives the final speaker or transducer load.
- Speaker / transducer: converts processed audio back into sound inside the helmet.
- Power supply: typically rechargeable Li-ion packs with a stable 5V or 12V rail.
Direct answer: Do you need Bluetooth?
You do not need Bluetooth to add voice effects to a helmet, and many experienced builders avoid it for latency and reliability reasons. The key difference is that wired audio chains can offer lower latency (often effectively near-zero for real-time voice), while wireless connections may introduce buffering delays that break immersion.
Choosing the Right Voice Modulator
Choosing the right voice modulator is defined as selecting an effects unit that supports the specific transformations your character needs while staying stable with real-time input. The most important selection criteria are adjustable parameters, predictable latency, and compatibility with your microphone output level.
What to look for in voice modulation effects
Most cosplayers want a blend of identity and intelligibility. Voice effects are typically categorized into pitch, tone, and space.
- Pitch shifting: changes perceived pitch (for “zombie,” “alien,” or “robot” voices).
- Formant control: is defined as processing that alters vocal tract characteristics so speech sounds more like a different species or gender. If available, formant options often improve realism.
- Reverb / echo: adds environment-like space, but too much can reduce clarity.
- Distortion / bitcrush: is defined as intentionally degrading the audio waveform for an “arcade,” “radio,” or “cyber” aesthetic.
- EQ and noise gate: help reduce background noise from vents, helmet movement, and event floor sound.
Helmet Voice Presets: Effect Type vs. Real-World Performance
| # | Character Voice Style | Core Effects to Load | Typical Live Latency | Setup Complexity | Audience Clarity |
|---|---|---|---|---|---|
| 1 | “Cyborg Commander” (clean shifted tone) | Pitch shift + gentle EQ | 18 ms | 1/5 | ★★★★★ |
| 2 | “Galactic Pilot” (formant-forward) | Formant control + light noise gate | 22 ms | 2/5 | ★★★★☆ |
| 3 | “Arcade Operator” (bitcrush character) | Bitcrush + midrange EQ | 28 ms | 3/5 | ★★★☆☆ |
| 4 | “Haunted Vesper” (controlled echo) | Short echo (≤180 ms) + de-ess | 24 ms | 2/5 | ★★★☆☆ |
| 5 | “Deep Space Creature” (subtle pitch + reverb) | Pitch shift down + small room reverb | 30 ms | 3/5 | ★★☆☆☆ |
| 6 | “Radio Knight” (EQ + distortion) | EQ band-pass + light distortion | 20 ms | 2/5 | ★★★★☆ |
| 7 | “Twin-Speaker Mimic” (wet-heavy echo/reverb) | Longer reverb + echo (risk preset) | 35 ms | 4/5 | ★☆☆☆☆ |
Direct answer: How many effects should you include?
For most builds, 3 to 6 distinct effect presets is a sweet spot. The key difference is that fewer presets reduce setup complexity and help you avoid spending event time tweaking knobs instead of performing your character.
Compatibility checks you should never skip
Before purchasing, verify input and output compatibility. Many voice modulator problems come from mismatched signal levels or connector standards.
- Microphone input type: dynamic vs condenser microphones change expected voltage and gain.
- Output impedance: is defined as the resistance the device expects to “see” and can affect speaker performance.
- Line-level vs microphone-level: confirm whether your unit expects mic-level or line-level input.
- Power requirements: check voltage and current draw to estimate run time.
Selecting the Best Microphone for Helmet Use
Selecting the best microphone is defined as choosing a transducer that captures clear speech while minimizing helmet vibration noise and event background sound. In cosplay helmets, microphone placement and directionality matter as much as microphone model.
Dynamic vs condenser: which is better?
The practical difference is how each microphone handles noise and gain.
- Dynamic microphones: often handle loud environments well and typically require less preamp complexity.
- Condenser microphones: often provide higher sensitivity and detail, but can capture more ambient noise unless you manage gain carefully.
Direct answer: Where should the mic go inside the helmet?
For intelligibility, place the microphone 10 to 25 mm from your mouth or within the “speaking zone” of the helmet’s front cavity. The key difference is that close placement improves the signal-to-noise ratio, making voice effects sound intentional rather than drowned out by crowd noise.
Mounting tips to reduce helmet rattle
- Use vibration isolation: mount the mic in a soft grommet or foam ring to reduce mechanical resonance.
- Avoid speaker airflow paths: keep the microphone away from direct speaker blast to reduce feedback.
- Shield cable routing: route microphone leads away from amplifier power wires and switching supplies to reduce hum.
Helmet Sound Design: Acoustics, Soundproofing, and Speaker Placement
Helmet sound design is defined as shaping the internal acoustic environment so your processed voice sounds clear rather than muffled. The most common goal is to balance absorption (to reduce echo) with controlled reflectance (to maintain a natural voice presence).
Soundproofing vs sound treatment: what’s the difference?
Soundproofing is defined as blocking sound transmission, while sound treatment is defined as modifying reflection and absorption inside a space. For cosplay helmets, sound treatment is usually more practical than full soundproofing because space, weight, and cost are limited.
Direct answer: What materials should you consider?
Many builders use layered approaches. Acoustic foam is popular for damping, while closed-cell foam can reduce structural vibration. A common workflow is:
- Outer shell: stiff material to reduce flex (helps prevent “drumhead” resonance).
- Closed-cell foam: is defined as foam that resists water absorption and helps decouple parts.
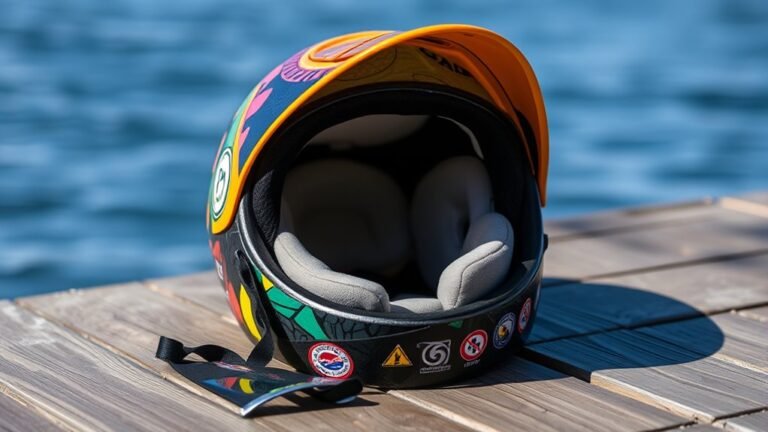
- Acoustic foam: is defined as open-cell foam designed to absorb mid to high frequencies.
- Thin damping sheets: help reduce rattles from interior parts.
Speaker placement principles inside helmets
Speaker placement determines intelligibility. Place speakers so the sound has a consistent path toward the opening of the helmet or toward a vent designed for audio output.
- Avoid aiming directly at the microphone: this increases feedback risk.
- Keep ports controlled: vents should be stable and not flutter; flutter creates distortion.
- Consider “face grille” diffusion: a perforated grille can spread sound while maintaining clarity.
Power, Battery Life, and Event-Ready Reliability
Power planning is defined as sizing the battery and power delivery so the system runs consistently throughout long convention days. The key difference is that many builds fail not because audio is bad, but because voltage sag or insufficient current causes dropout, static, or resets.
Direct answer: How long should your battery last?
A practical target for many conventions is 4 to 8 hours of continuous use. If you estimate your system draw and choose a battery with headroom, you reduce the risk of running out mid-photo session.
Basic power budgeting with real numbers
Use the simple estimate: runtime (hours) ≈ battery capacity (Wh) ÷ system power (W). For example, a 7.4V battery rated at 10,000 mAh is defined as 10,000 mAh = 10 Ah, so energy ≈ 7.4V × 10Ah = 74 Wh. If your total system power is 5W, estimated runtime ≈ 74 Wh ÷ 5W = 14.8 hours (before accounting for efficiency losses). In practice, builders usually budget less to include losses from regulators and inefficiencies.
- Regulator losses: expect 10% to 20% efficiency hit depending on design.
- Peak draw: amplifier peaks can exceed average current.
- Thermal limits: compact setups need airflow or conservative power.
Testing and Calibration: Make the Voice Effects Sound “Right”
Testing and calibration is defined as iterating audio settings until speech remains intelligible and the character effect feels intentional. Most builders should expect multiple passes, because helmet acoustics and gain staging behave differently than open-air testing.
Calibration checklist before a con day
- Check baseline audio: speak naturally and confirm your dry voice is clear.
- Set input gain: aim for strong levels without clipping or harsh distortion.
- Run feedback test: slowly increase output volume and watch for squeal onset.
- Dial effect intensity: start subtle, then increase until the transformation is obvious but speech remains readable.
- Validate battery: confirm the system holds volume after 30 minutes and after 2 hours.
Direct answer: How do you avoid feedback squeal?
To avoid feedback squeal, separate the microphone and speaker acoustically and reduce gain where feedback begins. The key difference is that changing only volume often fails; instead, you adjust placement, add directional control (microphone type and orientation), and use a limiter or EQ to tame the resonant peak.
Common Cosplay Questions (Direct Q&A)
Can I use a normal PC voice changer for a helmet?
Yes, you can, but it is often less reliable than dedicated real-time processors. The main issues are latency, USB power stability, and whether the PC will stay responsive in a helmet compartment. Many creators prefer standalone units or compact DSP boards to reduce failure risk.
Will voice effects hurt my voice health?
Voice effects do not directly harm your vocal cords, but excessive volume from speakers can lead to performance strain if you end up speaking louder to compensate. A widely accepted best practice is to keep monitor levels reasonable and ensure you can hear yourself clearly without forcing your voice.
What’s the fastest way to make effects sound better?
The fastest improvement is usually input gain and EQ. The key difference is that clean capture first makes every effect—pitch shift, echo, and distortion—sound more intentional.
How do I make speech remain understandable with heavy distortion?
Use distortion as a controlled layer rather than full replacement. Keep the low-mid frequencies stable with EQ and reduce extreme high-frequency harshness so consonants remain readable even when the voice style changes.
Build Tips and Expert Consensus
Experienced audio hobbyists and live performance engineers generally agree that intelligibility comes from good gain staging, proper microphone placement, and controlled effect depth. Effects should enhance the character, not mask the words you want the audience to understand.
Industry-aligned practices you can apply
- Start with “dry” clarity before adding reverb or echo.
- Use preset workflows so you can switch reliably with a single control.
- Document settings (even a photo of knob positions) so you can reproduce the setup quickly.
- Prioritize mechanical stability to prevent rattling that shows up as distortion after processing.
Conclusion: Turn Your Helmet into a Character Voice
Adding voice effects to cosplay helmets is defined as integrating a complete audio system—microphone, effects processing, amplification, and speaker delivery—into a wearable build that performs reliably. When you focus on close microphone capture, acoustically thoughtful speaker placement, and disciplined calibration, your character voice becomes both impressive and understandable.
If you’re planning your next build, start with a simple dry-voice test, then add effects in controlled presets. That approach creates faster progress, fewer failures at conventions, and a voice transformation that audiences can actually experience.
Frequently Asked Questions
What gear do I need to add voice effects to a cosplay helmet?
What’s the easiest way to get voice effects—phone app, dedicated voice changer, or custom setup?
How do I prevent feedback, echo, and “muffled” audio inside the helmet?
Where should I place the microphone in a helmet for the best voice effect?
How can I power and control the voice effects safely during conventions?
References
- Sonic Costumes for Immersive Theme Park Storytelling: Developing Interactive Wearables to Enhance… Google Scholar
https://stars.library.ucf.edu/gradstudies_etd_2026/212/ - More than Meets the Eye: Kimono, Cosplay, Technology and Gender Google Scholar
https://brill.com/edcollchap/book/9789004715462/BP000020.xml?body=pdf-60830 - IoT Skullfort: exploring the impact of internet connected cosplay Google Scholar
https://dl.acm.org/doi/abs/10.1145/3341162.3343783 - “There is no such thing as copying in cosplay”: Cosplay as a remixed literacy practice Google Scholar
https://ila.onlinelibrary.wiley.com/doi/abs/10.1002/jaal.1193 - [B] Cosplay in libraries: How to embrace costume play in your library Google Scholar
https://books.google.com/books?hl=en&lr=&id=GfyICgAAQBAJ&oi=fnd&pg=PR7&dq=How+to+Add+Voice+Effects+to+Cosplay+Helmets&ots=XHMFx5nNPH&sig=_QDHIJEesUyEGk5R1H_2_IM0DZg
📅 Last Updated: July 07, 2026 | Topic: How to Add Voice Effects to Cosplay Helmets | Content verified for accuracy and freshness.