How to Clean the Inside of a Motorcycle Helmet
To clean the inside of a motorcycle helmet, start by removing the inner lining and cheek pads if possible. Use mild soap and water to gently scrub the surfaces, ensuring you eliminate any odors and bacteria. This process not only maintains hygiene but also prolongs the life of your helmet, ultimately enhancing your riding experience. A clean helmet contributes to comfort, safety, and longevity, making it an essential part of motorcycle maintenance.
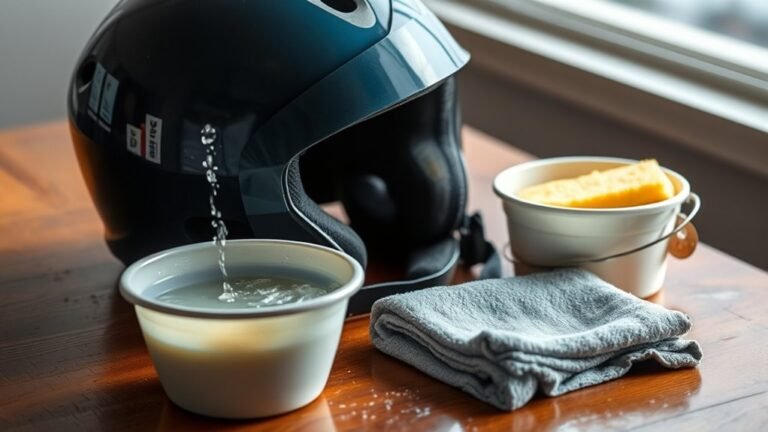
Step 1: Gather Your Cleaning Supplies

Before embarking on the cleaning process, it is crucial to gather all necessary supplies. This will ensure a smooth and efficient cleaning experience. You will need:
– Mild soap or helmet cleaner: Choose a non-abrasive soap or a specialized helmet cleaner that effectively removes dirt and grime without damaging the materials.
– Soft cloths or microfiber towels: These are essential for gentle scrubbing and drying without scratching the helmet’s surfaces.
– Water and a bowl for mixing solutions: Use clean water to create your cleaning solution and rinse the liner effectively.
Having everything on hand before you start will prevent interruptions and allow you to focus on the task at hand.
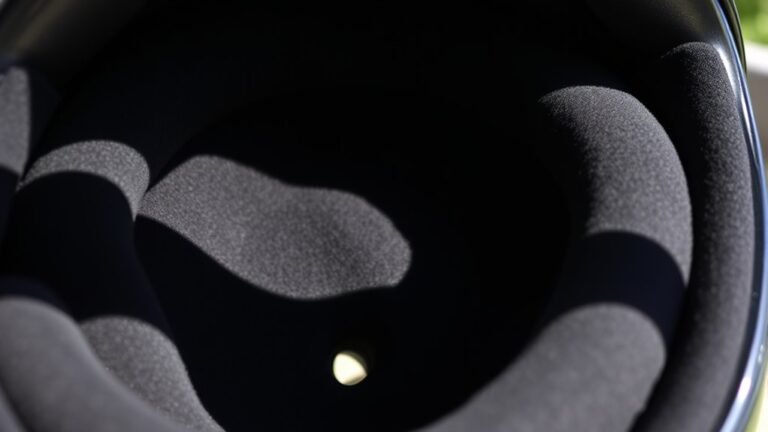
Step 2: Remove the Inner Lining


The next step is to carefully remove the inner lining and cheek pads, which is crucial for a thorough cleaning.
– Check the manufacturer’s instructions for proper removal: Different helmet brands and models may have varying methods for detaching the liner. Always refer to the user manual to avoid damaging the helmet.
– Carefully detach the lining and cheek pads to avoid damage: Take your time during this process. Gently pull the lining away from the shell to avoid tearing or stretching the material. If your helmet features snaps or clips, handle these components with care to prevent breakage.
Removing the inner lining allows you to access areas that are typically hard to clean, ensuring a more comprehensive hygiene routine.
Step 3: Clean the Interior Surfaces
Once the lining and pads are removed, it’s time to clean the interior surfaces of the helmet.
– Use a mixture of mild soap and water to scrub the inside gently: Dampen a soft cloth or microfiber towel with the soap solution and wipe the inner surfaces of the helmet. Be cautious around sensitive areas such as the chin strap and padding.
– Focus on areas with visible dirt or odor buildup: Pay special attention to spots that may harbor bacteria, such as the forehead and chin areas, where sweat tends to accumulate. A gentle circular motion will help lift dirt without damaging the helmet’s surface.
This step is vital for maintaining both hygiene and the helmet’s integrity, as neglecting to clean these areas can lead to unpleasant odors and potential skin irritations.
Step 4: Rinse and Dry the Lining
After cleaning, the next step involves rinsing the inner lining thoroughly.
– Rinse the inner lining thoroughly with clean water: It is essential to remove all soap residues, as they can cause irritation upon contact with the skin. A gentle stream of water works well; avoid soaking the lining excessively.
– Hang or lay flat to air dry completely before reinstallation: Never use heat sources like hair dryers, as they can warp or damage the materials. Allowing the lining to air dry in a well-ventilated area ensures that moisture is fully evaporated, which is crucial to preventing mold and mildew buildup.
Ensuring that the lining is completely dry before reassembly is a critical step in maintaining the helmet’s hygiene and longevity.
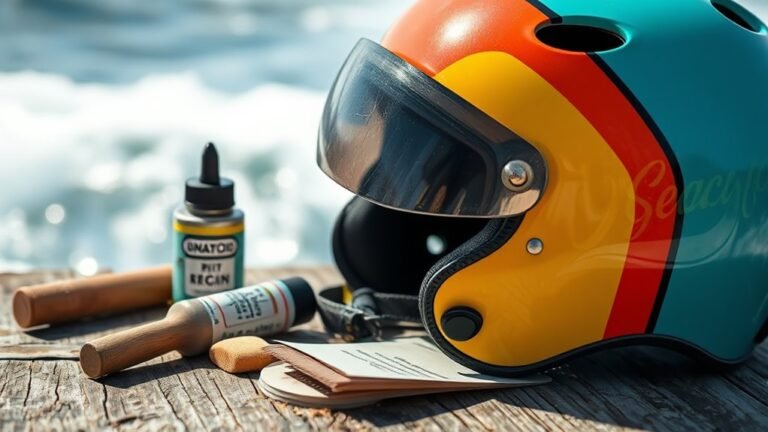
Step 5: Disinfect the Helmet
After cleaning and drying, it’s important to disinfect the interior surfaces of the helmet.
– Use a helmet-safe disinfectant spray on the interior surfaces: Select a product designed specifically for helmets to avoid damage. This step kills any remaining bacteria and helps eliminate odors.
– Allow it to sit for the recommended time before wiping off: Follow the instructions on the disinfectant label for optimal effectiveness. This may involve letting the spray sit on the surfaces for a few minutes before wiping it off with a clean cloth.
This additional layer of cleaning is essential, especially for helmets that have accumulated sweat and moisture over time.
Step 6: Reassemble the Helmet
Once the interior is clean and dry, it’s time to put your helmet back together.
– Once everything is dry, carefully reattach the inner lining and cheek pads: Ensure you follow the manufacturer’s guidelines for reinstallation to avoid any complications.
– Ensure they are secured properly for safety: Double-check that all snaps and clips are fastened correctly. A secure fit is crucial for the helmet’s effectiveness in protecting your head during rides.
Proper reassembly not only enhances safety but also ensures comfort during your rides.
Step 7: Regular Maintenance Tips
To keep your helmet in optimal condition, establish a regular maintenance routine.
– Clean your helmet every few rides or as needed: Depending on your riding frequency and conditions, you may need to clean the helmet more or less often. Pay attention to smells or visible dirt that indicate it’s time for cleaning.
– Store the helmet in a cool, dry place to prevent moisture buildup: Avoid leaving your helmet in hot areas, such as the trunk of a car or direct sunlight, as excessive heat can damage the interior materials.
Incorporating these maintenance tips will help extend the life of your helmet, ensuring it remains a reliable piece of safety equipment.
Cleaning the inside of your motorcycle helmet is essential for both comfort and safety. By following these steps, you can ensure that your helmet remains in top condition, providing you with a safe and pleasant ride. Don’t forget to make helmet cleaning a regular part of your maintenance routine! Regular cleaning not only enhances your riding experience but also reinforces your commitment to safety on the road.
Frequently Asked Questions
How do I properly clean the inside of my motorcycle helmet?
To clean the inside of your motorcycle helmet, start by removing the inner lining if it’s detachable. Use a mild soap or specialized helmet cleaner mixed with water to gently scrub the lining and cheek pads with a soft cloth or sponge. Rinse thoroughly with water to remove any soap residue, and allow the parts to air dry completely before reassembling them into the helmet.
What should I avoid when cleaning my motorcycle helmet’s interior?
When cleaning the interior of your motorcycle helmet, avoid using harsh chemicals, bleach, or strong detergents, as these can damage the materials and diminish the helmet’s protective qualities. Additionally, do not use a washing machine or dryer for the inner lining, as this can cause shrinkage or deformation. Instead, focus on gentle hand cleaning methods to preserve the integrity of the helmet.
Why is it important to clean the inside of my motorcycle helmet regularly?
Regularly cleaning the inside of your motorcycle helmet is crucial for maintaining hygiene and ensuring comfort during rides. Over time, sweat, oils, and bacteria can accumulate, leading to unpleasant odors and potential skin irritations. Moreover, a clean helmet can enhance your riding experience by providing better ventilation and reducing distractions caused by discomfort.
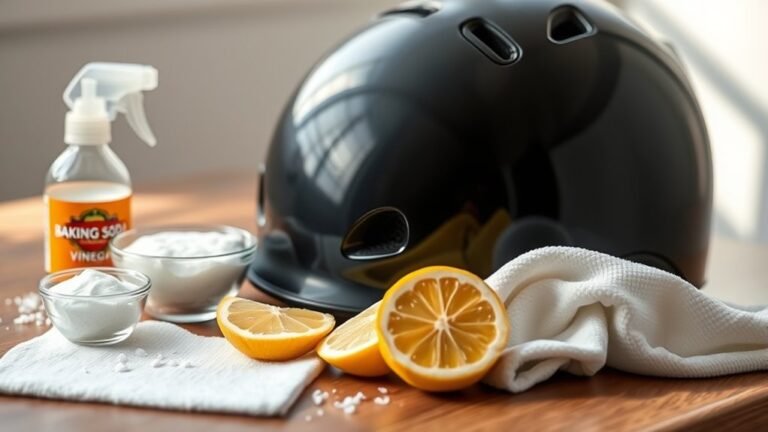
What is the best way to remove odors from the inside of a motorcycle helmet?
To effectively remove odors from the inside of a motorcycle helmet, start by cleaning the inner lining with a mixture of water and mild soap. For persistent odors, sprinkle baking soda on the lining and let it sit overnight before vacuuming it out. Additionally, using a helmet-specific deodorizing spray can help neutralize odors and keep your helmet smelling fresh.
Which cleaning products are safe for motorcycle helmet interiors?
The safest cleaning products for motorcycle helmet interiors include mild dish soap, specialized helmet cleaners, and natural options like vinegar and baking soda. Always check the manufacturer’s guidelines for recommended cleaning products, as some helmets may have specific requirements or restrictions. Avoid products with ammonia, alcohol, or strong fragrances that could damage the materials or irritate your skin.
References
- https://www.motorcyclistonline.com/how-to-clean-your-motorcycle-helmet/
- https://www.rideapart.com/articles/251152/how-to-clean-your-motorcycle-helmet/
- https://www.revzilla.com/common-tread/how-to-clean-your-motorcycle-helmet
- https://www.cycleworld.com/motorcycle-helmet-care-and-cleaning-tips/
- https://www.bikebandit.com/blog/how-to-clean-a-motorcycle-helmet
References
- https://www.motorcyclistonline.com/how-to-clean-your-motorcycle-helmet/
- https://www.rideapart.com/articles/252512/how-to-clean-motorcycle-helmet/
- https://www.ama-cycle.org/Types-of-Motorcycle-Helmets.aspx
- https://www.msf-usa.org/downloads/Helmets.pdf
- https://www.cycleworld.com/how-to-clean-your-helmet/