How to Add Padding to a DIY Helmet
To add padding to your DIY helmet, first, choose a suitable padding material like EVA foam or memory foam for comfort and safety. Measure your helmet’s interior accurately, then cut the padding to size using a sharp knife for clean edges. Secure the padding with adhesive or Velcro strips for adjustability. Test the fit to guarantee it’s snug yet comfortable, and don’t forget to maintain proper ventilation. For more enhancements and customization tips, explore further.
Choosing the Right Padding Material
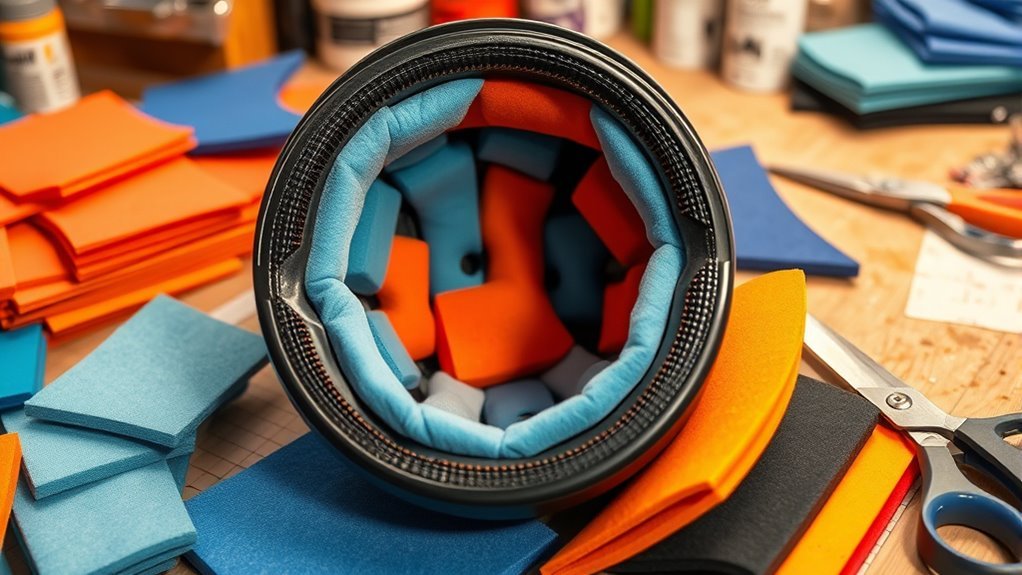
When selecting padding material for your DIY helmet, it’s essential to take into account both comfort and safety, as the right choice can greatly enhance protection during impact. There are various padding types available, such as EVA foam, polyurethane foam, and memory foam, each offering different comfort levels and protective qualities. EVA foam is lightweight and offers decent shock absorption, making it ideal for casual use. Polyurethane foam provides better cushioning but can be bulkier. Memory foam conforms to your head’s shape, providing excellent comfort but may not offer the highest level of impact resistance. Ultimately, your choice should balance comfort levels with protective capability, ensuring that you can enjoy your freedom while remaining safe.
Measuring Your Helmet Interior
To guarantee a proper fit for your DIY helmet, accurately measuring the interior dimensions is vital. Start by using a flexible measuring tape to gauge the helmet’s length, width, and depth. Measure from the front to the back and side to side, making sure you capture the widest points. Record these measurements, as they’ll determine the padding types you can use for ideal helmet safety. Don’t forget to check the fit around the forehead and sides, where padding will provide significant comfort and protection. If the helmet has a unique shape, consider additional measurements to make certain the padding contours correctly. Taking precise measurements now will confirm that your padding fits snugly, enhancing both safety and comfort during use.
Cutting Padding to Size
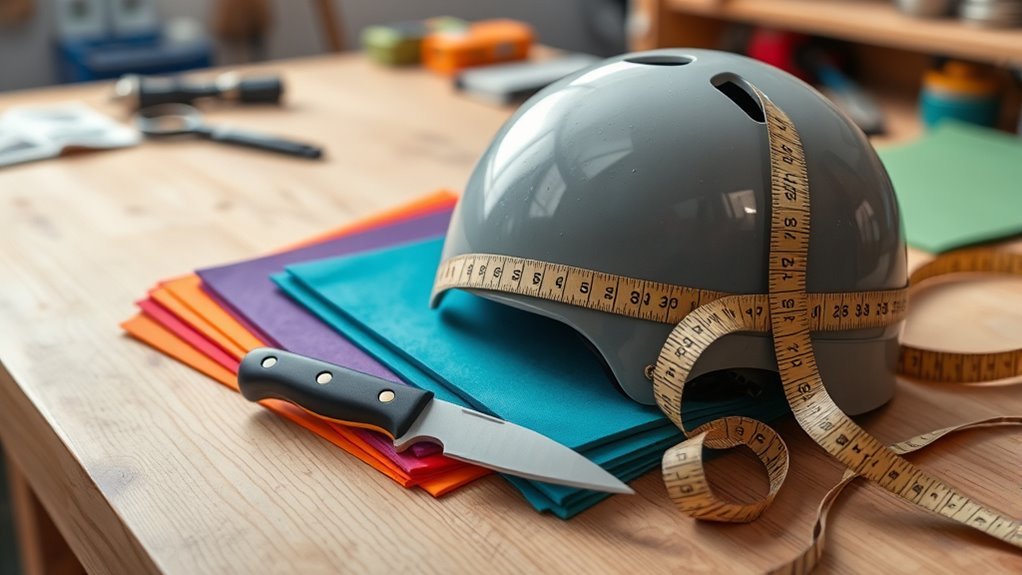
Now that you have the interior measurements of your helmet, it’s time to cut the padding to the appropriate size. Different padding types may require specific cutting tools, so choose wisely. Here’s what you need to take into account:
- Choose the right padding material: Foam, gel, or fabric can each provide varying levels of comfort and protection.
- Select suitable cutting tools: A sharp utility knife or scissors will guarantee clean edges.
- Mark your measurements: Use a marker or chalk to outline where you’ll cut.
- Test fit before finalizing: Place cut pieces inside the helmet to confirm proper fit and comfort.
Taking these steps will guarantee your DIY helmet meets both safety and comfort standards. Happy crafting!
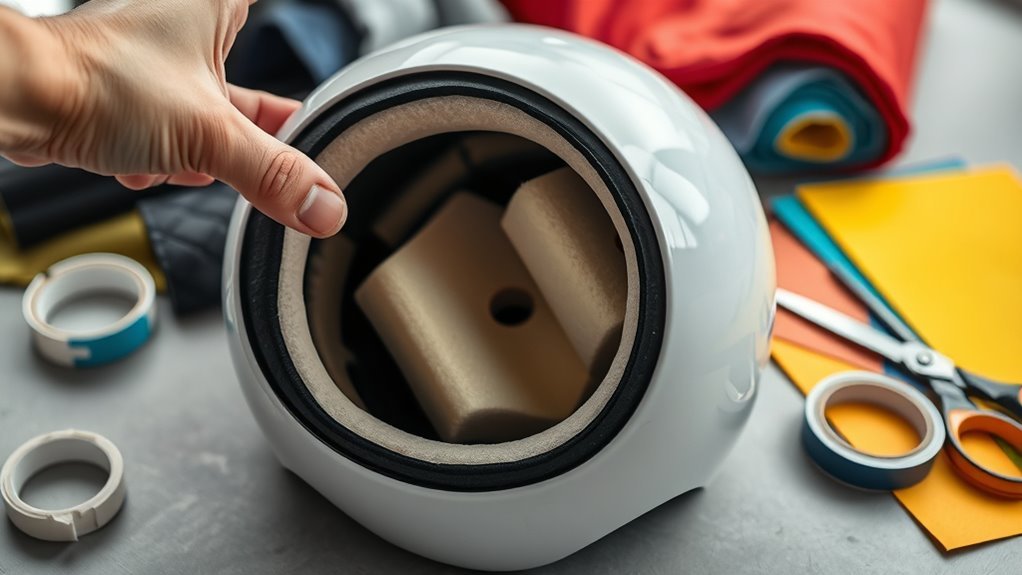
Securing Padding in Place
Securing the padding in your DIY helmet is essential for guaranteeing both safety and comfort. Start by selecting reliable padding adhesives that are specifically designed for helmet materials. These adhesives will provide a strong bond while maintaining flexibility. Next, use various securing methods to guarantee each piece of padding stays in place. You can opt for Velcro strips for easy adjustment or double-sided tape for a more permanent solution. When applying the adhesive, make sure the surfaces are clean and dry for maximum adhesion. Press down firmly on the padding and allow sufficient curing time as per the adhesive’s instructions. This careful approach will enhance the overall fit and performance of your helmet, giving you the freedom to ride with confidence.
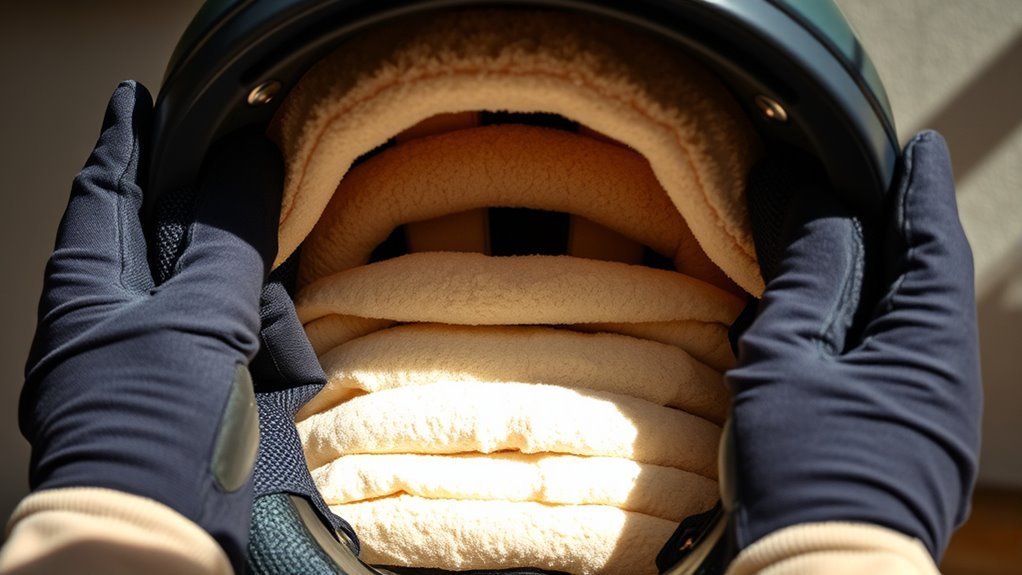
Adding Additional Layers for Comfort
When adding additional layers to your helmet’s padding, you’ll want to choose materials that enhance comfort without compromising safety. Consider layering techniques that distribute pressure evenly and minimize bulk. This approach not only improves fit but also guarantees a more enjoyable wearing experience.
Choosing Padding Materials
Selecting the right padding materials is essential for enhancing comfort in your DIY helmet. Different padding types can greatly affect your comfort levels, so consider the following options:
- EVA Foam: Lightweight and provides good shock absorption.
- Memory Foam: Molds to your head shape, offering superior comfort.
- Gel Inserts: Excellent for pressure relief, ideal for longer wear.
- Fleece Liners: Soft and breathable, great for moisture management.
Each material has unique properties, so think about how they’ll interact with your helmet’s structure and your specific needs. Experimenting with various combinations can help you find the perfect balance of cushioning and support, ultimately enhancing your overall experience while wearing the helmet.
Layering Techniques Explained
While adding padding to your DIY helmet, understanding layering techniques is essential for maximizing comfort and safety. Start by selecting appropriate layering materials like foam, gel, or even fabric. Each material serves distinct purposes—foam offers shock absorption, while gel enhances comfort.
Begin with a base layer, applying a thin foam for a snug fit. Next, add a gel layer for cushioning. Finally, incorporate a soft fabric layer to reduce friction against your skin. When stacking these layers, guarantee they adhere properly and don’t shift during use.
Test the helmet for fit and comfort after each addition. By strategically utilizing layering techniques, you’ll create a custom helmet that not only protects but also feels good, allowing you to enjoy your freedom safely.
Testing the Fit
To guarantee your DIY helmet fits correctly, start by measuring your head circumference accurately. Based on this measurement, you may need to adjust the padding thickness to achieve a snug yet comfortable fit. Proper fit is essential for safety and performance, so take the time to make these adjustments.
Measure Head Circumference
Measuring your head circumference is vital for guaranteeing a proper fit for your DIY helmet. Accurate head measurement is critical, as it directly influences your comfort and safety. Here are some fitting techniques to follow:
- Use a flexible measuring tape for precision.
- Position the tape above your eyebrows and around the widest part of your head.
- Make sure the tape is snug but not tight, allowing for a natural fit.
- Record the measurement in inches or centimeters for reference.
Adjust Padding Thickness
Adjusting the padding thickness is essential for achieving a snug fit in your DIY helmet. Start by trying on your helmet with the current padding to assess the comfort level. If it feels too loose or tight, adjust the padding thickness accordingly. You can add or remove layers to find the right balance that guarantees both safety and comfort. Use foam or other materials to customize the fit; thicker padding can enhance comfort but may compromise helmet stability. Test the fit multiple times, making incremental adjustments until you achieve the desired snugness. Remember, adjusting comfort is key to guaranteeing your helmet performs well during use, giving you the freedom to ride with confidence and safety.
Ensuring Proper Ventilation
While adding padding to your DIY helmet is essential for comfort and safety, ensuring proper ventilation is equally critical for maintaining airflow and preventing overheating. Ventilation importance can’t be overstated, especially during extended wear. To enhance airflow management, consider the following:
- Vent Placement: Strategically place vents at the front and back for ideal air circulation.
- Materials: Use breathable fabrics for the padding to enhance airflow.
- Air Channels: Design internal channels within the padding to direct airflow effectively.
- Adjustable Vents: Incorporate adjustable vents to control airflow based on conditions.
Maintaining Your Helmet Padding
Proper ventilation not only enhances comfort but also plays a role in the longevity of your helmet padding. Regular padding maintenance is essential for guaranteeing your helmet remains hygienic and effective. Start by removing the padding and checking for wear and tear; replace any damaged sections promptly. Clean the padding with mild soap and water to eliminate sweat and bacteria, promoting better helmet hygiene. Allow it to air dry completely before reinserting it into the helmet. Additionally, inspect the helmet’s interior for debris or moisture that could affect padding integrity. By maintaining your helmet padding regularly, you’ll guarantee a safer and more enjoyable riding experience while prolonging the life of your gear. Stay free and ride responsibly!
Customizing the Look of Your Helmet
Customizing the look of your helmet can not only enhance its aesthetic appeal but also reflect your personal style and identity. By implementing a custom design, you can make your helmet uniquely yours. Here are some ways to elevate your helmet aesthetics:
- Vinyl Wraps: Apply durable, weather-resistant vinyl for a sleek finish.
- Paint: Use high-quality spray paint or airbrush techniques for intricate designs.
- Decals: Add stickers or decals that resonate with your interests or affiliations.
- Accessories: Incorporate visors, lights, or custom padding in different colors for added flair.
Frequently Asked Questions
Can I Use Old Padding From Another Helmet?
Yes, you can use old padding from another helmet, but make certain the materials are still in good condition. Check for any wear or damage that could compromise safety. Using compatible padding materials can enhance helmet comfort and fit, making your DIY helmet more effective. Just be mindful of the thickness and density, as these factors greatly impact how well the helmet protects and feels during use. Always prioritize safety and comfort.
How Often Should I Replace Helmet Padding?
You should replace helmet padding every 1 to 3 years, depending on wear and tear. Imagine the soft cushioning, once plush, now compressed and less effective during a fall. Regular helmet maintenance is essential for safety, ensuring padding lifespan isn’t compromised. If you notice any fraying or loss of shape, it’s time for a change. Keeping your helmet in top condition not only protects you but also enhances your freedom on the road.
Will Adding Padding Affect Helmet Safety Ratings?
Adding padding can affect a helmet’s safety ratings if the materials used don’t meet established safety standards. You need to guarantee that any padding materials comply with the same performance criteria as the original design. If the padding alters the fit or impact absorption, it might compromise safety. As a result, it’s essential to choose high-quality padding that maintains the integrity of the helmet’s protective features while enhancing comfort.
Can I Wash the Padding Materials?
Yes, you can wash the padding materials, but be cautious. Imagine fresh, clean padding contrasting with a sweaty, odorous helmet. Use gentle washing methods, like hand-washing in cold water with mild detergent. Avoid harsh chemicals that could degrade the materials. Air dry them completely before reattaching, ensuring they maintain their shape and cushioning properties. This way, you’ll keep your helmet comfortable and ready for your next adventure, without sacrificing performance or safety.
What if My Head Shape Is Unusual?
If your head shape is unusual, you’ll need to explore custom padding options. Consider materials like foam that can be easily molded or cut to fit your specific contours. It’s essential to take accurate measurements and make head shape considerations a priority for comfort and safety. You might also look into adjustable padding systems, allowing you to tweak the fit as needed for a more personalized experience while wearing your helmet.
References
- https://en.wikipedia.org/wiki/Helmet
- https://www.cdc.gov/niosh/topics/helmets/
- https://www.safecar.gov/parents/helmet-safety
- https://www.nhtsa.gov/equipment/helmets
- https://www.healthychildren.org/English/safety-prevention/on-the-go/Pages/Helmets.aspx
- https://www.aap.org/en-us/Documents/helmetfact_sheet.pdf