How to Repair Minor Damage on Water Sports Helmets
To repair minor damage on water sports helmets, start by inspecting for scratches, cracks, or frayed straps. Clean the helmet with warm, soapy water, avoiding harsh chemicals. Use sandpaper to smooth out scratches and fill dents with epoxy. Replace any damaged straps or buckles for safety. Touch up paint with a matching color and allow it to dry fully. Ensuring proper ventilation during repair and drying is essential for longevity; there’s more to learn about maintaining your helmet effectively.
Understanding the Importance of Helmet Maintenance

While you might think of your water sports helmet as just another piece of gear, proper maintenance is vital to guarantee its effectiveness and longevity. Regularly checking your helmet can greatly impact its lifespan and your safety. Helmets are designed to meet specific safety standards, but neglecting maintenance can compromise their protective capabilities. Verify you clean your helmet after each use, inspecting for any signs of wear or damage. Pay attention to the straps and padding, as these components are essential for a secure fit. By prioritizing maintenance, you not only extend your helmet’s lifespan but also enhance your safety while enjoying your favorite water sports. Don’t underestimate the importance of safeguarding your gear; it’s your freedom on the water that’s at stake.
Identifying Common Types of Damage
When inspecting your water sports helmet, you’ll want to look for common types of damage that can compromise its integrity. Scratches and scuffs on the outer shell can indicate wear, while cracks and dents may signal deeper structural issues. Additionally, check the straps and buckles for any signs of fraying or malfunction, as these components are essential for securing the helmet during use.
Scratches and Scuffs
Scratches and scuffs are common forms of damage that can occur on water sports helmets, often resulting from impacts with equipment or surfaces during use. Identifying these imperfections early is essential for maintaining your helmet’s integrity and appearance. For effective scratch removal, you can use fine-grit sandpaper or a specialized repair kit designed for your helmet’s material. Always follow up with a polish to restore its shine. To prevent scuffs, consider applying a protective layer, like a clear film or wax, which can absorb minor impacts. Regular inspections after each use can help you address these issues promptly, ensuring your helmet remains safe and visually appealing for your next adventure on the water.
Cracks and Dents
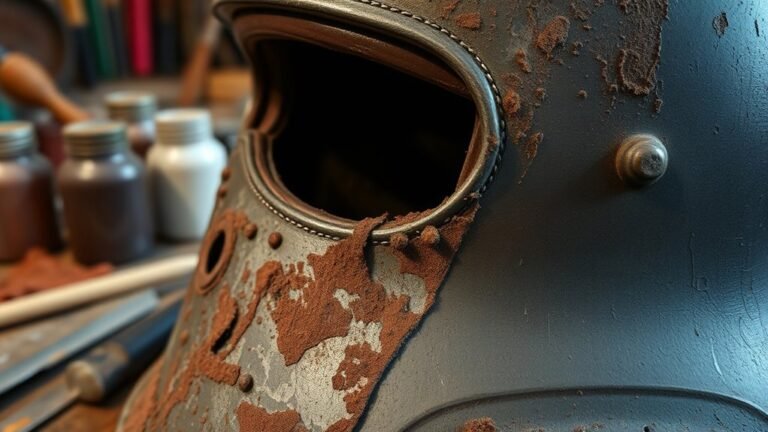
Cracks and dents can greatly compromise the safety and functionality of your water sports helmet, making it essential to identify these issues early. Start with a thorough crack assessment; inspect your helmet for visible fractures, particularly around impact zones. Even small cracks can weaken structural integrity and pose a risk during high-speed activities. For dents, assess their depth and location. Surface-level dents may not affect performance, but deeper ones can signal underlying damage. If you encounter a dent, consider dent removal techniques, such as using heat or specialized tools to reshape the material. Always prioritize safety: if you’re unsure about the extent of the damage, consult a professional to guarantee your helmet remains reliable and ready for adventure.
Strap and Buckle Issues
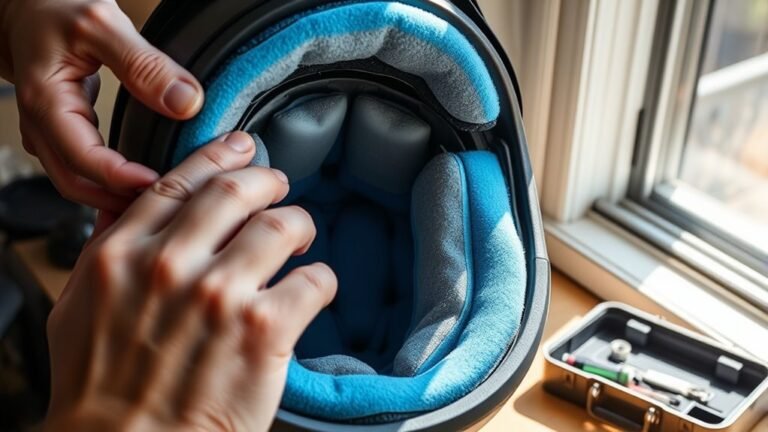
While the helmet’s outer shell might appear intact, strap and buckle issues can greatly undermine safety and fit. Common damage includes frayed straps, which can compromise the helmet’s secure fit, and malfunctioning buckles that might not hold properly during water activities. To address strap damage, consider strap replacement techniques such as sewing a new strap or using replacement kits designed specifically for your helmet model. For buckles, buckle adjustment methods can help guarantee a snug fit; check for misalignment or wear, and adjust or replace as needed. Regular inspections of these components are essential, as a reliable helmet enhances your freedom on the water while keeping you safe. Don’t overlook these significant aspects of your gear!
Inspecting Your Helmet for Damage

Before hitting the water, it’s essential to thoroughly inspect your helmet for any signs of damage that could compromise its effectiveness. Start by checking for cracks, dents, or any deformation in the outer shell, as these can affect helmet safety during impact. Use the following inspection techniques to confirm your helmet is ready for action:
| Area to Inspect | What to Look For | Action If Damaged |
|---|---|---|
| Outer Shell | Cracks or Dents | Replace Helmet |
| Foam Liner | Compression or Tears | Replace Foam or Helmet |
| Straps & Buckles | Fraying or Weakness | Replace Straps/Buckles |
Cleaning Your Helmet Before Repairs
To guarantee a successful repair, you should always start by thoroughly cleaning your helmet. Begin with basic helmet cleaning techniques, like using a soft cloth and warm, soapy water to remove dirt and grime. Avoid harsh chemicals, as they can damage the helmet’s material. For stubborn stains, consider specialized cleaning products designed for helmets. Rinse with fresh water and dry it completely to prevent moisture buildup, which can lead to mold. Pay special attention to crevices and vents, where debris often hides. After cleaning, inspect for any additional damage that may require repair. A clean helmet not only enhances the effectiveness of repairs but also guarantees your safety and comfort while enjoying your water sports adventures.
Repairing Scratches With Sandpaper
Scratches on your water sports helmet can compromise both its appearance and functionality, but you can effectively repair them with sandpaper. Follow these steps for scratch removal using the appropriate sandpaper grades:
- Select the Right Sandpaper: Start with a coarse sandpaper (around 120 grit) for deeper scratches and gradually work up to finer grades (up to 400 grit) for a smooth finish.
- Sand the Area: Gently sand the scratched area in a circular motion, applying light pressure. This helps blend the scratch with the surrounding surface.
- Clean and Polish: Wipe away any dust and use a fine grit sandpaper to polish the area, restoring your helmet’s sleek look.
With patience and the right tools, you can keep your helmet looking great and ready for your next adventure!
Filling Dents and Dings With Epoxy
Dents and dings on your water sports helmet can affect its structural integrity and safety, but filling them with epoxy is a straightforward solution. Start by verifying proper surface preparation; clean the area and sand it lightly for better adhesion. Then, mix the epoxy according to the manufacturer’s instructions. Apply it carefully into the dent, verifying it fills the space completely.
| Step | Action | Notes |
|---|---|---|
| Surface Prep | Clean and sand | Verifies strong adhesion |
| Epoxy Mixing | Follow instructions | Get the right consistency |
| Application | Fill dent completely | Smooth it out as needed |
| Curing | Allow to set as advised | Time varies by product |
| Finishing | Sand for smoothness | Blend with helmet surface |
This process helps maintain your helmet’s integrity, keeping you safe on the water.
Replacing Damaged Straps and Buckles
After addressing any dents and dings with epoxy, it’s important to make sure that the helmet’s straps and buckles are also in good condition. Damaged straps and buckles can compromise your safety, so it’s essential to replace them. Here’s how to do it:
- Identify Strap Materials: Check if your straps are made of nylon, polyester, or other durable materials. Choose replacements that offer similar strength and flexibility.
- Select Buckle Types: Determine if your helmet uses a side-release, cam-lock, or magnetic buckle. Match the replacement with the original for ideal fit.
- Installation: Carefully remove the old straps and buckles, then attach the new ones securely, ensuring they’re adjustable for a snug fit.
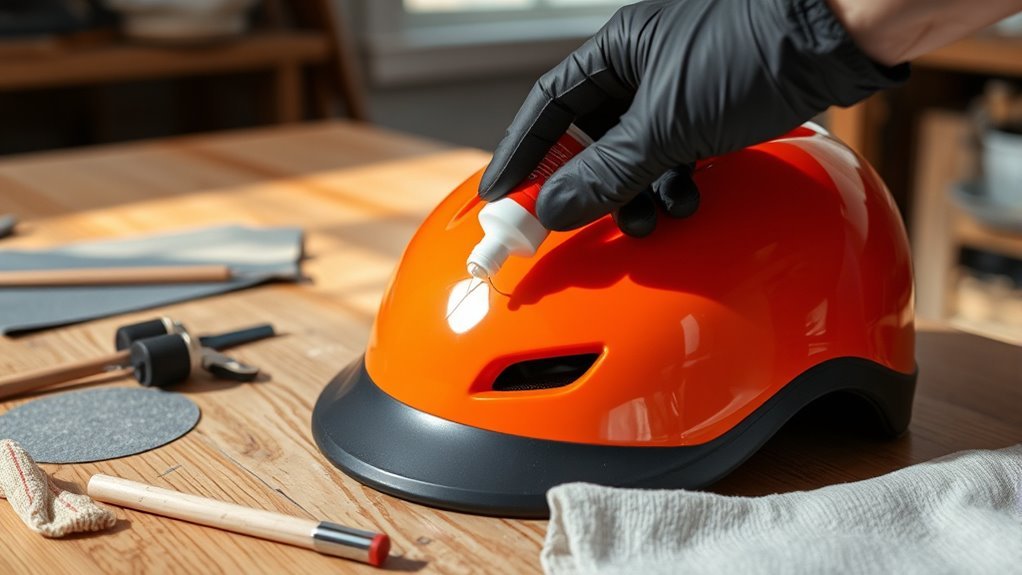
Touching Up Paint and Finishes
A few minor blemishes on your water sports helmet can detract from its appearance and potentially affect its protective qualities. To restore your helmet’s finish, you’ll want to employ effective touch up techniques. First, identify the paint type used on your helmet—most are either polyurethane or acrylic. Use a fine-grit sandpaper to smooth out rough spots and clean the area thoroughly. Next, apply a matching paint carefully, using a small brush for precision. Allow it to dry completely before applying a clear coat if needed. This not only enhances the finish but also adds an extra layer of protection. Regular maintenance keeps your helmet looking sharp and functioning efficiently, ensuring you enjoy your water adventures with peace of mind.
Ensuring Proper Ventilation After Repairs
After making repairs to your water sports helmet, ensuring proper airflow is vital for effective drying. Lack of ventilation can trap moisture, leading to potential mold or deterioration of materials. To facilitate this process, position the helmet in a well-ventilated area and consider using a fan to enhance air circulation.
Importance of Airflow
While ensuring proper ventilation might seem secondary to the immediate repairs of a water sports helmet, it plays an essential role in maintaining the helmet’s integrity and functionality. Understanding airflow dynamics can greatly enhance your helmet’s performance. Here are three key ventilation benefits you should consider:
- Moisture Control: Proper airflow helps to dissipate sweat and moisture, preventing mold and odors.
- Temperature Regulation: Adequate ventilation keeps your head cool during intense activities, improving focus and comfort.
- Structural Integrity: Allowing air circulation aids in curing any adhesives or materials used in repairs, ensuring they bond effectively.
Drying Process Tips
Assuring proper ventilation is just as important during the drying process of your helmet repairs as it is for moisture control and temperature regulation. Use effective drying techniques to promote airflow. Position your helmet in a well-ventilated area, preferably outdoors, to facilitate moisture removal. Avoid direct sunlight, as excessive heat can warp materials. If indoors, consider using a fan or dehumidifier to enhance air circulation. Ascertain that all repair materials, such as adhesives or sealants, are fully cured before exposure to moisture. Periodically check the helmet for any lingering dampness, and if necessary, adjust your drying setup to improve airflow. Proper ventilation is key to maintaining your helmet’s integrity and performance for your next water adventure.
Regular Maintenance Tips for Longevity
To keep your water sports helmet in top condition, it’s essential to implement a regular maintenance routine. Following a structured maintenance schedule can greatly extend the life of your gear. Here are three crucial tips:
- Clean Regularly: Rinse your helmet with fresh water after each use to remove salt, sand, or debris. Use mild soap for deeper cleans.
- Inspect for Damage: Regularly check for cracks or wear in the outer shell and straps. Address any issues promptly to maintain safety.
- Proper Helmet Storage: Store your helmet in a cool, dry place away from direct sunlight. Avoid leaving it in damp or hot environments, as this can degrade materials.
Frequently Asked Questions
How Often Should I Inspect My Helmet for Damage?
You should inspect your helmet for damage before and after each use, especially if you’ve had a hard fall or impact. Regular helmet maintenance tips suggest checking for cracks, dents, or any wear and tear that could compromise safety. If you notice any issues, it’s essential to address them immediately. By maintaining this inspection frequency, you’ll guarantee your helmet remains reliable, giving you the freedom to enjoy your water sports confidently.
Can I Use Regular Paint for Touch-Ups?
You shouldn’t use regular paint for touch-ups on your helmet. Picture a knight’s armor, shining and resilient; it needs specialized care. For helmet maintenance, opt for paint types specifically designed for plastics or helmets. These paints bond better and maintain the structural integrity of your helmet, ensuring it protects you as you glide through waves. Using the wrong paint could compromise safety, so always choose wisely to keep your adventures worry-free.
What Type of Epoxy Is Best for Repairs?
For repairs, you’ll want to use a marine-grade epoxy, specifically designed for water exposure and impact resistance. Epoxy types like two-part epoxy or urethane-based options work best for helmet repairs. They offer strong adhesion and durability. When applying, make certain you clean the surface thoroughly and use proper repair techniques, like mixing the epoxy according to instructions and allowing ample curing time. This’ll help maintain the helmet’s integrity and keep you safe on the water.
Are There Specific Tools Required for Repairs?
When you’re diving into helmet maintenance, think of it like sculpting a masterpiece from a block of stone. You’ll need a few essential tools for those repair techniques: a fine-grit sandpaper for smoothing surfaces, a mixing stick for your epoxy, and a small brush for application. Don’t forget a utility knife for trimming any rough edges. With these tools in hand, you can restore your helmet, ensuring your adventures remain as thrilling as ever.
How Do I Know When to Replace My Helmet?
You know it’s time to replace your helmet when you see visible cracks, dents, or any significant damage. Helmets typically have a lifespan of about 3 to 5 years, depending on usage and exposure to elements. If you’ve been in an impact, even if there’s no visible damage, it’s wise to replace it—safety first! Regularly inspect for wear and tear, and trust your instincts; if it feels compromised, it probably is.
References
- https://www.wikiHow.com/Repair-a-Helmet
- https://www.consumerreports.org/cro/helmet-safety/index.htm
- https://www.uscgboating.org/library/boat%20safety/Boating_Safety_Education_Resources.pdf
- https://www.nsc.org/home-safety/tools-resources/seasonal-safety/water-safety
- https://www.paddling.com/learn/repairing-your-helmet/
- https://www.safesport.org/resources/helmets-and-safety-gear
- https://www.cpsc.gov/safety-education/safety-guides/helmets
- https://www.nhtsa.gov/road-safety/helmet-safety
- https://www.redcross.org/get-help/how-to-prepare-for-emergencies/types-of-emergencies/water-safety.html