How to Clean Your Urban Helmet Efficiently
To clean your urban helmet efficiently, gather cleaning supplies like a soft cloth, sponge, and eco-friendly solutions. Start by removing accessories and inspecting the helmet for damage. Clean the outer shell with a damp cloth and mild soap for stubborn stains. Wash the interior padding with a soft sponge and allow it to air dry. Use deodorizing sprays or natural remedies to eliminate odors. Regular maintenance and inspections are essential for safety. Continue to explore best practices for helmet care.
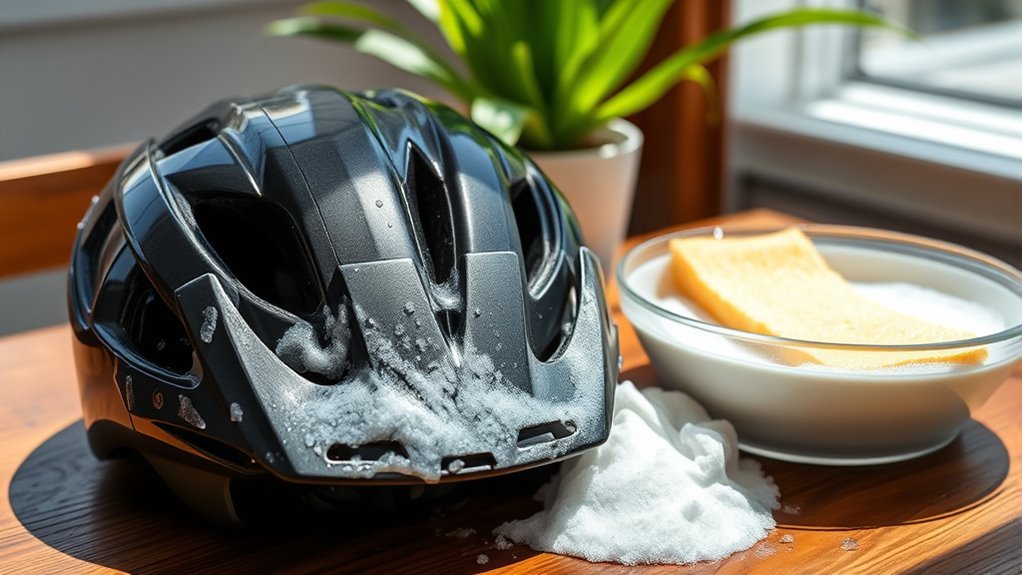
Gather Your Cleaning Supplies
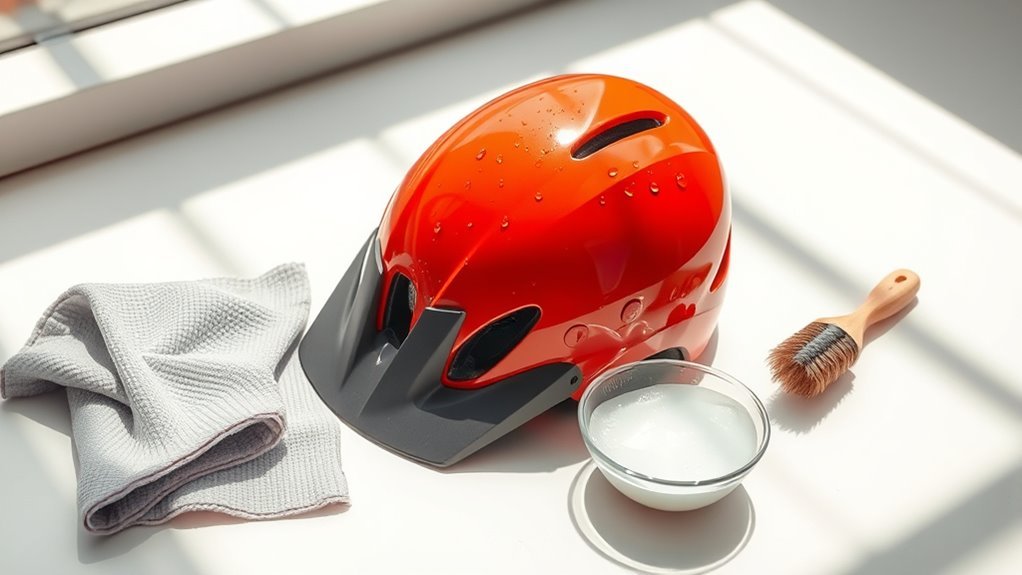
Before you start cleaning your urban helmet, it’s essential to gather the right supplies to guarantee an effective process. You’ll need a few cleaning tools: a soft cloth, a sponge, and a gentle brush. Opt for eco-friendly solutions, like a mixture of vinegar and water or biodegradable soap, to make certain you’re not harming the environment while you clean. These alternatives are effective at removing dirt and grime without harsh chemicals. Having a bucket or spray bottle handy will make the application easier. Make sure to keep your supplies organized for a smooth cleaning experience. This preparation sets the stage for maintaining your helmet’s integrity, ensuring it remains a reliable companion on your adventures.
Remove Any Accessories
Before cleaning your urban helmet, it’s important to remove any accessories. Start by detaching visors and stickers, then carefully take off the padding and liners. Finally, make sure you remove the straps without causing any damage to the helmet.
Detach Visors and Stickers
To effectively clean your urban helmet, start by detaching any visors and stickers, as these can obstruct thorough cleaning. Different visor types may require specific removal techniques. For instance, some visors have quick-release mechanisms, while others may need tools like a screwdriver. Carefully follow the manufacturer’s instructions to avoid damaging your helmet.
Once you’ve removed the visor, proceed with sticker removal. Use a plastic scraper or your fingernail to gently lift the edges of the stickers. If adhesive remains, a small amount of rubbing alcohol on a cloth can help dissolve it without harming the helmet’s surface. By detaching these accessories, you guarantee a deep clean, allowing you to maintain your helmet’s integrity and enhance your riding experience.
Remove Padding and Liners
Removing the padding and liners from your urban helmet is crucial for a thorough cleaning. Different padding types can harbor sweat and bacteria, affecting your helmet’s lifespan and hygiene. Most liners are made from materials like foam or fabric, designed for comfort and protection.
| Padding Types | Helmet Materials |
|---|---|
| Foam | Polycarbonate |
| Mesh | ABS Plastic |
| EPP (Expanded Polypropylene) | Fiberglass |
| Neoprene | Carbon Fiber |
Once you’ve identified and removed the padding, inspect it for damage. Cleaning these components can prolong your helmet’s usability and improve your riding experience. After washing, verify everything is completely dry before reassembling, maintaining your freedom on the road.
Take Off Straps Carefully
While it’s important to keep your helmet clean, taking off the straps carefully guarantees you won’t damage any components. Before you begin, make sure that you perform a quick safety inspection. Look for any wear or tears in the straps that might compromise their integrity. When removing the straps, pay close attention to the strap adjustment system; it’s essential for your helmet’s fit and safety. Use gentle pressure to detach each strap without tugging or pulling too hard. If you have any accessories like a visor or camera mount, remove those before the straps to avoid damage. Once everything’s off, you’ll be ready for a thorough cleaning, making certain your helmet remains in top condition for your next ride.
Inspect Your Helmet
Begin by thoroughly inspecting your helmet for any signs of damage or wear. Check for cracks, dents, or any deformation in the helmet materials, as even minor imperfections can compromise safety. Use inspection techniques like the “squeeze test,” where you gently press areas of the helmet to detect any weakness. Pay attention to the inner foam; it should be intact and free from compression. Examine the retention system, guaranteeing that it functions correctly and securely. Look for fraying or damage in the straps. If you notice any issues, it might be time to replace your helmet. Keeping your helmet in prime condition not only enhances your freedom on the road but also assures your safety during every ride.
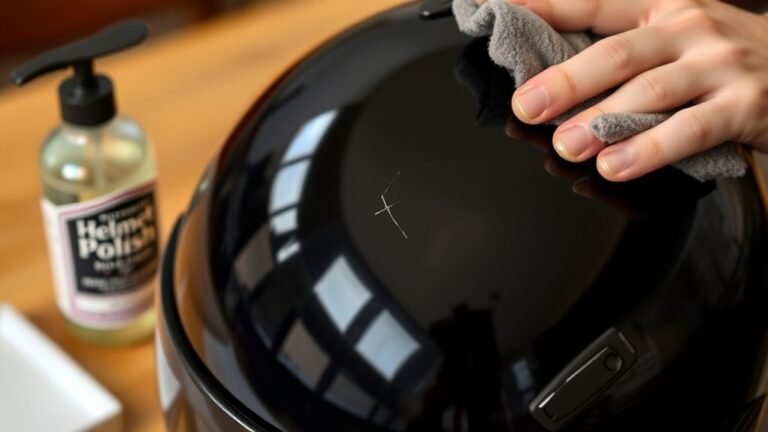
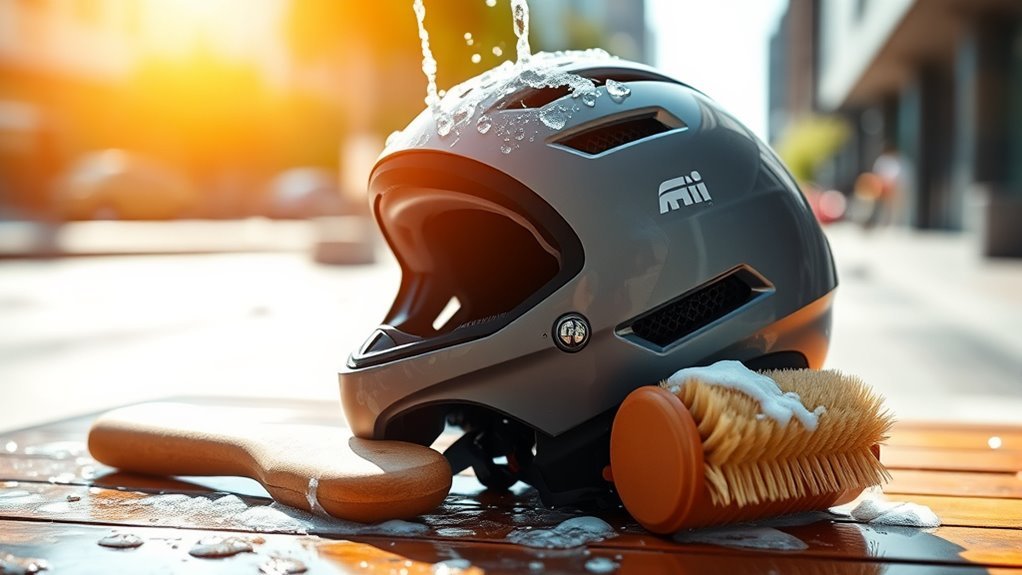
Clean the Outer Shell
Once you’ve confirmed your helmet is free from damage, it’s time to clean the outer shell. The outer shell materials, such as polycarbonate or fiberglass, require specific care to maintain their integrity. Here are some effective cleaning techniques:
- Use a soft, damp cloth to wipe away dirt and grime.
- Avoid harsh chemicals that could compromise shell materials.
- For stubborn stains, mix mild soap with water and gently scrub.
- Rinse thoroughly and dry with a clean cloth to prevent water spots.
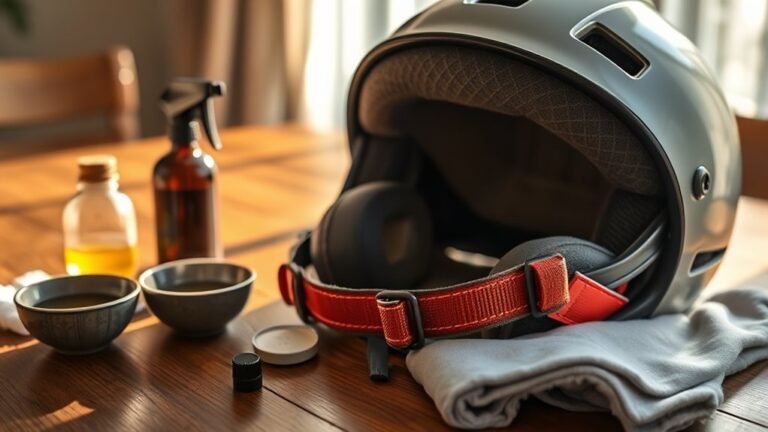
Wash the Interior Padding
To clean the interior padding of your urban helmet, start by gathering the necessary cleaning supplies such as mild soap and a soft brush. Carefully remove the padding to avoid damaging it, ensuring you remember how to reattach it later. After washing, make sure to air dry the padding thoroughly to prevent mold and odors.
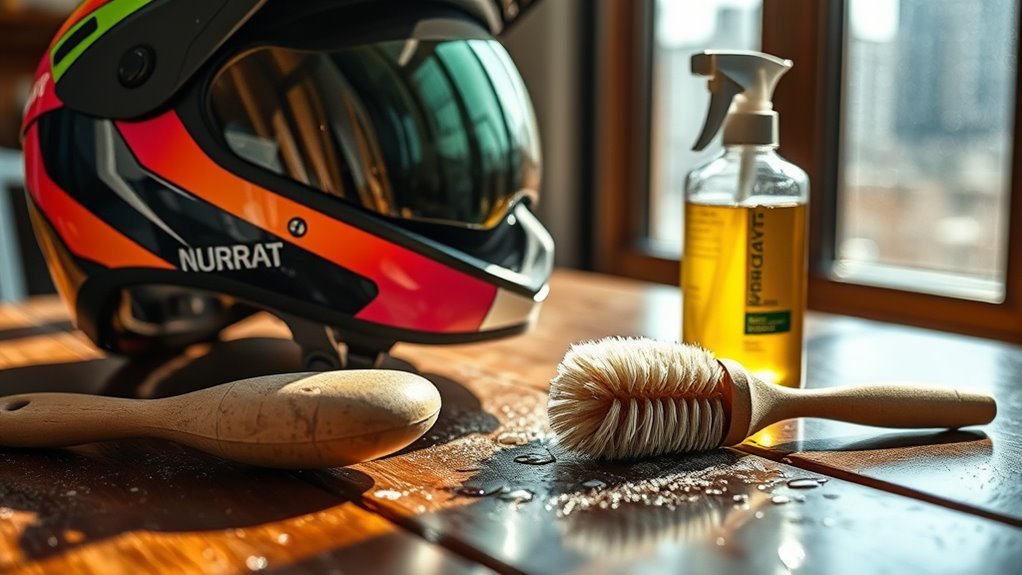
Gather Cleaning Supplies
Gathering the right cleaning supplies is essential for effectively washing the interior padding of your urban helmet. Having the proper tools guarantees that you can use appropriate cleaning methods while preserving the integrity of your helmet. Here’s a list of essential tools to gather:
- Mild detergent (preferably biodegradable)
- Soft sponge or cloth
- Small brush (like a toothbrush) for crevices
- Warm water
With these items, you’ll be well-equipped to tackle any grime or odor issues. Make sure you avoid harsh chemicals that could damage the padding or helmet materials. A clean helmet not only enhances comfort but also contributes to your overall riding experience, giving you the freedom to explore urban landscapes without distraction.
Remove Padding Carefully
Carefully removing the padding from your urban helmet is essential for effective cleaning and maintenance. Start by checking the padding materials, as different types may require distinct care methods. It’s vital to preserve padding durability during the washing process. Follow these steps to guarantee a thorough clean:
| Step | Action | Notes |
|---|---|---|
| 1 | Unfasten the straps | Make sure no damage to attachments |
| 2 | Gently pull out padding | Avoid excessive force |
| 3 | Inspect for wear | Check for frays or tears |
| 4 | Clean with mild detergent | Use soft cloth for scrubbing |
| 5 | Rinse thoroughly | Remove all soap residue |
Air Dry Thoroughly
Once you’ve cleaned the interior padding of your urban helmet, it’s important to air dry it thoroughly to prevent mold and odors. Proper air flow is vital in this process, as it helps reduce moisture retention, promoting a fresh helmet for your rides. Here are some effective tips to guarantee ideal drying:
- Remove excess water by gently squeezing the padding.
- Place the padding in a well-ventilated area to enhance air circulation.
- Avoid direct sunlight, which can damage materials and alter shapes.
- Flip the padding occasionally to guarantee even drying on all sides.
Drying Your Helmet Properly
Although drying your helmet might seem straightforward, it is crucial to do it properly to maintain its structural integrity and prolong its lifespan. Start with effective drying techniques, like placing your helmet in a well-ventilated area, away from direct sunlight, which can warp its materials. Use a soft cloth to absorb excess moisture, focusing on the padding and straps. For best moisture prevention, consider using a fan to circulate air around the helmet, helping it dry evenly. Avoid using heat sources, as they can damage the helmet’s components. By ensuring your helmet dries thoroughly, you’re not just keeping it in good condition; you’re also enhancing your riding experience, allowing for the freedom you crave on your urban adventures.
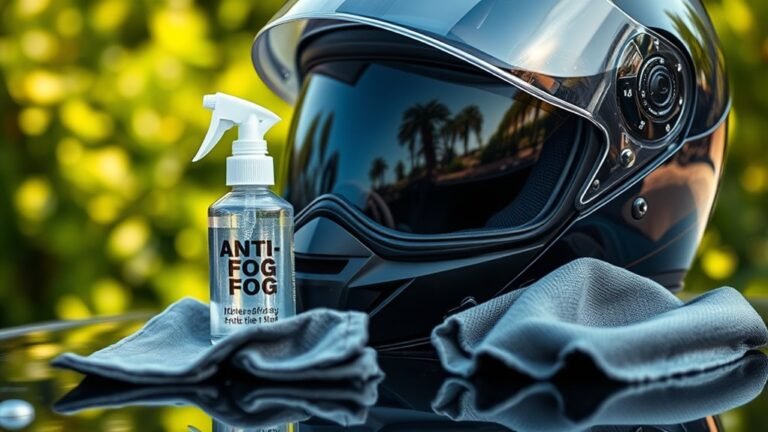
Deodorizing Tips
When it comes to keeping your helmet fresh, effective deodorizing is essential for maintaining comfort during your rides. To keep odors at bay, consider these methods:
- Deodorizing sprays: Choose a spray designed for helmets, ensuring it’s safe for the materials.
- Natural remedies: Use a mixture of water and vinegar or baking soda to neutralize smells without harsh chemicals.
- Essential oils: A few drops of oils like tea tree or lavender can provide a pleasant scent and have antimicrobial properties.
- Frequent airing: Let your helmet breathe after each ride; it helps reduce moisture and odor buildup.
Regular Maintenance Practices
Regular maintenance practices are vital for extending the lifespan of your urban helmet and guaranteeing ideal safety. Start with routine inspections; examine your helmet for cracks, dents, or any signs of wear. Pay close attention to the straps and buckles, as these components are critical for secure fitment. Cleaning your helmet regularly prevents the buildup of grime that could degrade materials over time. Use mild soap and water, avoiding harsh chemicals that may compromise integrity. After cleaning, inspect padding for any deterioration, replacing it if needed to maintain comfort and safety. By committing to these practices, you not only enhance helmet longevity but also guarantee your ride remains as free and exhilarating as you desire.
When to Replace Your Helmet
Maintaining your urban helmet is key to ensuring safety, but knowing when to replace it is equally important. A helmet’s lifespan typically ranges from three to five years, depending on usage and environmental factors. Here are some signs it’s time for a replacement:
Regular helmet maintenance is crucial for safety, and knowing when to replace it is essential for your protection.
- Visible cracks or dents in the outer shell
- Significant wear or damage to the internal foam
- The helmet’s padding is degrading or uncomfortable
- You’ve been in a crash, even if there’s no visible damage
Prioritizing helmet safety means recognizing these indicators. Don’t wait for your helmet to become ineffective; replacing it timely can save your life. Remember, the freedom of riding comes with the responsibility of ensuring your gear is always up to par.
Frequently Asked Questions
Can I Use Dish Soap to Clean My Helmet?
Think of your helmet as a trusty steed, needing care to keep you safe on the road. You can use dish soap to clean it, but make sure it’s compatible with your helmet’s material. Dish soap’s effectiveness shines, especially for dirt and grime, but avoid harsh chemicals that can damage the outer shell or lining. Always rinse thoroughly and dry it well. Treat your helmet right, and it’ll keep you riding free and safe!
How Often Should I Clean My Helmet?
You should clean your helmet at least once a month as part of your maintenance tips. However, if you ride frequently or in dirty conditions, you might want to adjust your cleaning schedule to every two weeks. Regular cleaning not only keeps your helmet looking good but also helps maintain its integrity. Remember, a clean helmet contributes to your safety, so don’t skip this important aspect of your riding routine!
Is It Safe to Use Bleach on My Helmet?
It’s not safe to use bleach on your helmet, as it can damage helmet materials like foam and plastic. Coincidentally, many people overlook cleaning alternatives that are safer and effective. You can use mild soap and water or specialized helmet cleaners to keep it fresh without risking structural integrity. Always check the manufacturer’s guidelines for specific recommendations, ensuring your helmet remains safe and functional, giving you the freedom to ride worry-free.
Can I Machine Wash the Interior Padding?
You shouldn’t machine wash the interior padding of your helmet. The agitation and heat can damage the materials, compromising safety and comfort. Instead, gently hand wash the padding using mild soap and warm water. Rinse thoroughly and let it air dry. This method guarantees the padding maintains its integrity while keeping it clean, allowing you to enjoy your rides without worrying about the condition of your helmet’s vital components.
How Do I Remove Stubborn Stains From My Helmet?
To tackle stubborn stains on your helmet, think of it as a quest for freedom—a clean slate. Start with gentle stain removal techniques: mix mild soap with warm water and use a soft cloth or sponge. For tougher spots, consider a diluted vinegar solution. Avoid harsh chemicals that could damage your helmet. Rinse thoroughly and let it air dry. Regular maintenance means you’ll be ready for your next adventure, unencumbered by grime.
References
- https://www.nhtsa.gov/equipment/helmets
- https://www.cdc.gov/headsup/basics/helmet.html
- https://www.helmets.org/clean.htm
- https://www.bikeleague.org/content/how-clean-your-bike-helmet
- https://www.aaa.com/AAA/common/AAB/Helmet-Safety.pdf
- https://www.cpsc.gov/safety-education/safety-guides/helmets
- https://www.nationalgeographic.com/science/article/how-to-clean-a-helmet-urban-bicycle-gear-safety