Building a Mandalorian Helmet From Scratch
To build a Mandalorian helmet from scratch, gather essential materials like EVA foam or ABS plastic and tools such as a craft knife and heat gun. Start by sketching your design to reflect your style and create a template. Cut and shape the materials carefully, adding details and unique features to enhance authenticity. Finish with paint and sealant for durability. Want to achieve that perfect fit and look? There’s much more you can explore on your crafting journey!
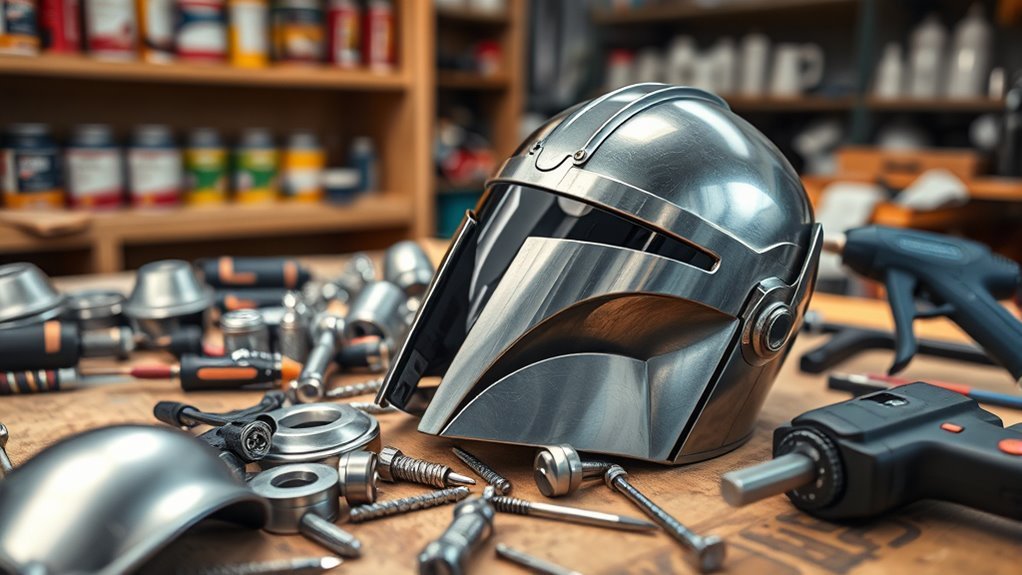
Gathering Materials and Tools
Before diving into the exciting world of crafting your own Mandalorian helmet, you’ll need to gather some essential materials and tools. First, consider your material types. Foam, fiberglass, or even 3D-printed components can give you the desired look and durability. Each option has its own charm, so choose what resonates with your creative spirit. Next, equip yourself with tool essentials: a heat gun for shaping, a craft knife for precision cuts, and sandpaper for smoothing edges. Don’t forget adhesive and paint to bring your masterpiece to life! With these materials and tools in hand, you’re ready to embrace your inner Mandalorian and start crafting a helmet that embodies your personal style and freedom. Let the adventure begin!
Designing Your Helmet
As you commence the journey of designing your Mandalorian helmet, let your imagination soar while keeping practicality in mind. Think about helmet aesthetics and how they reflect your unique personality. Explore various design inspirations, from classic Star Wars elements to more avant-garde styles. Sketch out ideas that evoke a sense of freedom and adventure, ensuring the shape and features enhance functionality. Consider adding personal touches, like custom color schemes or symbols that resonate with your story. Pay attention to the visor’s shape and placement, as it’s essential for both appearance and visibility. Remember, your helmet is not just a costume piece; it’s a canvas for your creativity, embodying the spirit of the Mandalorian legacy.
Creating a Template
Once you’ve settled on your design, it’s time to transform those ideas into a tangible template that will guide your helmet construction. Start by sketching out your template design on a large piece of paper. Use your favorite drawing tools to make precise outlines, capturing every curve and angle. Don’t hesitate to create multiple versions; paper patterns can help you visualize different styles and make adjustments easily. Once you’re satisfied, cut out your patterns, ensuring they’re accurate. This step is essential; a well-crafted template will serve as your roadmap through the entire process. Embrace the freedom to experiment, and let your creativity flow as you refine your helmet’s shape and style. Your template is just the beginning of your Mandalorian adventure!
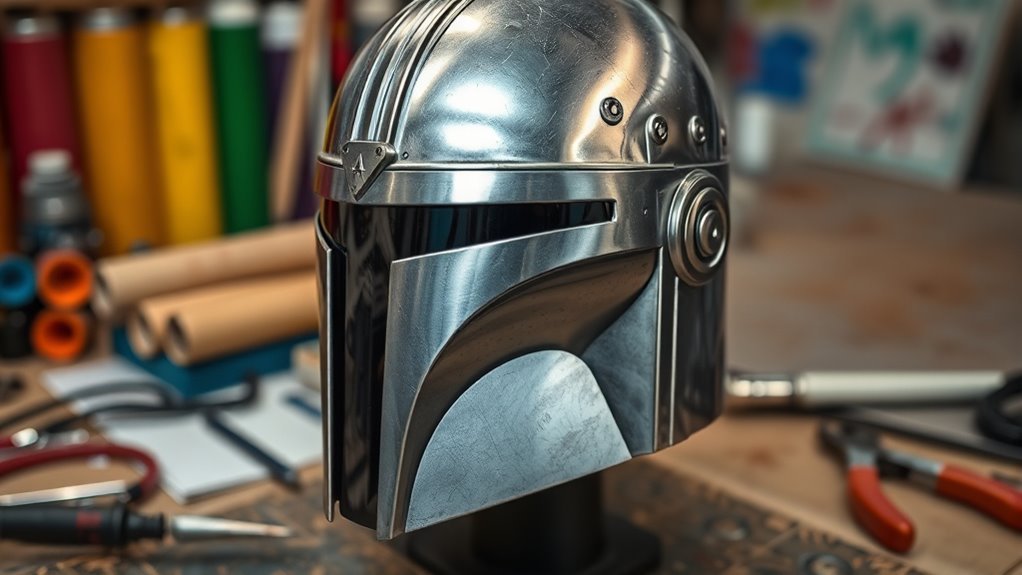
Cutting and Shaping the Base
When it comes to cutting and shaping the base of your Mandalorian helmet, choosing the right materials is essential for achieving that authentic look. You’ll want tools that deliver precision; a steady hand and sharp blades can make all the difference in transforming your template into a solid foundation. With the right prep, you’re ready to carve out your masterpiece!
Selecting Materials Properly
Choosing the right materials for your Mandalorian helmet is essential to achieving an authentic look and sturdy structure. Start by exploring various material types; ABS plastic offers lightweight durability, while fiberglass delivers a more robust feel. Consider using EVA foam for comfort and flexibility, allowing for intricate designs without sacrificing strength. Durability considerations are vital—if you plan to wear your helmet often, opt for materials that can withstand wear and tear. Remember, your choice reflects your personal style and commitment to craftsmanship. Don’t shy away from experimenting! Mixing materials can yield unique textures and finishes, making your helmet truly one-of-a-kind. Embrace the freedom of creation—you’re not just building a helmet; you’re crafting a piece of art that embodies your passion.
Tools for Precise Cutting
A precise cut is the foundation of your Mandalorian helmet, setting the stage for all the intricate details to follow. To achieve that, you’ll need the right precision tools. Start with a rotary cutter for clean, curved lines, and pair it with a metal ruler for straight edges. A jigsaw is perfect for larger shapes, while a craft knife can tackle finer details. Experiment with various cutting techniques—score-and-snap for acrylic or gentle sawing for thicker materials. Don’t forget safety gear; goggles and gloves protect you from slips and sharp edges. With the right tools in hand, you’re not just cutting; you’re crafting your own freedom, paving the way to a helmet that’s uniquely yours.
Adding Details and Features
As you immerse yourself in adding details and features to your Mandalorian helmet, consider how each element can elevate the overall design. Use various detailing techniques, like engraving or adding small sculptural elements, to create a unique look that reflects your personality. Think about feature enhancements too; a distinctive visor or custom ear pieces can transform your helmet from ordinary to extraordinary. Incorporating textures, like weathering or battle scars, adds depth and realism, making your helmet feel like a true artifact of the galaxy. Don’t shy away from experimenting with different materials or colors, as these choices can amplify the essence of your creation. Embrace your freedom to innovate, and let every detail tell a story worthy of a Mandalorian warrior.
Sanding and Smoothing Surfaces
Now that you’ve added those stunning details, it’s time to get your surfaces just right. Choosing the right tools and techniques will transform your helmet from a rough draft into a polished masterpiece. Let’s explore how to achieve even surfaces and make those final touches shine!
Choosing the Right Tools
When it comes to crafting a Mandalorian helmet, selecting the right tools for sanding and smoothing surfaces can make all the difference in achieving that sleek, battle-ready finish. You’ll want to explore various tool types—think electric sanders for the heavy lifting and fine-grit sanding blocks for those delicate touches. Look for tools that feature ergonomic designs; they’ll keep your hands comfortable during long hours of work, allowing you to focus on perfection. Don’t forget to include files and rasps for intricate details. Each tool will help you sculpt your vision into reality, giving your helmet that authentic, polished look. With the right equipment, you’ll feel empowered to release your creativity and bring your Mandalorian dreams to life.
Techniques for Even Surfaces
Achieving that smooth, even surface on your Mandalorian helmet often comes down to mastering a few key techniques. Start with thorough surface preparation—clean off dust, grease, and imperfections to guarantee your sanding techniques are effective. Begin with coarse sandpaper to tackle those rough spots, then gradually shift to finer grits for a silky finish. Use a sanding block for flat areas and flexible sheets for curves, allowing you to follow the helmet’s unique contours. Don’t rush; patience is essential. Keep checking your progress, feeling for any bumps or unevenness. A little extra attention here makes a world of difference. Embrace this process, and soon you’ll be sporting a helmet that’s not just functional but a true work of art.
Final Touches and Inspection
As you near the finish line of your Mandalorian helmet project, the final touches and thorough inspection become essential to achieving that polished look. Grab some fine-grit sandpaper and gently smooth out any rough edges, letting your hands feel the transformation from raw to refined. Focus on those curves and angles—this is where your craftsmanship shines.
Once you’ve sanded every inch, take a step back for a final inspection. Look for any imperfections that might disrupt your helmet’s sleek silhouette. This is your moment of quality assurance; every detail matters in creating something that embodies freedom and adventure. Don’t rush it—this is where your dedication pays off. With a keen eye and steady hand, you’ll be ready to don your creation.
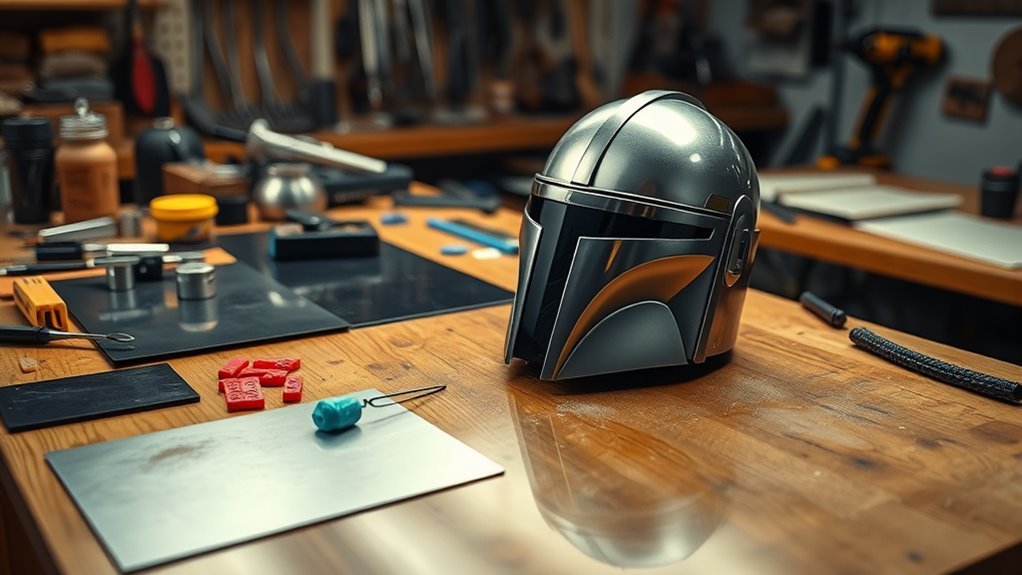
Painting and Finishing Touches
Once you’ve assembled your Mandalorian helmet, the real magic begins with painting and finishing touches that breathe life into your creation. This is where you get to express your individuality and make your helmet truly yours.
Start by experimenting with color mixing to find the perfect shades that resonate with your vision. Then, employ weathering techniques to give your helmet that battle-worn, authentic look, adding depth and character.
Here are a few tips to guide you:
- Use a primer to guarantee the paint adheres well and pops.
- Layer your colors for a dynamic finish, mixing shades for a unique effect.
- Seal your work with a clear coat to protect against wear and tear.
Let your imagination soar!
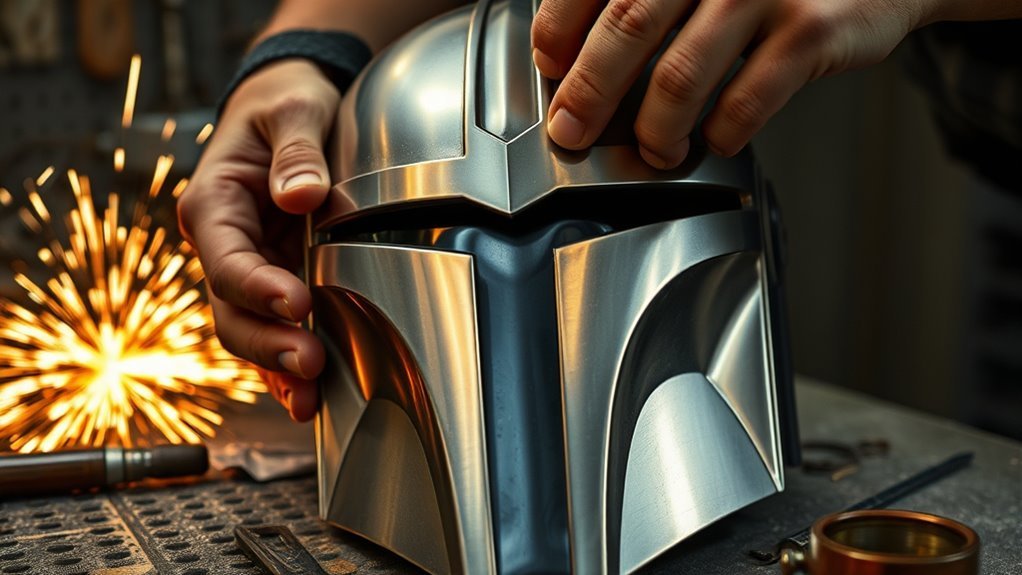
Assembling the Helmet
Before you plunge into assembling your Mandalorian helmet, gather all your materials and tools to guarantee a smooth process. Start by using effective helmet assembly techniques—secure each piece with precision, ensuring they fit like a second skin. Don’t rush; take your time to align the visor and cheek plates, creating a seamless look that screams authenticity.
As you progress, make necessary helmet fitting adjustments. Test the fit frequently, tweaking the padding or straps for ultimate comfort. You want a helmet that not only looks epic but feels right during your adventures. With each piece locked in, you’re one step closer to embodying the spirit of the Mandalorian. Embrace your creativity; this helmet is your canvas.
Tips for Display and Care
Now that your Mandalorian helmet is assembled and fitted, it’s time to think about how you’ll display and care for this impressive piece. Protecting your creation is essential to guarantee it remains a stunning centerpiece in your collection. Here are some tips:
- Choose a quality display case: Opt for a UV-protected display case to shield your helmet from sunlight and dust, keeping it pristine.
- Regular helmet maintenance: Wipe it down with a soft cloth regularly to prevent dust buildup. Avoid harsh chemicals that could damage the finish.
- Position wisely: Place your helmet away from direct sunlight or heat sources to prevent warping or fading.
With these practices, your helmet will not only shine but also stand the test of time, just like a true Mandalorian symbol!
Frequently Asked Questions
Can I Use 3D Printing for My Mandalorian Helmet?
Yes, you can absolutely use 3D printing for your Mandalorian helmet! It offers incredible design possibilities, letting you customize every detail to match your vision. When considering your design, think about factors like size, scale, and material strength. You’ll want to make sure it’s comfortable to wear, too. With the right 3D printing techniques, you’ll create a stunning helmet that reflects your unique style and passion for the Mandalorian universe. Embrace your creativity!
How Long Does It Take to Build the Helmet?
They say, “Good things come to those who wait.” When it comes to helmet construction time, you’re looking at anywhere from a few days to several weeks. The build complexity factors play a huge role; intricate designs or custom features can stretch your timeline. If you keep it simple, you might finish quickly. Embrace your creativity, and enjoy the journey, because each moment spent crafting brings you one step closer to your masterpiece!
Can Beginners Successfully Create This Helmet?
Absolutely, you can create this helmet as a beginner! Start by exploring design techniques that suit your style; sketching your ideas can help. For material selection, consider lightweight options like foam or plastic, which are easier to work with. Don’t hesitate to experiment—innovation thrives in freedom! With patience and practice, you’ll craft something unique. Just remember, every misstep is a step towards mastering your skills. Enjoy the journey of creation!
What Safety Gear Should I Wear While Crafting?
When you’re crafting, it’s essential to wear safety goggles to protect your eyes from flying debris and dust. A dust mask is equally important; it’ll keep harmful particles at bay, letting you breathe freely as you release your creativity. Don’t skimp on these essentials—your safety’s paramount! With the right gear, you can plunge into your project with confidence, knowing you’re shielded from risks while you bring your vision to life.
Are There Online Communities for Mandalorian Helmet Builders?
Absolutely, you’ll find a treasure trove of online communities dedicated to helmet building. These vibrant hubs are where enthusiasts gather to share tips, tricks, and inspiration. Websites like Reddit and dedicated Facebook groups are goldmines of online resources, filled with folks enthusiastic to help you navigate your journey. Whether you’re seeking advice or simply want to admire others’ creations, you’ll feel right at home in these supportive spaces. Immerse yourself and release your creativity!
References
- https://en.wikipedia.org/wiki/Mandalorian_armor
- https://www.nerdist.com/article/how-to-make-a-mandalorian-helmet/
- https://www.instructables.com/Mandalorian-Helmet/
- https://www.thoughtco.com/making-a-mandalorian-helmet-4164364
- https://www.tinkercad.com/learn/project/3d-printing-a-mandalorian-helmet
- https://www.starwars.com/news/how-to-build-your-own-mandalorian-armor
- https://www.cosplaytutorial.com/tutorials/view/3809/building-a-mandalorian-helmet
- https://www.nerdists.com/how-to-make-a-mandalorian-helmet/