Painting Metallic Effects on Helmets
To create striking metallic effects on helmets, start with high-quality metallic paints designed for metal surfaces. Clean and sand the helmet to guarantee a smooth base, then apply a primer for better adhesion. Use layering techniques to add depth with metallic pigments, and blend colors for seamless shifts. Finally, seal your work with a clear coat for protection against scratches and UV damage. There’s more to perfecting your technique that can elevate your results considerably.
Choosing the Right Materials for Metallic Painting
When you decide to paint metallic effects on helmets, selecting the right materials is crucial for achieving a professional finish. Start by choosing high-quality paint types designed for metal surfaces; consider aerosol spray paints for an even application or airbrush paints for precision. Look for paints that contain metallic pigments, as they provide the desired shimmer and depth. These pigments can vary in size and reflectivity, so experimenting with different options can yield unique results. Additionally, verify you have a compatible clear coat to protect your work and enhance the metallic finish. By carefully selecting these materials, you’ll create stunning, eye-catching helmets that truly stand out, reflecting your individuality and creativity.
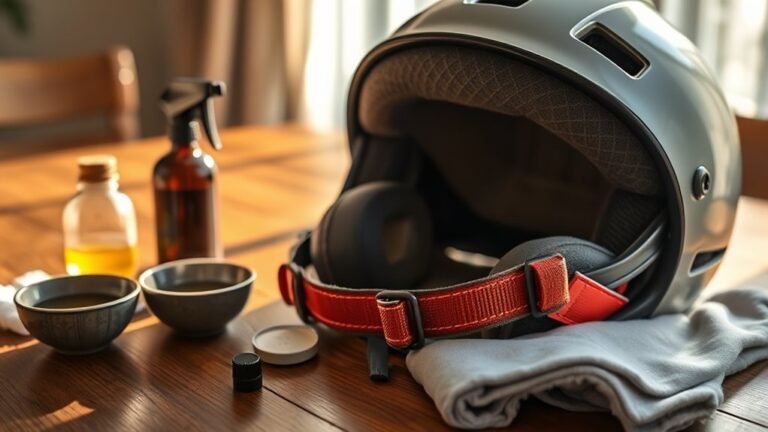
Preparing Your Helmet for Painting
Preparation is key to achieving a flawless metallic finish on your helmet. Start with thorough helmet cleaning to remove dirt and oils. Next, conduct a surface inspection to identify any imperfections that could affect the paint application. Here are essential steps to follow:
- Remove any old paint or decals.
- Sand the surface lightly to create a smooth base.
- Clean the helmet with a degreaser to eliminate residues.
- Allow the helmet to dry completely before proceeding.
Techniques for Achieving a Metallic Finish
To achieve a true metallic finish on your helmet, you’ll need to focus on key techniques. Start with thorough surface preparation to guarantee ideal paint adhesion, then select a high-quality metallic paint that suits your desired effect. Finally, employing layering techniques will add depth and richness to the metallic appearance.
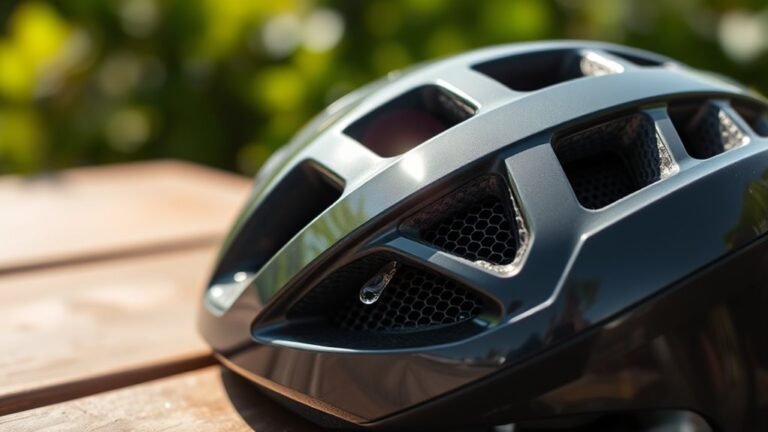
Surface Preparation Essentials
Achieving a stunning metallic finish on helmets hinges on meticulous surface preparation. You need to verify the surface is smooth and clean for ideal results. Here are some essential steps to follow:
- Choose effective cleaning methods: Use a degreaser to eliminate oils and dirt.
- Sanding techniques: Opt for fine-grit sandpaper to create a uniform surface, removing imperfections.
- Inspect for damages: Check for scratches or dents that may require filling.
- Prime the surface: Applying a suitable primer enhances paint adhesion and finish quality.
Taking these steps seriously will set the stage for a successful metallic paint application, allowing your creativity to shine through without any hindrances. Proper preparation is key to achieving that flawless look you desire.
Choosing the Right Paint
Once you’ve guaranteed a smooth and clean surface, selecting the right paint is essential for achieving that striking metallic finish on your helmet. There are various paint types to evaluate, each offering unique effects.
| Paint Type | Finish Type | Suggested Colors |
|---|---|---|
| Acrylic Spray | Glossy | Silver, Gold |
| Enamel Paint | Durable | Copper, Bronze |
| Water-Based Paint | Eco-Friendly | Pearl White, Blue |
| Automotive Paint | High Gloss | Charcoal, Red |
When it comes to color selection, think about how it aligns with your style and the overall look you want. Make sure to test samples to see how they interact with light and the surface.
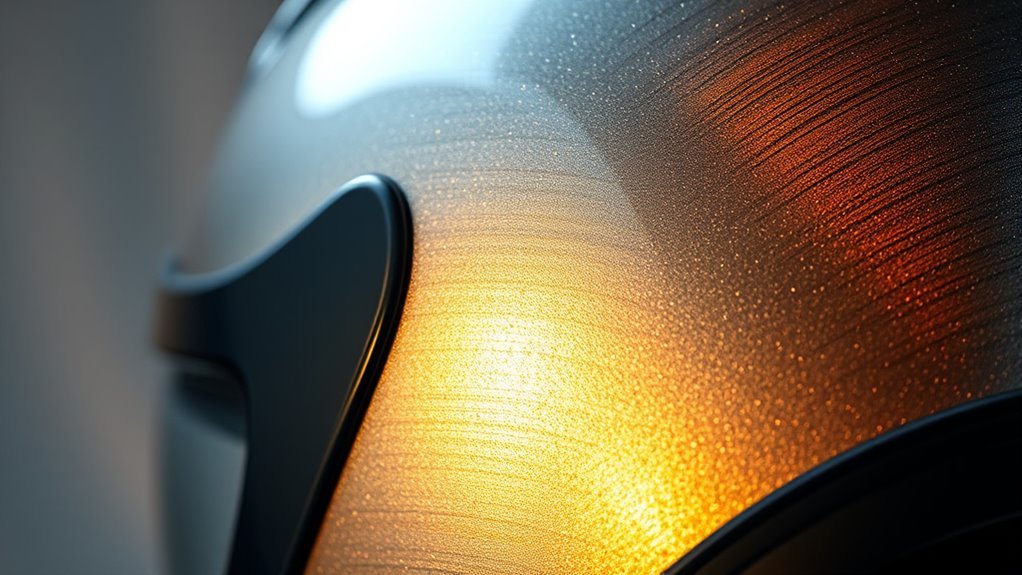
Layering Techniques for Depth
While experimenting with metallic finishes on helmets, layering techniques play an essential role in creating depth and enhancing the overall visual appeal. By employing metallic layering, you can achieve a stunning effect that captivates the eye. Here are some key techniques to contemplate:
- Base Layer: Start with a solid color as your foundation for depth perception.
- Metallic Paint: Apply a metallic paint to add shimmer and richness.
- Clear Coats: Use various clear coats to enhance luminosity and protect the finish.
- Shadowing: Introduce darker shades in crevices to increase dimensionality.
These techniques allow you to manipulate light and shadow, creating a more dynamic and engaging helmet design. Embrace your creativity, and let your helmet shine!
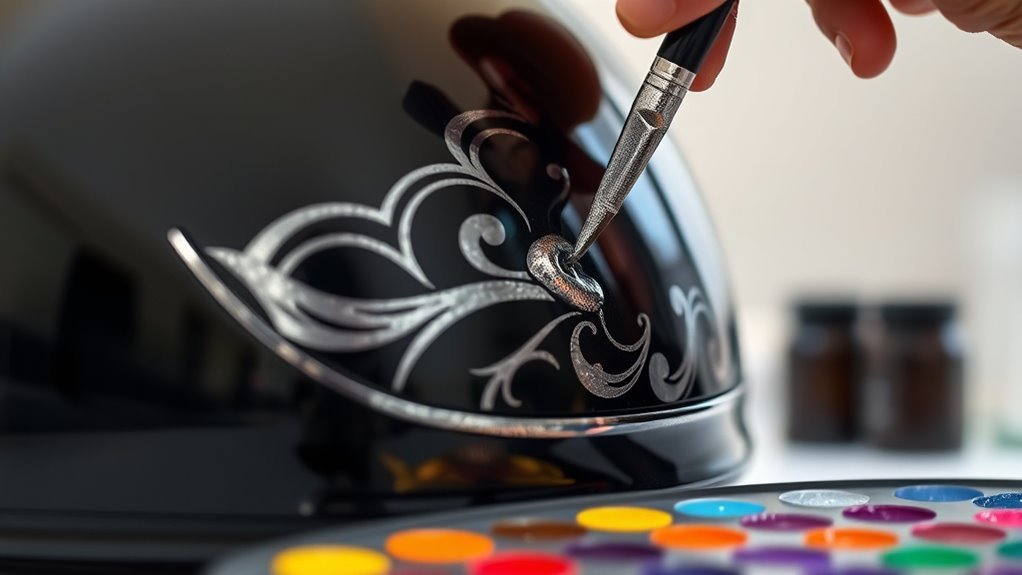
Layering and Blending Colors
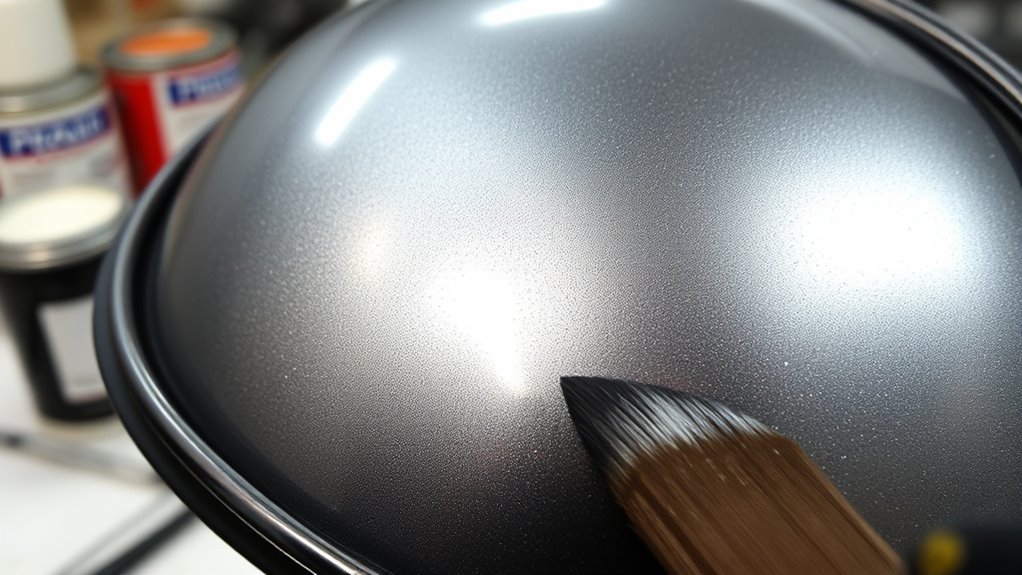
To create striking metallic effects on helmets, you’ll need to master the art of layering and blending colors. Start with a base coat that sets the foundation for your color gradients. Once dry, apply your first layer of metallic paint, using blending techniques to seamlessly shift between hues. This not only enhances depth but also mimics the reflective qualities of metal. Use a soft brush or airbrush for smooth blends, adjusting pressure to control the intensity. Layer additional colors, allowing each to dry before adding the next; this builds dimension. Experiment with varying opacities to achieve desired effects, ensuring you maintain balance between light and dark tones. Remember, patience is key to achieving that stunning metallic finish.
Sealing and Protecting Your Artwork
After achieving the desired metallic effects through layering and blending, it’s important to focus on sealing and protecting your artwork. A quality finish will preserve your hard work and guarantee it lasts. Here’s what you should consider:
- Choose a clear coat that complements your metallic finish.
- Apply a protective sealant to guard against scratches and UV damage.
- Use multiple light coats for even coverage; this helps avoid drips and enhances durability.
- Allow proper drying time between layers to achieve the best results.
Troubleshooting Common Issues
When painting metallic effects on helmets, you might encounter issues related to surface preparation or paint application techniques. Inadequate surface prep can lead to poor adhesion, while improper application can cause unsightly runs or uneven coverage. Let’s address these common problems to guarantee a flawless finish.
Surface Preparation Problems
Surface preparation is essential for achieving a high-quality metallic finish on helmets, and several common problems can compromise this process. Addressing these issues early will save you time and guarantee a flawless result.
- Surface imperfections like scratches or dents can ruin the metallic effect.
- Improper cleaning may leave contaminants that hinder adhesion.
- Inadequate primer application can lead to poor paint performance.
- Environmental factors, such as humidity, can affect drying times and coating quality.
To avoid these pitfalls, thoroughly inspect the helmet’s surface, clean it diligently, and apply primer uniformly. Taking these steps helps you achieve that stunning metallic finish you desire, giving your helmet the freedom to shine in any setting.
Paint Application Techniques
Once you’ve confirmed the surface is properly prepared, the next step is applying the paint, where several common issues may arise. If you’re using spray techniques, verify you’re maintaining a consistent distance from the helmet; too close can cause runs, while too far leads to uneven coverage. If you notice any drips, don’t panic—let them dry, then sand them smooth before applying a touch-up coat. When opting for brush methods, keep your strokes light and even; heavy pressure can leave brush marks or streaks. If the paint isn’t adhering well, check for contaminants on the surface or adjust your application technique. Patience and precision will yield a stunning metallic effect that showcases your creative freedom.
Frequently Asked Questions
Can I Use Spray Paint for Metallic Effects?
Absolutely, you can use spray paint for metallic effects! With the right spray paint techniques, you’ll achieve a stunning metallic finish. Start by prepping your surface for ideal metallic paint application, ensuring it’s clean and smooth. Shake the can well, applying thin coats from a distance to avoid drips. Layering is key—multiple light coats create depth. Experiment and enjoy the freedom of transforming your project into a shimmering masterpiece that catches the light!
How Long Does Metallic Paint Take to Dry?
Metallic paint typically takes about 30 minutes to an hour to dry to the touch, but full curing can take up to 24 hours. The drying time can vary based on factors like humidity and temperature. If you’re applying multiple paint layers, allow each layer to dry completely before adding the next. This guarantees a smooth finish and prevents issues like peeling or bubbling. Always check the manufacturer’s instructions for specific drying times.
Are There Specific Brands Recommended for Metallic Finishes?
When you’re seeking that gleaming metallic finish, consider brands like Rust-Oleum or Dupli-Color. These paints symbolize freedom, allowing your creativity to shine through. In brand comparisons, Rust-Oleum excels in finish durability, ensuring your masterpiece withstands the test of time. Dupli-Color, on the other hand, offers a vibrant color range. Both provide excellent adhesion and a smooth application, giving you the confidence to transform your project into a striking statement of individuality.
What Type of Helmet Material Is Best for Painting?
For ideal paint adhesion, thermoplastic helmets, like polycarbonate or ABS, are your best bet. These materials allow paint to bond effectively, guaranteeing a durable finish. In contrast, fiberglass helmets can also be painted but may require additional surface preparation. Remember, the helmet type you choose can greatly impact the final look and longevity of your paint job. Always test a small area first to verify compatibility and adhesion before proceeding.
Can I Mix Different Metallic Paints Together?
Absolutely, you can mix different metallic paints together! Just think of it as blending colors in a sunset—each hue can enhance the overall brilliance. When mixing, consider the metallic paint properties; some might interact better than others. Using proper mixing techniques, like a clean stir stick and testing ratios on a scrap surface, guarantees you achieve that perfect sheen. Experimenting gives you the freedom to create unique shades and effects that truly stand out!