The Ultimate Guide to Repainting Your Helmet
To repaint a helmet, start by cleaning it thoroughly, removing any old paint, and applying a primer before adding your new color. This ensures a smooth finish and helps the new paint adhere better. Repainting a helmet not only enhances its aesthetic appeal but also allows you to personalize it according to your style. Whether you are revamping an old helmet or customizing a new one, following the right steps will ensure a professional finish. Let’s dive into the essential steps that will transform your helmet with a fresh, vibrant look.
Gather Your Supplies

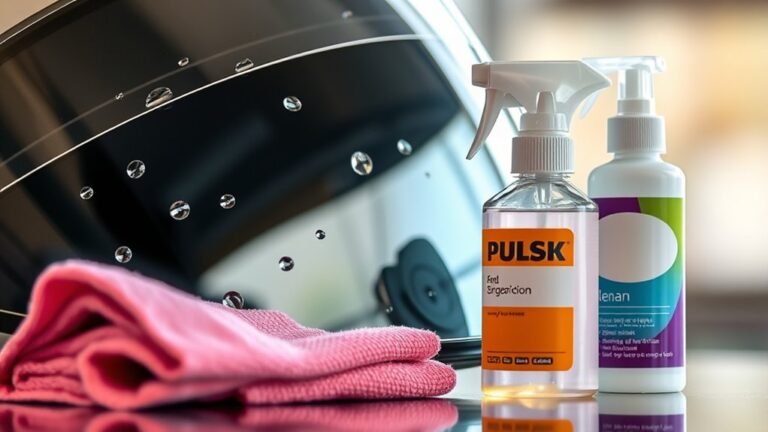
Before embarking on your helmet repainting journey, it’s crucial to gather all necessary supplies. This preparation phase will save you time and ensure you have everything on hand when you need it.
– Choose the right paint: The type of paint you select is vital for achieving a durable and attractive finish. Opt for spray paint or acrylics that are specifically formulated for plastic surfaces. These paints adhere better and are designed to withstand the wear and tear of regular use. Brands like Rust-Oleum and Krylon offer a range of colors and finishes ideal for helmets.
– Essential tools: In addition to paint, you will need several tools to facilitate the process. Sandpaper (preferably 220-grit), primer, painter’s tape, and a clear coat are essential. Sandpaper will help create a texture for better paint adhesion, while painter’s tape will protect areas you do not want to paint. A clear coat protects your final design from scratches and UV damage, prolonging the life of your new look.
Prepare Your Helmet


Proper preparation is key to a successful repainting project. This step ensures that the new paint adheres well and looks smooth.
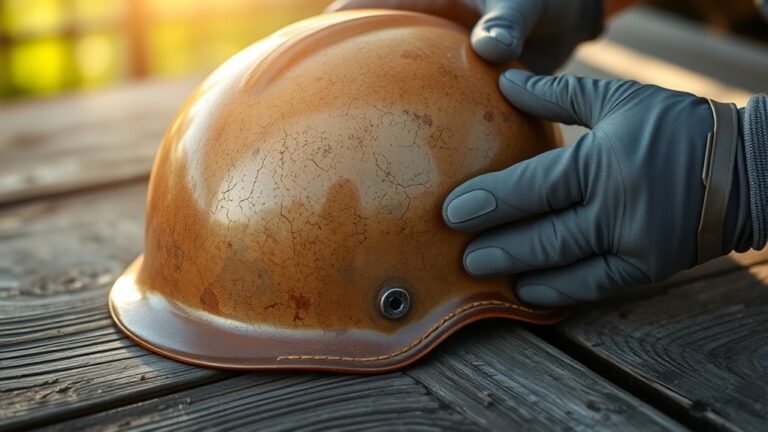
– Clean thoroughly: Start by cleaning the helmet with soap and water to eliminate dirt, oils, and any residual debris from previous use. This cleaning process is critical as any contaminants can interfere with paint adhesion. Make sure to dry the helmet completely before moving on to the next step.
– Sand down the surface: Lightly sand the surface of the helmet using fine-grit sandpaper. This process will create a slightly rough texture, which helps the new paint to grip better. Be gentle to avoid damaging the helmet; your goal is to create a surface that is conducive to paint adhesion without compromising the integrity of the helmet itself.
Remove Old Paint
If your helmet has an existing paint job that you want to eliminate, careful removal is necessary to achieve a clean slate.
– Use paint remover: If the old paint is particularly stubborn, consider using a chemical paint stripper designed for plastic. Always wear gloves and a mask when using chemical strippers to protect your skin and lungs. Apply the remover according to the manufacturer’s directions and allow it to work for the specified time.
– Scrape gently: After the paint remover has done its part, use a plastic scraper to gently remove the old paint. Be cautious during this process; using metal tools can scratch the helmet or damage the underlying material. If any paint remains, repeat the process until the helmet is completely stripped.
Prime the Helmet
Priming is an essential step in the repainting process that lays the groundwork for a successful paint application.
– Apply a primer layer: Choose a primer specifically designed for plastic surfaces. Apply a thin, even layer across the entire helmet. Primers help with paint adhesion and provide a uniform base, which is particularly important if you’re transitioning from one color to another.
– Let it dry completely: Follow the manufacturer’s instructions regarding drying time. It’s critical to allow the primer to cure fully to avoid any issues with the paint layers applied afterward. Depending on the product, drying times may vary, so be patient and ensure that it is completely dry before proceeding.
Apply the New Paint
Now comes the exciting part—applying your chosen paint color to the helmet.
– Use even strokes: When using spray paint, hold the can about 6-12 inches away from the surface and apply the paint in thin, even layers. This technique helps to avoid drips and uneven spots. Move the can in a steady motion, overlapping each stroke slightly to ensure complete coverage.
– Allow drying time: After the first coat, let the paint dry completely before applying additional layers. This drying phase is crucial to prevent runs and achieve a professional-looking finish. Depending on the paint, you may need to wait anywhere from 15 minutes to an hour between coats.
Add Protective Clear Coat
Once you’re satisfied with the color and coverage, the final step is to seal your design with a protective clear coat.
– Seal your design: Apply a clear coat to protect the paint from scratches, chips, and UV damage. This layer adds a glossy finish that enhances the vibrancy of your chosen color while providing additional durability. Choose a clear coat that matches your desired finish—matte, satin, or glossy.
– Follow instructions: As with the primer and paint, adhere to the manufacturer’s application guidelines for the clear coat. Pay attention to drying times and application techniques to ensure that you achieve optimal results.
Tips for a Professional Finish
To achieve a truly professional-looking helmet, consider these tips:
– Use stencils for designs: If you want to incorporate patterns, logos, or other designs, stencils can help you achieve clean lines and professional results. You can purchase pre-made stencils or create your own with adhesive vinyl.
– Practice on cardboard: Before painting your helmet, practice your spray technique on a piece of cardboard. This practice will help you refine your method, ensuring you achieve a smooth finish without unexpected drips or uneven patches.
In summary, repainting your helmet can be a rewarding DIY project that not only enhances its look but also adds a personal touch. By following these steps—gathering the right supplies, preparing the helmet, removing old paint, priming, applying new paint, and sealing with a clear coat—you’ll have a helmet that truly stands out on the road or track. Ready to get started? Gather your supplies and unleash your creativity!
References
- https://en.wikipedia.org/wiki/Helmet
- https://www.cdc.gov/niosh/topics/helmet/
- https://www.nhtsa.gov/equipment/helmets
- https://www.aafp.org/pubs/afp/issues/2017/1015/p507.html
- https://www.cpsc.gov/safety-education/safety-guides/helmets
- https://www.helmets.org/
- https://www.cdc.gov/traumaticbraininjury/helmets.html
- https://www.nhl.com/news/how-to-repaint-your-helmet-in-5-easy-steps/c-288789832