The Art of Helmet Painting: Tips for DIY Customization
Customizing your helmet is a fun way to express your personality and stand out on the road. Start with the right base; choose from full-face or open-face helmets for unique aesthetics. Gather essential tools like high-quality spray paint, brushes, and stencils for intricate designs. Explore creative ideas like vintage flames or abstract patterns. Don’t forget to protect your masterpiece with a durable clear coat. There’s so much more to discover about helmet painting techniques!
Choosing the Right Helmet for Customization
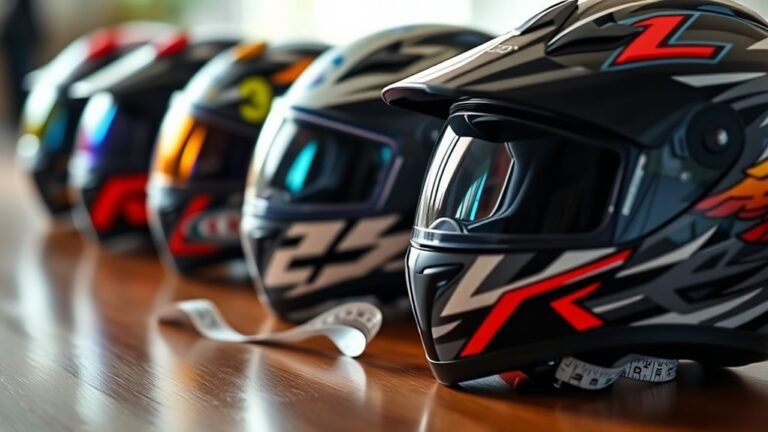
When it comes to customizing your helmet, finding the right base can make all the difference. There are various helmet types out there, and each one offers unique opportunities for expression. Whether you choose a sleek full-face or an open-face design, consider how its shape and material will interact with your chosen customization techniques. A lightweight polycarbonate shell may be ideal for intricate artwork, while a fiberglass helmet can handle bold, vibrant designs. Think about your style; do you crave the raw edge of street art or the elegance of a vintage patina? Your helmet’s base should reflect your spirit, allowing your creativity to soar as you transform it into a true extension of your freedom.
Essential Tools and Materials for Helmet Painting

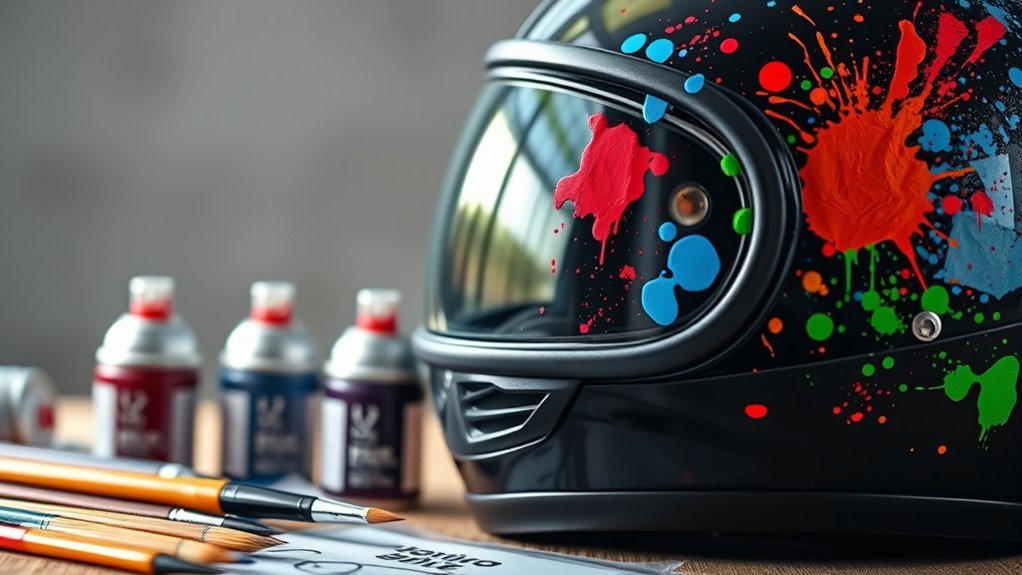
To achieve a stunning helmet paint job, you’ll need a few essential tools and materials that set the stage for your creativity. Start with high-quality spray paint in vibrant colors; it’ll give your helmet a striking finish. Don’t forget a variety of brushes for detailed touches! Grab some painter’s tape to create crisp lines and protective surfaces. Stencil techniques are your secret weapon, so invest in reusable stencils or craft your own for unique patterns. A clear coat will seal your masterpiece, adding durability and shine. Finally, keep clean-up supplies handy—rags, disposable gloves, and a well-ventilated workspace are vital. With these essentials, you’re ready to set your imagination free and transform your helmet into a work of art!
Design Ideas to Spark Your Creativity
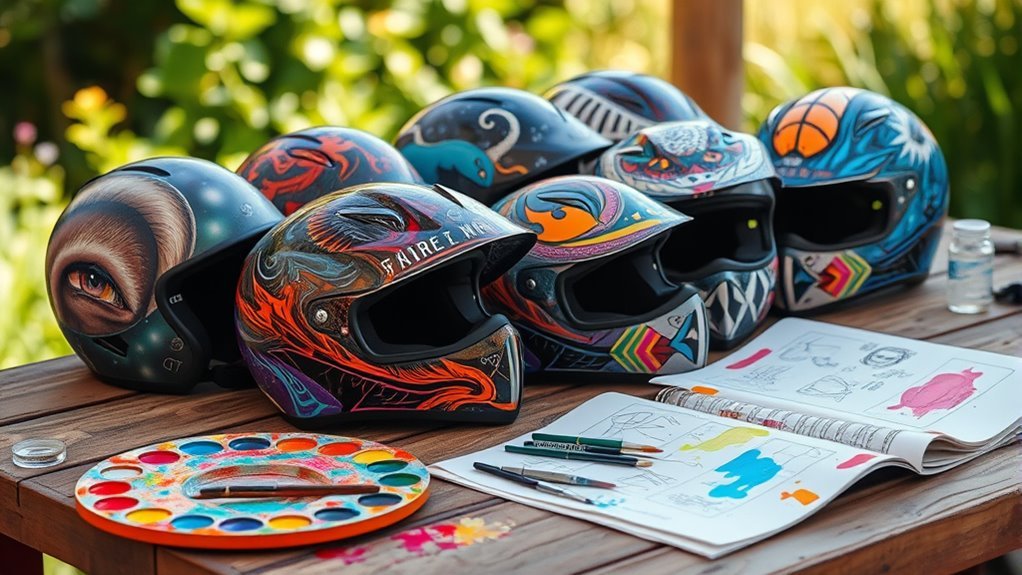
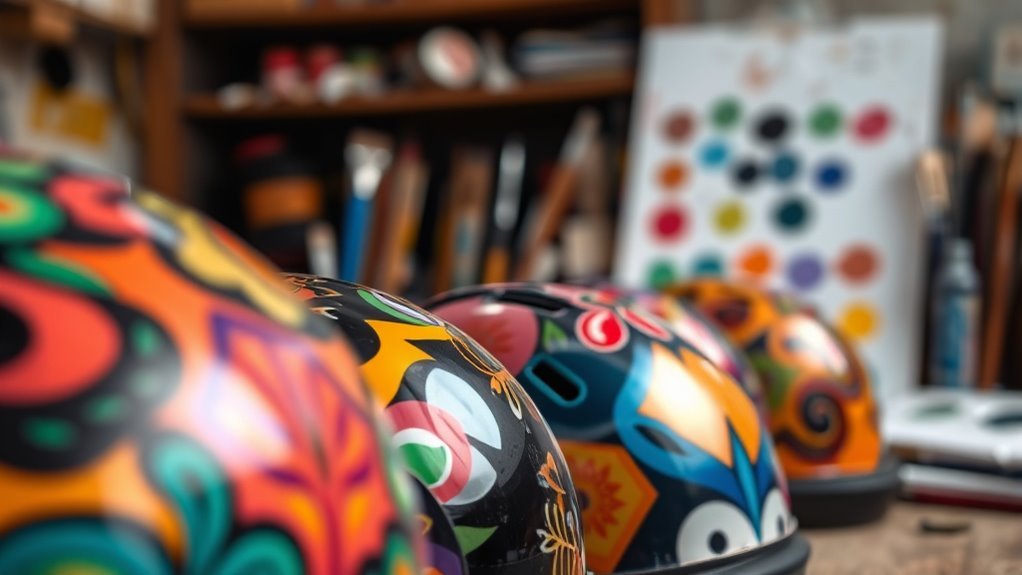
How can you transform your helmet into a canvas that reflects your personality? The beauty of customization lies in the endless possibilities. Consider blending vintage styles with modern graphics for a unique aesthetic. Picture a retro stripe alongside a sleek geometric design—it’s a bold statement! Here are some design ideas to spark your creativity:
| Vintage Styles | Modern Graphics | Unique Themes |
|---|---|---|
| Classic Flames | Abstract Patterns | Nature-Inspired |
| Checkerboard | Minimalist Lines | Futuristic Concepts |
| Retro Logos | Neon Colors | Urban Graffiti |
| Floral Prints | Tech-Inspired Designs | Pop Culture Icons |
Let these ideas fuel your imagination, and don’t shy away from mixing styles to create something truly yours!
Step-by-Step Guide to Painting Your Helmet
Before diving into the painting process, gather your materials and envision the transformation ahead. You’ll need high-quality spray paint, stencils, painter’s tape, and clear coat. Start by cleaning your helmet thoroughly and applying a primer for better paint adhesion. Next, use color theory to choose a palette that resonates with your style—warm colors energize, while cool tones calm.
Once you’ve mapped out your design, employ various paint techniques. For gradients, spray from different distances; for sharp lines, use tape as a guide. Layer your colors for depth, and don’t forget to let each coat dry completely. Finally, seal your masterpiece with a clear coat for a glossy finish. Now, release your creativity and ride in style!
Ensuring Safety and Longevity of Your Custom Helmet
While you’ve poured your creativity into painting your helmet, ensuring its safety and longevity is just as essential. To keep your custom design intact while meeting safety standards, follow these three tips:
- Choose the Right Paint: Use flexible paint designed for helmets; it won’t crack under pressure or during impacts.
- Apply Protective Coatings: After painting, seal your masterpiece with a durable clear coat. This prevents scratches and UV damage.
- Regular Inspections: Check for any wear or damage periodically. A small issue can escalate if ignored.
Frequently Asked Questions
Can I Customize a Helmet With Decals Instead of Paint?
Absolutely, you can customize a helmet with decals instead of paint! Decal application offers a fantastic way to showcase your style without the mess of paint. Think about design ideas that reflect your personality—whether it’s bold graphics, intricate patterns, or favorite quotes. Just make sure to clean the surface well before applying the decals for the best adhesion. Let your creativity shine and transform that helmet into a unique masterpiece that’s all yours!
How Do I Remove Old Paint From a Helmet?
Imagine peeling away layers to reveal a fresh canvas beneath. To remove old paint from your helmet, start with paint removal techniques like using a gentle solvent or sanding. Apply the solvent with a cloth, letting it work its magic before wiping it off. If you’re sanding, be careful not to damage the helmet’s structure. Always prioritize helmet care—keeping your gear safe while embracing your creativity and freedom. Your helmet deserves a new beginning!
What Are the Best Paint Brands for Helmet Customization?
For helmet customization, you can’t go wrong with brands like FolkArt and Liquitex for acrylic paint; they offer vibrant colors and good adhesion. If you’re leaning towards durability, consider Rust-Oleum or Model Master for enamel paint, which provides a tough finish that withstands wear and tear. Whichever you choose, make sure it’s suited for the material of your helmet. Release your creativity and let your helmet reflect your unique style!
Can I Use Spray Paint Indoors Without Ventilation?
You might think spray painting indoors sounds like a fun idea, but it’s risky without proper ventilation. The fumes can be harmful, so you should always prioritize spray paint safety. If you’re set on indoor painting, open windows, and use fans to circulate air. Consider a respirator too! Just remember, the freedom to create doesn’t mean risking your health—take those indoor painting precautions seriously, and your projects will shine without worry.
How Long Does It Take for Paint to Cure on a Helmet?
It usually takes about 24 to 48 hours for paint to cure on a helmet, but the exact cure time can vary based on drying conditions. If you’re in a warm, dry space, you might see faster results, while cooler, humid environments could extend that time. Patience is key! Once it’s fully cured, your helmet will not just look great but will be protected and ready for your next adventure.
References
- https://www.wikihow.com/Paint-a-Helmet
- https://www.hagerty.com/media/maintenance-and-tech/how-to-paint-a-helmet/
- https://www.aaafoundation.org/helmet-safety/
- https://www.nhl.com/news/use-helmet-safety-tips-while-customizing/c-319078668
- https://www.ama-assn.org/delivering-care/public-health/helmet-safety
- https://www.cdc.gov/headsup/basics/helmet.html
- https://www.sciencedirect.com/science/article/pii/S2352146517300371