Repairing Cracked Helmet Visors: A Step-by-Step Guide
To repair a cracked helmet visor, first assess the damage to determine crack type and severity. Gather materials such as clear epoxy and fine-grit sandpaper. Clean the visor with a mild soap and microfiber cloth. Then, apply the adhesive carefully along the crack and hold it together for the recommended curing time. Finally, test the repair by applying gentle pressure and checking for distortions. Continue to learn effective techniques for various crack types and materials.
Assessing the Damage
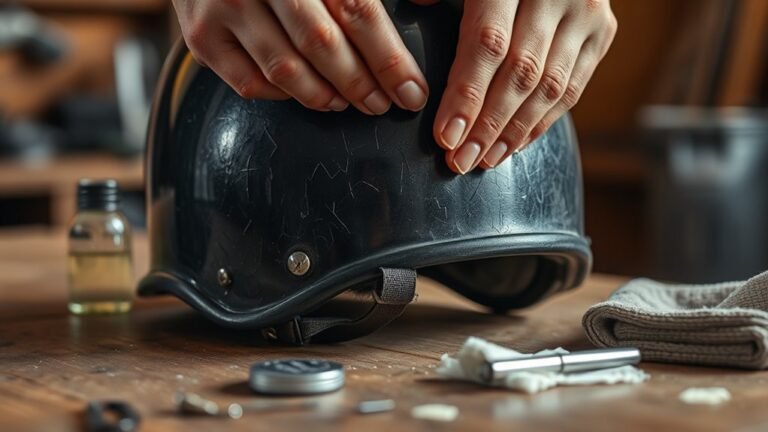
Evaluating the damage to your cracked helmet visor is essential for determining the best course of action for repairs. Start by inspecting the visor closely under good lighting, identifying the size, location, and type of crack. Small surface cracks may be less concerning, but deeper fractures could compromise visors safety, affecting your field of vision and protection during rides. Check for any distortions in the visor’s surface, as these can also impact clarity. Remember, proper helmet maintenance involves not only regular cleaning but also vigilance in reviewing any damage. If the visor is greatly compromised, it’s often safer to replace it entirely rather than attempt repairs. Your safety depends on the integrity of your gear—never overlook this critical assessment.
Gathering Your Materials
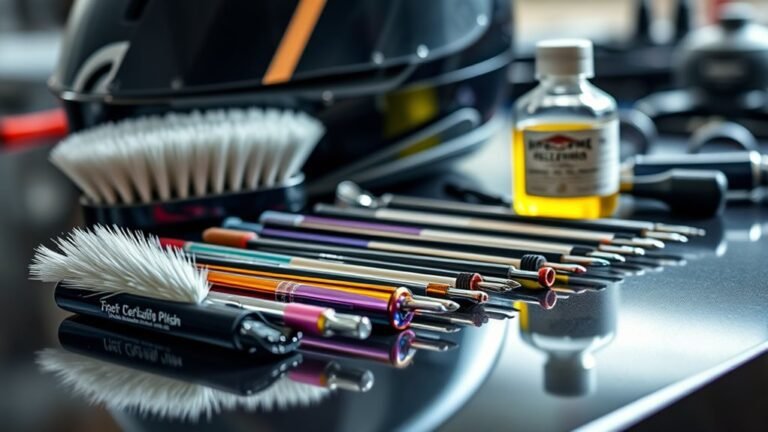
Before you start the repair process, you’ll need to gather a few essential materials to guarantee a successful fix for your cracked helmet visor. First, identify the visor type; whether it’s polycarbonate or acrylic, this will dictate your repair techniques. You’ll need clear epoxy or a specialized visor adhesive suited for the material. A fine-grit sandpaper is indispensable for smoothing any rough edges around the crack. Additionally, having a clean, lint-free cloth on hand is vital for proper application. If the crack is larger, consider using a fiberglass mesh for added strength. Finally, a small brush or applicator will help you apply the adhesive precisely. With these materials, you’re well-prepared to tackle the repair with confidence.
Cleaning the Visor
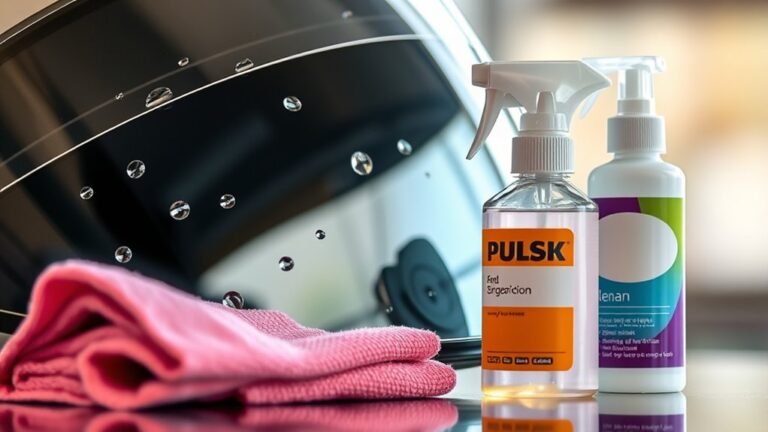
Once you’ve gathered your materials, it’s crucial to clean the visor thoroughly to guarantee the adhesive bonds effectively. Follow these visor maintenance tips to guarantee a proper clean:
- Choose the Right Cleaning Products: Opt for a mild soap or specialized visor cleaner. Avoid harsh chemicals that can damage the surface.
- Use a Soft Cloth: Dampen a microfiber cloth with your chosen cleaner. This prevents scratches while you wipe.
- Clean in Circular Motions: Gently scrub the visor in circular motions, focusing on any stubborn spots. Rinse with water to remove any residue.
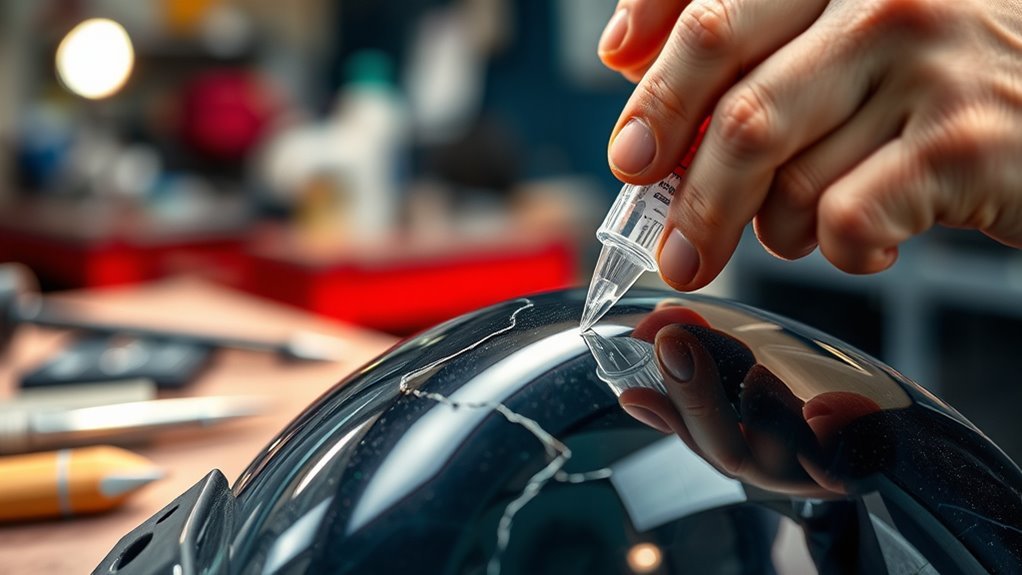
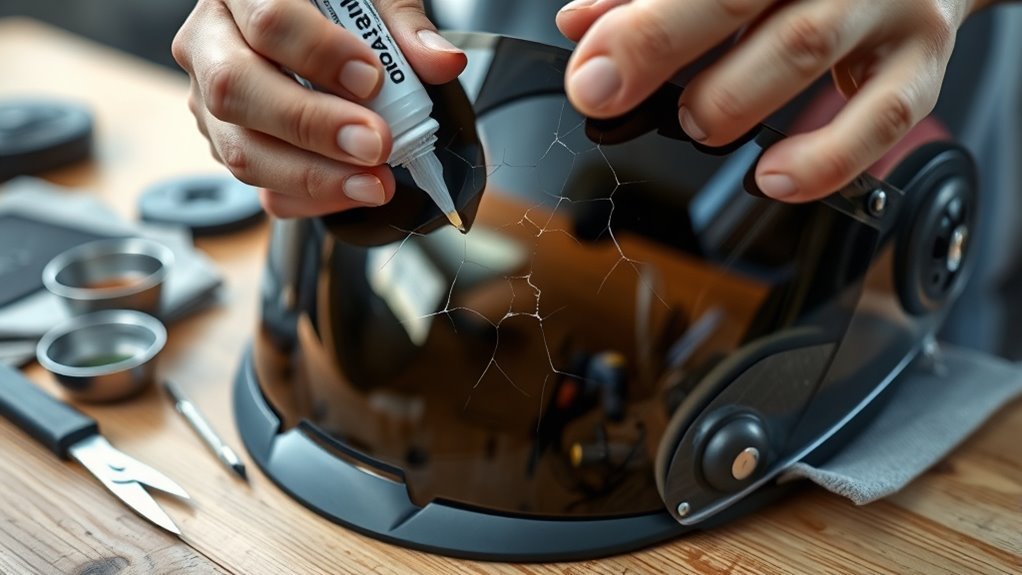
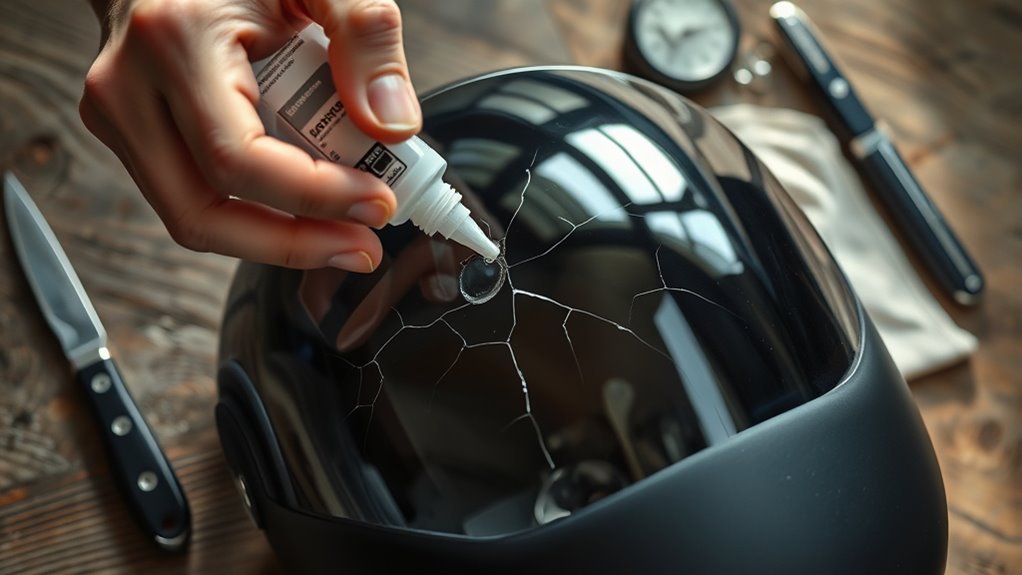
Applying the Repair
After ensuring your visor is clean and free from any debris, you can begin the repair process. Choose your adhesive options wisely; some may bond better with polycarbonate visors than others. Apply a small amount of adhesive along the crack using a precise applicator. Hold the visor firmly together for the recommended curing time, as specified by the manufacturer.
To help you decide on repair techniques, here’s a quick comparison:
| Adhesive Type | Cure Time | Flexibility |
|---|---|---|
| Super Glue | 10-30 sec | Low |
| Epoxy | 5-10 min | High |
| Silicone | 24 hours | Very High |
| Polyurethane | 1 hour | Moderate |
| Acrylic | 10-15 min | Low |
Choose the best option based on your needs!
Testing Your Repair
While the adhesive has had adequate time to cure, it’s crucial to thoroughly test your repair to guarantee the visor’s integrity before using it again. Focus on these key areas:
- Testing Durability: Gently apply pressure along the repaired crack. Ensure there’s no flex or movement, indicating a strong bond.
- Evaluating Visibility: Inspect the repaired area from various angles. Look for distortions or haziness that could impair your view.
- Environmental Testing: Expose the visor to different conditions, like heat or moisture. This will help you assess the repair’s resilience under potential riding environments.
Frequently Asked Questions
Can I Repair Visors Made From Different Materials?
Yes, you can repair visors made from different materials, but the repair techniques vary. For polycarbonate visors, you might use a clear epoxy or plastic welding. Acrylic visors may respond better to solvent-based adhesives. Always clean the surface before applying any repair solution to guarantee a solid bond. Remember, the material determines the best approach, so choose your repair technique wisely to maintain the visor’s integrity and functionality.
How Long Will the Repair Last?
The repair’s longevity largely depends on the materials used and your maintenance tips. If you’ve applied a strong adhesive, expect a solid seal, but don’t push the visor’s limits. With proper care—like avoiding extreme temperatures and cleaning gently—you can enjoy a durable fix. However, frequent exposure to harsh conditions can compromise that bond. So, treat your visor with tender, loving care, and it’ll serve you well for the long haul.
Is It Safe to Ride With a Repaired Visor?
It’s generally not recommended to ride with a repaired visor, given the visor safety concerns. While some repair techniques may seem effective, they often compromise structural integrity. A repaired visor might not withstand impacts as well as an unbroken one, risking your safety in a fall. If you choose to ride with a repaired visor, make sure it’s been fixed properly and regularly inspect it for any signs of failure. Prioritize your protection above all.
What if the Crack Is Too Large to Repair?
If the crack’s too large to repair, you’ll need to evaluate replacement options. Riding with a damaged visor compromises your safety, affecting visibility and protection. Look for a visor that’s specifically designed for your helmet model, ensuring it meets safety standards. Always prioritize visor safety, as a clear and intact visor is essential for your freedom on the road. Don’t risk it—invest in a new visor to keep your ride safe and enjoyable.
Can I Prevent Future Cracks in My Visor?
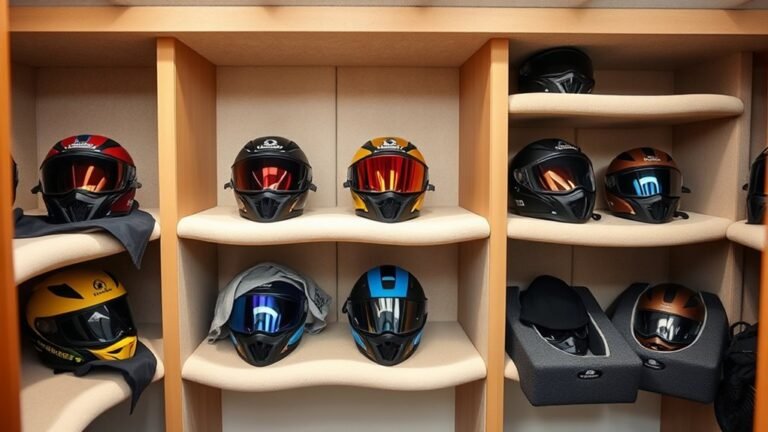
You can definitely prevent future cracks in your visor. Picture your visor shining bright, unblemished by time. To achieve this, follow visor maintenance tips like cleaning it regularly with a soft cloth and using anti-fog solutions. When not in use, store it in a padded bag or a dedicated visor storage solution to shield it from impacts. Avoid exposing it to extreme temperatures, ensuring your visor stays resilient and ready for freedom on the road.
References
- https://www.helmetcheck.com/repairing-helmet-visors
- https://www.cdc.gov/niosh/docs/2004-115/pdfs/2004-115.pdf
- https://www.nhtsa.gov/equipment/helmets
- https://www.motorcycle.com/how-to/how-to-fix-scratched-helmet-visors.html
- https://www.safetyandhealthmagazine.com/articles/19102-how-to-repair-and-maintain-your-helmet
- https://www.aaafoundation.org/helmet-usage-and-repair-guidelines/
- http://www.helmets.org/faq.htm