How to Clean a Motorcycle Helmet Interior
How to Clean a Motorcycle Helmet Interior (Quick Answer)
Cleaning the interior of your motorcycle helmet is defined as removing sweat, skin oils, and road grime from the liner and padding without damaging the helmet’s foam, fabric, or adhesives. The most reliable process is: remove removable liner components, gently wash with a mild cleaner, rinse lightly, then air-dry completely before reassembly.
Why Interior Cleaning Matters for Comfort, Odor, and Safety
Regular interior cleaning is defined as routine maintenance that reduces bacterial growth and odor buildup inside the helmet. It also helps maintain fit and comfort, which matters for consistent protection and driver confidence.
Most helmet interiors are designed for repeated contact with skin, absorbing sweat and moisture over time. When moisture remains, bacteria can multiply, creating persistent odors and irritation. Professional riders and safety-focused helmet brands generally recommend cleaning at intervals based on use, climate, and sweat level.
Key difference: a “fresh scent” cleanup is not the same as true hygiene cleaning. Deodorizing sprays may mask odor, but proper washing removes the residues that cause the smell in the first place.
How often should you clean a helmet interior?
A practical consensus from consumer safety and helmet-care guidance is to clean the helmet liner whenever you notice odor, visible grime, or after heavy riding in humid or rainy conditions. For many riders, a thorough interior clean every 2 to 4 weeks is a solid starting point, with spot-cleaning after individual rides as needed.
If you ride daily or sweat heavily, you may benefit from monthly deep cleaning plus regular airing after every ride.
What Supplies You Need to Clean a Motorcycle Helmet Interior
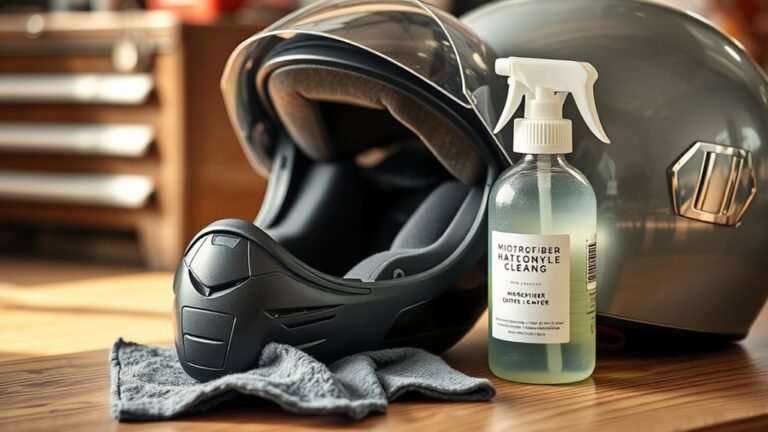
The right supplies are defined as cleaning products and tools that remove sweat and dirt while remaining compatible with helmet fabrics and foam. Using the wrong chemicals can degrade materials or leave residues that irritate skin.
Core cleaning tools and materials
- Mild helmet cleaner (or a gentle, fragrance-free cleaner labeled safe for helmet liners)
- Microfiber cloths for wiping without scratching or fuzzing
- Soft-bristle brush (for vents, stitching edges, and texture)
- Warm water for mixing and rinsing (avoid hot water)
- Clean basin or bowl for mixing solution
- Gloves if you have sensitive skin or if your hands get irritated by detergents
What to avoid
- Harsh solvents like acetone or strong degreasers
- Bleach, which can damage fabrics and affect foam performance over time
- High-alcohol sprays, which can dry out liner materials
- Machine washing unless the manufacturer explicitly authorizes it
When in doubt, follow the liner and care instructions provided by the helmet manufacturer. Brands such as AGV, Shoei, Arai, and Scorpion typically publish helmet-care guidance that emphasizes mild cleaning and complete air-drying.
Helmet-Interior Cleaners & Tools: Liner Safety vs. Odor-Fighting Power
| # | Supply | Best For | Rinse Need | Liner-Safety Score | Use Rate |
|---|---|---|---|---|---|
| 1 | Helmet-safe, fragrance-free mild soap | Sweat salts | Light rinse required | ★★★★★ | High |
| 2 | Microfiber cloths | Quick wipe-down | Not usually | ★★★★★ | Very High |
| 3 | Soft-bristle brush | Creases & seams | Usually wipe + rinse | ★★★★☆ | Medium |
| 4 | Warm water (tap-to-bowl) | Dilution & lift | Depends on soap used | ★★★★★ | Very High |
| 5 | Neutral detergent (very low concentration) | General grime | Rinse recommended | ★★★★☆ | Medium |
| 6 | Odor-masking spray (avoid as primary cleaner) | Temporary smell control | Not applicable | ★★☆☆☆ | Low |
| 7 | Bleach / strong solvent cleaners | Not recommended | High residue risk | ★☆☆☆☆ | None |
Step 1: Remove the Helmet Liner and Padding Safely
Removing removable liner components is the safest way to clean the interior deeply and evenly. This step is defined as taking out pads and liners that detach via snaps, Velcro, or retention tabs so you can wash fabric surfaces without soaking the helmet shell.
Check your helmet’s manual first
Different helmets use different retention systems for comfort liners and cheek pads. Many are secured with Velcro, snaps, or plastic clips. Always confirm how your exact model comes apart by checking the user manual or the manufacturer’s support page.
How to remove pads without damaging them
- Place the helmet on a clean surface to prevent lint and dust transfer.
- Gently detach pads and liners in a consistent order (for example: cheek pads first, then crown padding, then the rest of the liner).
- Note orientation before removing. A quick photo on your phone helps with reassembly.
- Inspect seams and attachment points for fraying or loose threads.
Quick check for replacement signs
Interior padding is defined as the comfort system designed to maintain proper fit. If you see thinning foam, persistent separation of layers, or worn-through fabric, replacement may be necessary. Some riders replace liners more often than the helmet shell because the comfort components wear faster.
Step 2: Clean the Interior Surfaces (Liner, Pads, and Fabrics)
Cleaning is defined as loosening and lifting sweat salts, body oils, and road dust from textile surfaces using mild soap and gentle agitation. The goal is clean fabric with minimal residue.
Prepare a mild cleaning solution
Mix warm water (comfortable to the touch, not hot) with a small amount of mild detergent or helmet-safe cleaner. Start with a low concentration; too much soap can leave residue that attracts dirt and causes lingering odor.
Wash using gentle, controlled motions
- Lightly dampen a microfiber cloth or soft-bristle brush.
- Wipe or brush areas where sweat accumulates, including around the brow and cheek contact points.
- For removable liners, clean each piece according to its fabric type and manufacturer guidance.
Deal with stubborn grime in vents and creases
The key difference is targeted cleaning versus soaking everything. For tight areas near vents or channels, use a soft-bristle brush with minimal liquid. Excess water can soak deeper into padding layers or adhesives, increasing drying time and odor risk.
Rinse carefully to avoid soap residue
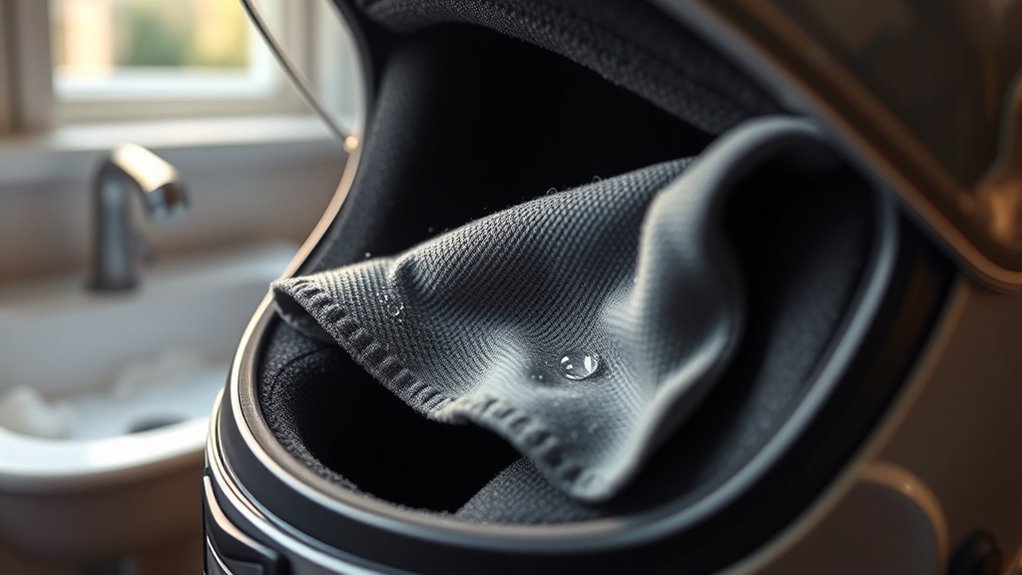
Rinse is defined as removing the cleaning solution so fabric doesn’t stay coated in detergent. Use a damp cloth to wipe away soap traces, then gently blot with a dry microfiber towel. If you have removable liners that are explicitly safe to rinse, do so lightly and do not saturate.
Step 3: Dry Completely Before Reassembling
Drying is defined as removing moisture fully so mold, mildew, and odor-causing bacteria cannot regrow. In helmet care, “almost dry” is not good enough.
Best drying practices for helmet interiors
- Air-dry the liner and pads on a clean, dry towel or drying rack.
- Place the helmet components in a well-ventilated area.
- Use room temperature drying whenever possible.
- Allow enough time for full drying before reassembly, often 24 to 48 hours depending on humidity and ventilation.
What not to do when drying
- Do not use a hair dryer on high heat.
- Avoid direct sunlight for long periods, which can degrade some fabrics and finishes.
- Do not reassemble while damp; trapped moisture increases odor.
Expert consensus approach
Across helmet-care guidance, the consistent recommendation is air-drying rather than heat drying. Heat can warp or weaken comfort materials and can also impact adhesive bonds in the liner system.
Reassemble Your Helmet Correctly
Reassembly is defined as returning the liner and padding to their original positions so the helmet maintains its intended fit. Incorrect pad placement can reduce comfort and may shift how the helmet sits on your head.
Reinstall pads in the reverse order you removed them
- Match each piece to its original orientation (use your photo reference).
- Press Velcro sections firmly so they adhere securely.
- Ensure retention clips or snaps engage fully without forcing.
Fit check after cleaning
After reassembly, perform a quick fit check. The helmet should sit level, with cheek pads contacting your face comfortably. If you notice looseness, excessive pressure points, or changed stability, recheck pad placement.
Prevent Future Odor: Post-Ride Habits That Work
Odor prevention is defined as reducing moisture and residue inside the helmet immediately after riding. Small routines after each ride can significantly extend the time between deep cleanings.
Use the “air-out” routine after every ride
- Open vents if your helmet design allows.
- Remove the helmet from the storage bag right away.
- Let it dry in a ventilated area for at least 10 to 30 minutes when conditions are dry.
Consider moisture-wicking liner options
The key difference is wicking versus masking. Moisture-wicking liners or removable sweat covers can pull moisture away from skin contact areas and reduce odor buildup. Many riders use a removable liner cover that can be washed separately, based on compatibility with their helmet model.
Quick Q&A: Do odor sprays help?
Q: Do I need a deodorizing spray after cleaning?
A: Usually no. If you clean sweat residues correctly and dry thoroughly, the odor often disappears. Sprays can mask odor while leaving the underlying residues that cause bacteria growth.
Q: Can I use disinfectant wipes inside the helmet?
A: Only if the product is labeled safe for helmet liners and fabrics. Many disinfectants can leave residues or dry out foam. When in doubt, stick to mild cleaners and careful drying.
Common Mistakes to Avoid When Cleaning a Helmet Interior
Many helmet interior cleaning problems come from harsh chemicals or incomplete drying. Avoiding these mistakes helps preserve fit, comfort, and material longevity.
- Soaking foam that is not designed to get wet deeply.
- Overusing detergent and leaving residue behind.
- Rushing the drying process and reassembling while damp.
- Scrubbing aggressively and damaging fabric weave or stitching.
- Using heat (hair dryers, high-heat fans) when not recommended by the manufacturer.
Safety and Maintenance Notes Worth Remembering
Helmet liners are part of the comfort and retention system, and their condition affects how the helmet fits. Keeping them clean is part of overall helmet maintenance.
While cleaning is important, it does not replace periodic inspection for wear. If your helmet has been involved in a crash or shows structural damage, consult the manufacturer and follow their replacement recommendations.
Conclusion: A Simple Helmet-Interior Cleaning Routine
A clean motorcycle helmet interior is defined as liners and pads that are washed gently, rinsed lightly, and dried fully before reassembly. When you combine the correct supplies with a careful removal-and-drying process, you reduce odor, improve comfort, and keep your helmet feeling fresh for every ride.
If you want the fastest “next step,” start with a basic deep clean: remove pads, wipe or gently clean with a mild solution, rinse with a damp cloth, and air-dry for at least 24 hours in a ventilated area before putting everything back together.
Frequently Asked Questions: How to Clean a Motorcycle Helmet Interior
How often should I clean the interior of my motorcycle helmet?
Most riders should do a light clean regularly and a deeper clean periodically. As a rule of thumb:
- After every few rides: Wipe down the interior surfaces with a clean, damp microfiber cloth to remove sweat and oils.
- Every 2–4 weeks (or sooner if you ride often or in hot/humid weather): Clean removable liners and straps.
- Every 1–2 months: Do a more thorough deep clean of pads, comfort liners, and any washable components.
- Always after heavy sweating or if you notice odor: Don’t wait for the next scheduled cleaning.
What’s the safest way to clean helmet padding and liners?
The safest approach is to follow the manufacturer’s care instructions first, then use gentle, non-damaging cleaning steps. A typical safe method for many removable foam liners includes:
- Remove the liner components (pads/cheeks/liner) if your helmet design allows it.
- Pre-treat odors: Lightly spot-clean sweat areas using a mild soap solution.
- Wash gently: Hand-wash with cool to lukewarm water and a small amount of mild, fragrance-free soap (or a liner-safe cleaner recommended by the helmet brand).
- Do not wring: Press water out gently with a towel to avoid deforming foam.
- Air-dry only: Let everything dry fully in a well-ventilated area, away from direct sunlight, heaters, or dryers.
Can I use disinfectant or antibacterial sprays inside my helmet?
You should use disinfectants cautiously. Many sprays and alcohol-based products can break down adhesives, fade fabrics, damage antimicrobial coatings, or degrade foam and padding. For best results:
- Check the manufacturer guidance: Some helmets specify approved cleaners/disinfectants.
- Prefer mild soap and water for routine cleaning; thoroughly drying is often more effective than harsh chemicals.
- If you must disinfect, use a product intended for helmet liners or fabrics and ensure it’s compatible with foam and stitching.
- Avoid soaking: Don’t flood padding with disinfectant—apply sparingly and rinse if the product instructions call for it.
How do I clean the helmet’s interior straps and chin curtain without damaging them?
The straps and chin curtain collect sweat, saliva, and skin oils, so cleaning is important. Use a method that protects stitching and hardware:
- Remove where possible: If your helmet allows strap/cinch or chin curtain removal, follow the manual for safe detachment.
- Hand-clean: Use lukewarm water with mild, fragrance-free soap. Gently rub the fabric with your fingers or a soft cloth.
- Spot-clean first: If you can, treat the heaviest sweat zones to reduce overall wear.
- Rinse carefully: Wipe with a damp cloth or rinse lightly without soaking critical connection points.
- Dry thoroughly: Air-dry flat or hanging in a ventilated area. Keep buckles/hardware from trapping moisture.
- Keep away from heat: Avoid tumble dryers and high heat, which can weaken fibers and adhesives.
Why does my helmet still smell after cleaning, and how can I get rid of odor permanently?
Persistent odor usually comes from trapped moisture, buildup in hard-to-reach areas, or materials that never fully dry. To address this:
- Confirm full drying: After cleaning, allow the liner and pads to dry completely for at least 24 hours (longer in humid conditions). Moisture left behind can revive odors.
- Dry ventilation channels: Use a dry microfiber cloth to wipe the inner shell area and remove moisture from vents.
- Repeat gentle cleaning: Sometimes a second wash with mild soap removes remaining sweat oils.
- Use an odor-absorbing approach: After cleaning and drying, place the helmet interior in a breathable bag with an odor absorber (like baking soda placed in a separate breathable container). Avoid direct contact with liners unless you’re certain the material won’t discolor.
- Inspect for mildew: If you see discoloration or smell mildew/mold, you may need a more thorough clean and possibly replacement of worn liner components.
- Prevent recurrence: Let your helmet air out after rides, consider moisture-wicking liners, and keep it out of sealed damp spaces.
References
- Google Scholar search: Motorcycle helmet liner cleaning Google Scholar
https://scholar.google.com/scholar?q=motorcycle+helmet+liner+cleaning - Google Scholar search: Helmet hygiene and microorganisms Google Scholar
https://scholar.google.com/scholar?q=helmet+hygiene+microorganisms - PubMed search results: Helmet hygiene and microorganisms Google Scholar
https://pubmed.ncbi.nlm.nih.gov/?term=helmet+hygiene+microorganisms - CDC guidance for cleaning and disinfecting buildings and facilities
https://www.cdc.gov/coronavirus/2019-ncov/community/disinfecting-building-facility.html - CDC disinfection and sterilization guideline (in healthcare settings)
https://www.cdc.gov/infectioncontrol/guidelines/disinfection/ - WHO: Cleaning and disinfecting environmental surfaces in the context of COVID-19
https://www.who.int/publications/i/item/cleaning-and-disinfecting-environmental-surfaces-in-the-context-of-covid-19 - Disinfectant (overview, types, and general use)
https://en.wikipedia.org/wiki/Disinfectant - Disinfection (definition and principles)
https://www.britannica.com/science/disinfection
📅 Last Updated: July 07, 2026 | Topic: How to Clean a Motorcycle Helmet Interior | Content verified for accuracy and freshness.