Checking Your Helmet for Structural Damage
When checking your helmet for structural damage, inspect the outer shell for cracks, dents, or scratches. Examine the inner foam liner for visible damage and soft spots. Don’t forget to assess the straps and buckles for frays or excessive wear. Regular inspections help maintain your helmet’s integrity and guarantee your safety while riding. Keeping an eye out for these signs can improve your riding experience, and there’s more to learn on proper helmet care and maintenance.
Understanding the Importance of Helmet Safety
When it comes to guaranteeing your safety while riding, understanding the importance of helmet safety can’t be overstated. A helmet’s functionality is critical in protecting your head during unexpected falls or accidents. By absorbing impact, a properly designed helmet can considerably reduce the risk of serious injury. It’s crucial to choose helmets that meet rigorous safety standards set by organizations like the DOT or Snell. These standards guarantee that your helmet is tested for durability and effectiveness. Remember, a helmet that’s compliant with safety regulations isn’t just a piece of gear; it’s a crucial component of your riding experience. Prioritizing helmet safety allows you to enjoy your freedom on the road while minimizing risks associated with riding.
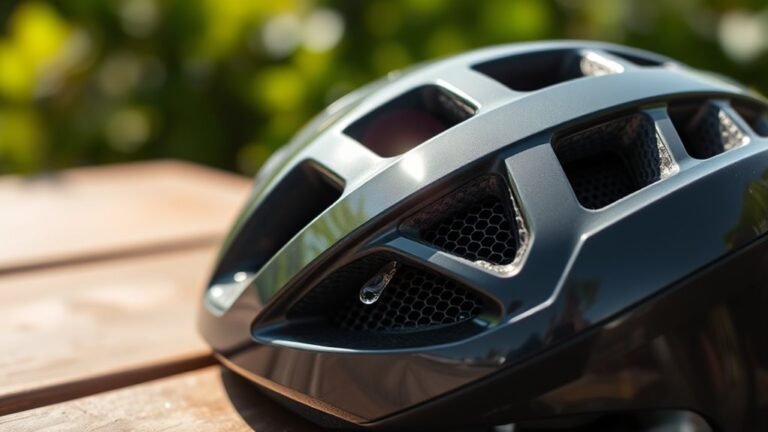
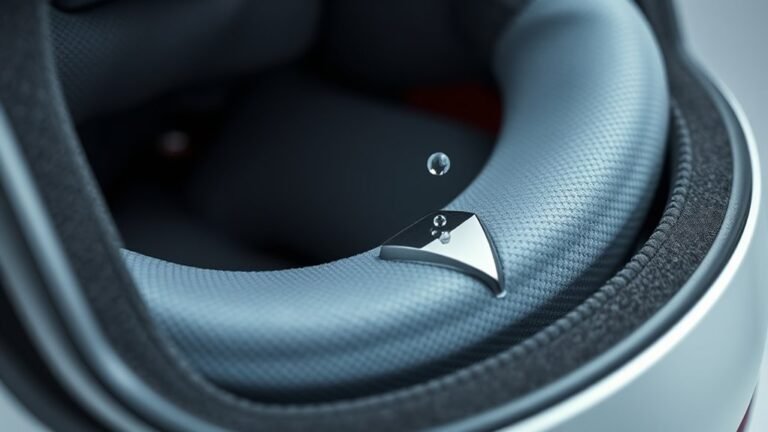
Inspecting the Outer Shell
Before hitting the road, it is essential to inspect the outer shell of your helmet for any signs of damage. The outer shell, typically made from durable materials like polycarbonate or fiberglass, plays a significant role in helmet impact resistance. Look for cracks, dents, or scratches that could compromise its protective capabilities. Even minor damage can affect how well the helmet absorbs impact, potentially putting you at risk during a fall or collision. Gently press on the surface; if you notice any flexing or unusual sounds, it may be time to replace your helmet. Remember, the integrity of the outer shell directly influences your safety, so take this inspection seriously before you set out on your ride.
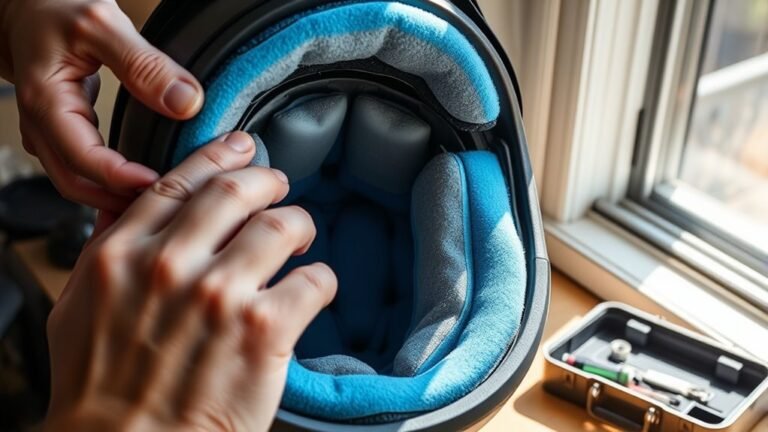
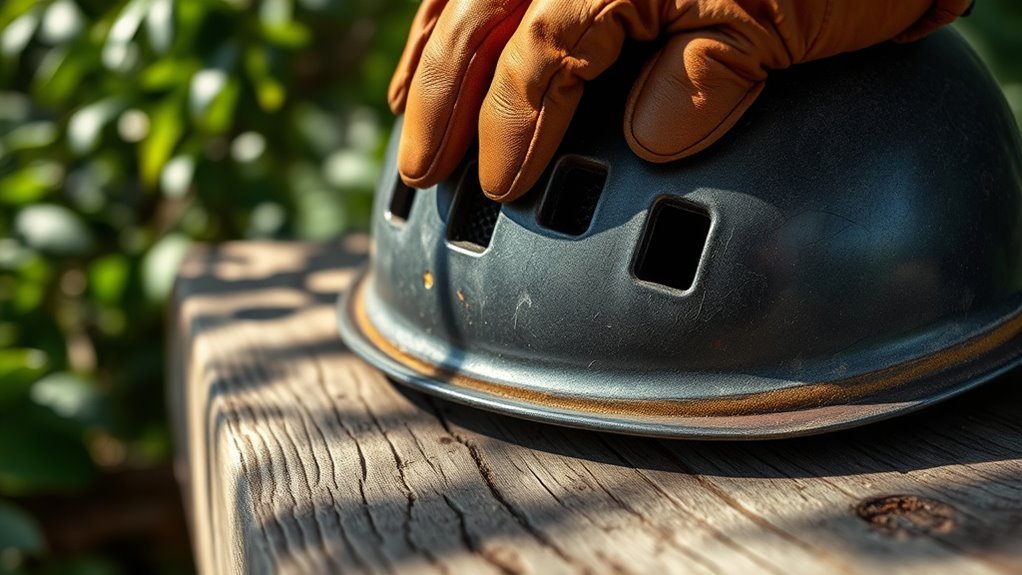
Examining the Inner Foam Liner
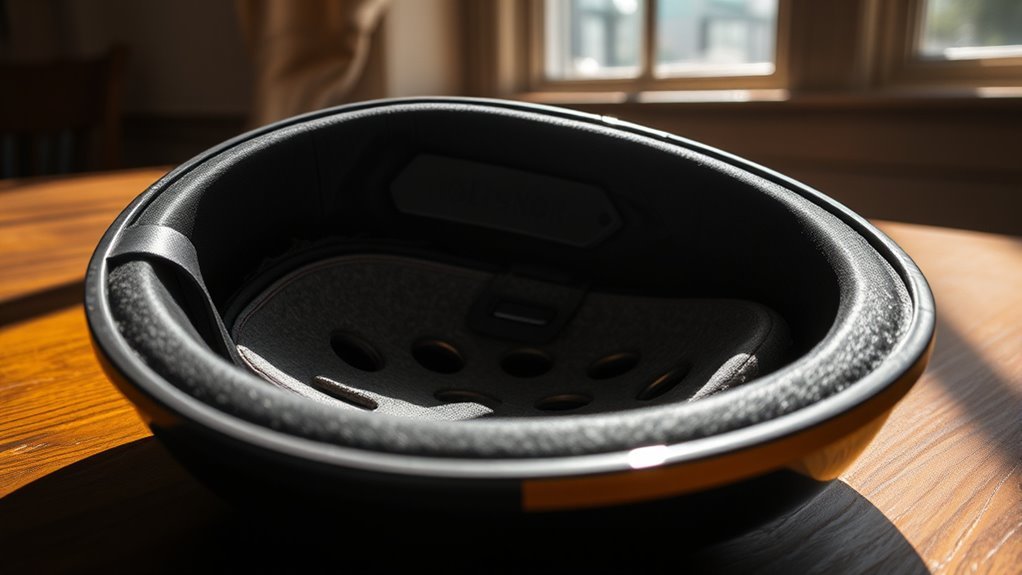
Now that you’ve inspected the outer shell, it’s time to examine the inner foam liner. Start by checking for any cracks or signs of damage, as these can compromise the helmet’s effectiveness. Next, assess the foam’s integrity to guarantee it still provides the necessary protection during use.
Inspect for Cracks
Although you may focus on the outer shell of your helmet, inspecting the inner foam liner for cracks is equally essential for maintaining its integrity. Proper crack detection can greatly impact your helmet durability and overall safety. Here’s how to effectively inspect the foam liner:
- Visual Inspection: Look closely for any visible cracks or deformities in the foam material.
- Press Test: Gently press the foam to feel for any irregularities or soft spots that might indicate damage.
- Check for Age: Consider the age of your helmet; older helmets are more prone to unseen cracks due to wear.
Regularly performing these checks will help maintain your helmet’s reliability and guarantee your freedom to ride safely.
Check Foam Integrity
After inspecting the outer shell and checking for cracks, it’s important to assess the integrity of the inner foam liner. This foam plays an essential role in your helmet’s performance, providing critical impact resistance during a fall. Begin by examining the foam for any signs of compression or deformation. If you notice any dents or soft spots, the foam’s durability may be compromised, reducing its effectiveness in protecting your head. It’s important to make sure the foam maintains its original shape and firmness. Additionally, look for any visible signs of wear, such as rips or tears, as these can greatly affect safety. Regular checks of the foam liner help guarantee that your helmet remains reliable and ready for use when you need it most.
Checking the Straps and Buckles
When inspecting your helmet, paying close attention to the straps and buckles is vital for guaranteeing a secure fit. Proper strap adjustments and buckle functionality are essential for your safety and comfort. Here are three key points to take into account:
- Strap Integrity: Check for frays, cuts, or excessive wear that could compromise strength.
- Adjustment Mechanism: Verify that the strap adjustments move smoothly and hold their position firmly.
- Buckle Condition: Test the buckles to confirm they latch securely and release without sticking.
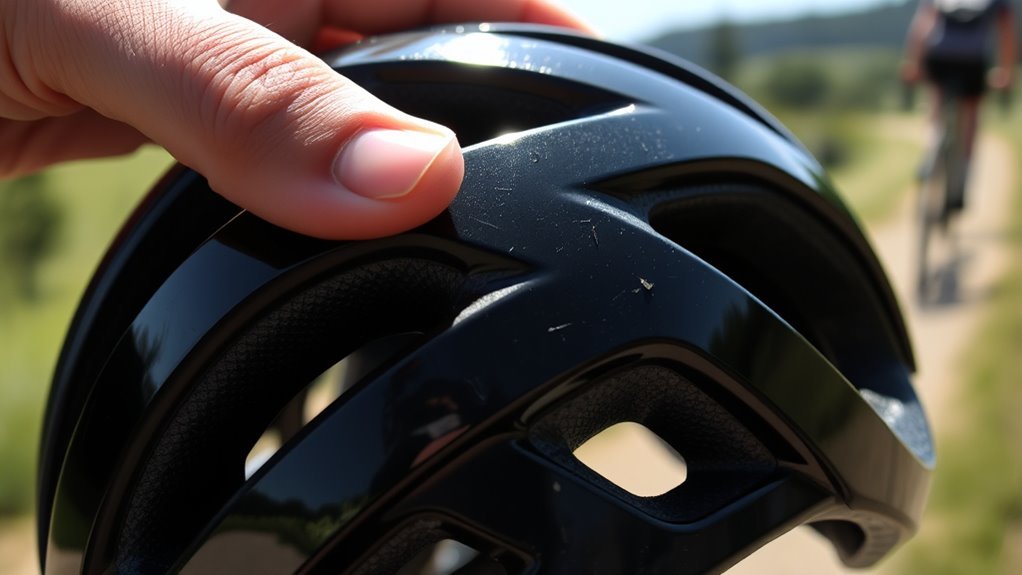
Looking for Signs of Wear and Tear
Once you’ve confirmed the straps and buckles are in good condition, it’s important to examine the helmet itself for signs of wear and tear. Start by looking for wear indicators such as frayed padding or surface scratches, which can signal that your helmet’s lifespan might be compromised. Pay attention to any discoloration or fading, as these can affect the integrity of the materials. If you’ve noticed changes in fit or comfort, it’s also a sign that your helmet may no longer provide maximum protection. Regularly checking for these signs helps guarantee you maintain the freedom to ride safely. Remember, your helmet is your first line of defense, so don’t overlook these critical assessments.
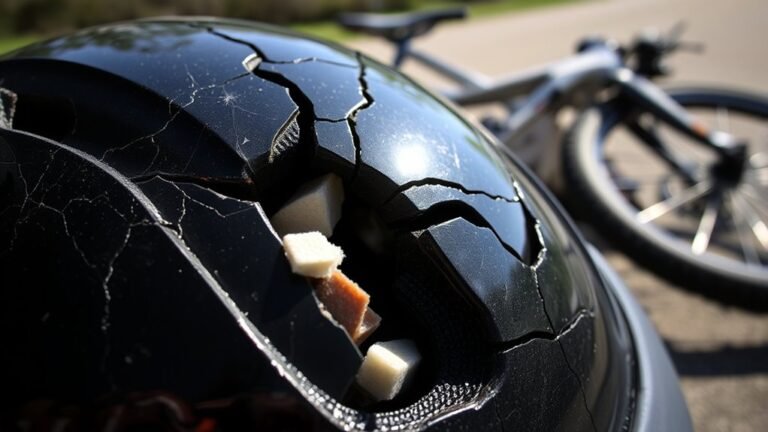
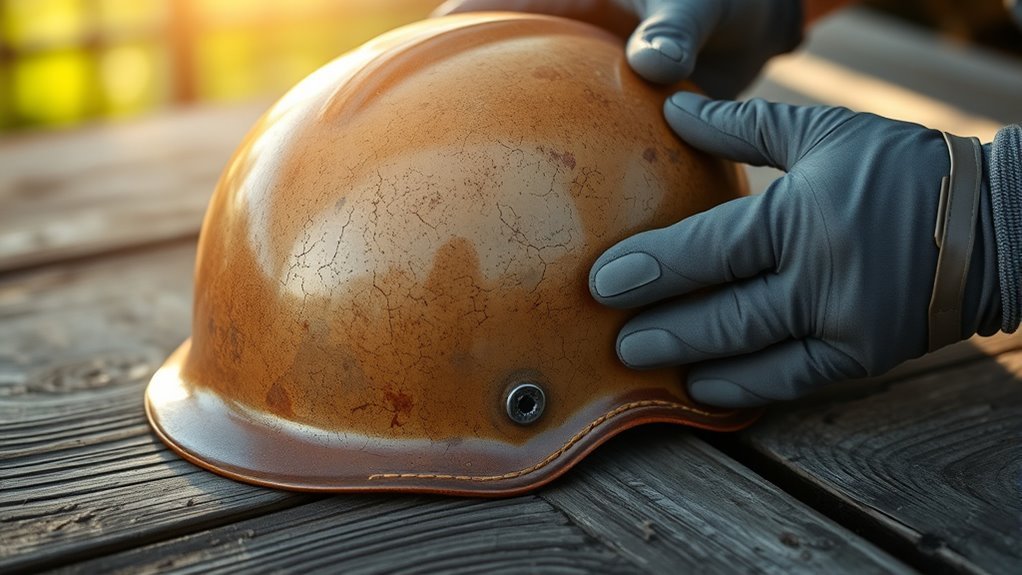
Identifying Cracks and Dents
As you inspect your helmet, be sure to check for any cracks or dents, which can greatly compromise its protective capabilities. Effective crack detection and dent assessment are essential for ensuring your safety. Here’s how to identify any damage:
- Visual Inspection: Examine the surface under good lighting. Look for visible cracks or deformities.
- Tactile Check: Run your fingers over the helmet. You may feel small cracks or dents that aren’t easily seen.
- Pressure Test: Gently press on areas you suspect might be damaged. If you notice flexing or any unusual movement, the helmet may be compromised.
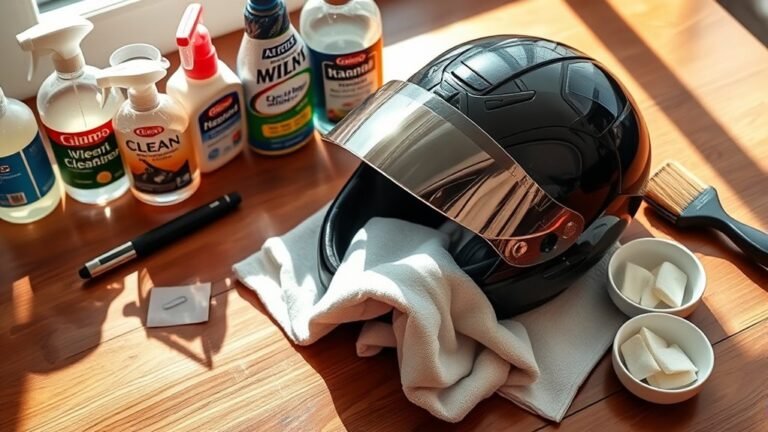
Cleaning and Maintaining Your Helmet
Keeping your helmet clean and well-maintained is essential for ensuring its longevity and effectiveness. Regular helmet cleaning not only enhances its appearance but also helps in identifying any hidden damage. Here are some maintenance tips to keep in mind:
| Task | Frequency | Method |
|---|---|---|
| Inspect Padding | Monthly | Check for wear and tear |
| Clean Exterior | After Each Use | Wipe with a damp cloth |
| Replace Liners | Every 6 Months | Follow manufacturer guidelines |
When to Replace Your Helmet
Knowing when to replace your helmet is essential for your safety, especially after any significant impact or if it shows signs of wear. Helmets have a limited lifespan, typically around 3-5 years, depending on usage and storage conditions. Here are some key replacement indicators to watch for:
- Visible Damage: Cracks, dents, or deep scratches can compromise the helmet’s integrity.
- Impact History: If you’ve experienced a significant fall or collision, the helmet may require replacement, even if it looks fine.
- Degradation: Faded color, fraying straps, or a loose fit indicate it’s time for a new helmet.
Stay proactive about your safety by replacing your helmet when these indicators appear. Your freedom on the ride depends on it.
Tips for Proper Helmet Storage
To guarantee your helmet remains in peak condition, it’s vital to store it properly. Keep it in a cool, dry place away from direct sunlight, as UV rays can weaken the materials. Additionally, avoid placing your helmet in areas where it could be crushed or otherwise damaged.
Ideal Storage Environment
While you might think your helmet is safe just anywhere, the ideal storage environment plays an essential role in maintaining its integrity. Proper storage guarantees your helmet remains in top condition, ready for your next adventure. Here are three key factors to take into account:
- Temperature Control: Store your helmet in a cool, dry place. Extreme temperatures can weaken its materials.
- Ideal Humidity: Aim for a humidity level between 40-60%. Too much moisture can lead to mold and degradation.
- Avoid Pressure: Keep your helmet in a dedicated space where it’s not crushed or deformed by other items.
Avoiding Sunlight Exposure
Even with ideal storage conditions, exposure to sunlight can considerably compromise your helmet’s integrity. To maximize helmet longevity, it’s essential to keep it out of direct sunlight. Here are some tips for proper helmet storage:
| Do’s | Don’ts |
|---|---|
| Store in a cool, dark place | Leave it in sunny areas |
| Use a helmet bag | Hang it on a sunny wall |
| Keep away from windows | Store in a car during the day |
| Inspect regularly | Ignore signs of wear |
Proper Helmet Placement
Making certain your helmet is properly placed is essential for maintaining its shape and functionality over time. Here are some tips for proper helmet storage that’ll help you keep that perfect helmet fit:
- Store Upright: Always store your helmet in an upright position to prevent warping.
- Use a Bag: Keep your helmet in a soft bag to protect it from dust and impacts while not in use.
- Avoid Extreme Temperatures: Make sure it’s kept away from heat sources and extreme cold, which can affect its materials.
Regularly check for any necessary adjustment techniques to make sure your helmet fits snugly and securely. Proper storage habits can prolong the life of your helmet, giving you peace of mind on every ride.
Frequently Asked Questions
Can I Repair a Damaged Helmet Instead of Replacing It?
You can’t effectively repair a damaged helmet; it’s essential to prioritize safety. Helmets are designed to meet specific safety standards, and once they’ve been compromised, their protective capabilities are greatly reduced. Attempting a helmet repair might not restore its integrity, potentially putting you at risk. It’s always best to invest in a new helmet to guarantee you’re adequately protected during your activities. Remember, your safety should always come first.
How Often Should I Inspect My Helmet for Damage?
You should inspect your helmet regularly—think of it as keeping your eyes peeled. Ideally, check it before every ride and at least once a month to guarantee it’s in good shape. Remember, a helmet’s lifespan is typically around five years, but frequent inspections can help you catch damage early. Staying proactive can make all the difference in keeping your ride safe and enjoyable, allowing you to embrace freedom on the road.
What Types of Helmets Require More Frequent Checks?
Mountain biking and motorcycle riding helmets require more frequent checks due to the higher risks involved. If you’re riding regularly, inspect your helmet after every ride, especially after a fall or crash. Look for cracks, dents, or worn padding, as these can compromise safety. Remember, your helmet’s integrity is essential to protect you from serious injuries, so don’t hesitate to replace it if you notice any signs of damage. Safety should always come first!
Are There Specific Brands Known for Better Durability?
Yes, some brands are known for better durability than others. When looking at brand comparisons, you’ll find that names like Bell, Giro, and POC often receive high durability ratings. These brands invest in quality materials and rigorous testing, ensuring your helmet can withstand impacts effectively. It’s smart to research specific models to see how they perform over time. Ultimately, investing in a durable helmet can enhance your riding experience and safety.
Can Environmental Factors Affect Helmet Integrity?
Yes, environmental factors can greatly affect your helmet’s integrity. Temperature extremes can cause materials to expand or contract, leading to potential weaknesses. Moisture exposure, whether from rain or sweat, can also degrade the helmet’s components over time. To make certain your helmet remains safe and effective, regularly inspect it for signs of wear, especially after exposure to harsh conditions. Remember, your safety depends on maintaining your gear in top condition.
References
- https://www.cpsc.gov/safety-education/safety-guides/bicycles/bicycle-helmet-safety
- https://www.ncbi.nlm.nih.gov/pmc/articles/PMC7037511/
- https://www.nhtsa.gov/equipment/helmet-safety
- https://www.helmets.org/
- https://www.cdc.gov/headsup/basics/helmet-safety.html
- https://www.usa.safekids.org/helmet-safety
- https://www.nsc.org/home-safety/safety-topics/helmet-safety
- https://www.healthychildren.org/English/safety-prevention/on-the-go/Pages/Helmet-Safety.aspx