How to Break In a New Motorcycle Helmet
To break in your new motorcycle helmet, start by wearing it for short periods, gradually increasing the time as it becomes more comfortable. Make certain you adjust the straps for a snug fit, and consider using heat or foam inserts to stretch tight areas. Regular maintenance, like cleaning and inspecting for damage, is essential for safety and visibility. By following these tips, you’ll enhance comfort and performance, and there’s more to explore on ideal helmet care.
Understanding the Importance of Breaking In Your Helmet
When you buy a new motorcycle helmet, it’s crucial to understand that breaking it in isn’t just a matter of comfort; it’s essential for safety. A properly broken-in helmet conforms to your head shape, enhancing helmet comfort and ensuring a snug fit that meets safety standards. If your helmet’s too tight or too loose, it can compromise its protective capabilities in the event of an accident. As you wear your helmet, the padding will gradually soften, allowing it to mold to your head. This process not only improves comfort but also enhances how well the helmet absorbs impact. Don’t rush it; the time spent breaking in your helmet can truly make the difference between a safe ride and a dangerous one.
Choosing the Right Size and Fit

Finding the right size and fit for your motorcycle helmet is fundamental to both comfort and safety. Proper helmet sizing guarantees it stays securely on your head during rides, while fit adjustments can enhance your experience. Start by measuring your head circumference and refer to the manufacturer’s size chart.
| Size | Head Circumference (inches) |
|---|---|
| Small | 20.5 – 21.5 |
| Medium | 21.5 – 22.5 |
| Large | 22.5 – 23.5 |
| X-Large | 23.5 – 24.5 |
Gradually Wearing Your Helmet
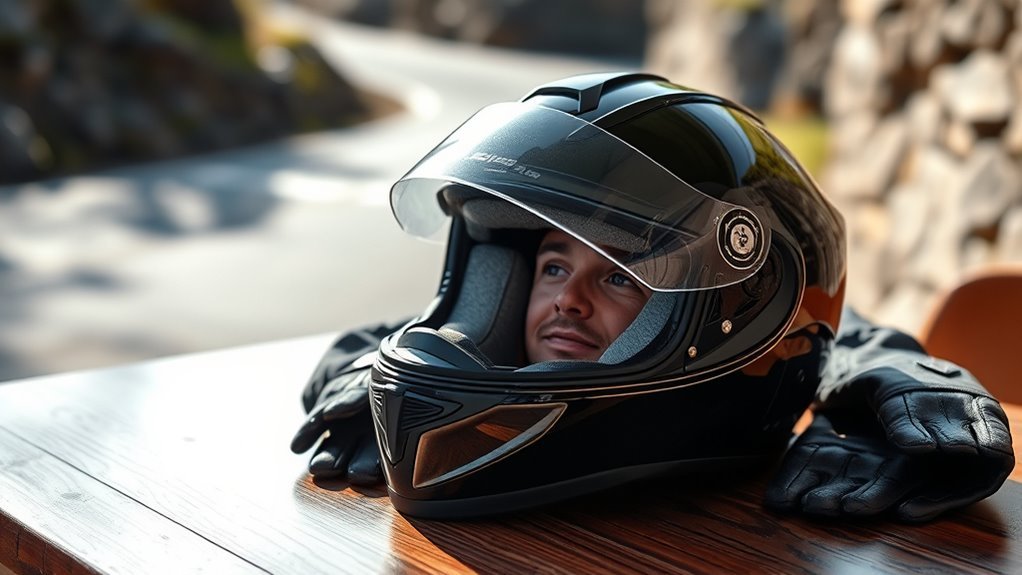
Gradually wearing your helmet is essential for achieving a comfortable fit and guaranteeing that it conforms to your head shape. Start by putting it on for short periods, maybe 15 to 30 minutes at a time, while you’re at home. This allows your head to adapt without feeling overwhelmed. As you become accustomed to the fit, increase the duration, integrating it into your daily routine. Use helmet wearing techniques like adjusting the straps to make sure it stays snug but not overly tight. This gradual comfort adjustment helps your helmet break in naturally, reducing pressure points and enhancing your riding experience. Remember, a well-fitted helmet not only feels better but also provides peak protection, allowing you the freedom to ride confidently.
Using a Stretching Method
Although adjusting the fit of your motorcycle helmet can sometimes feel challenging, using a stretching method can help create a more comfortable experience. This approach works well with various helmet materials, allowing for a snug yet comfortable fit that doesn’t compromise safety. Here are three effective stretching techniques you can try:
- Heat Application: Use a hairdryer on low to gently warm specific areas; the heat can help soften the materials.
- Foam Inserts: Place foam pieces in tight areas to gradually stretch the padding while you wear the helmet.
- Professional Stretching: Seek a local shop specializing in helmet fitting; they have the tools and expertise to adjust your helmet without damage.
These methods can enhance your riding experience, giving you the freedom to ride comfortably.
Maintaining Your Helmet After Breaking It In
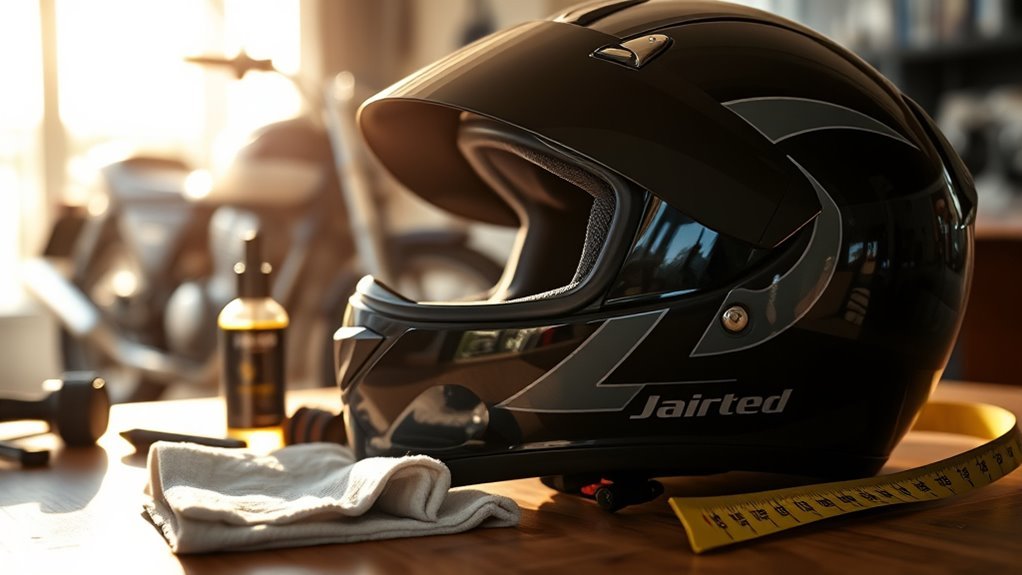
Once you’ve broken in your helmet, maintaining it becomes essential for safety and longevity. Regular cleaning techniques help keep it fresh, while proper storage methods prevent unnecessary wear. Don’t forget to inspect for any damage regularly, ensuring your helmet remains reliable on every ride.
Regular Cleaning Techniques
Maintaining your motorcycle helmet after breaking it in is essential for its longevity and performance. Regular cleaning not only keeps your helmet looking sharp but also guarantees your safety during rides. Here are some hygiene tips to follow:
- Use gentle cleaning materials: Opt for mild soap and water to clean the exterior and interior of your helmet. Avoid harsh chemicals.
- Wash the liner regularly: Remove the padding and wash it according to the manufacturer’s instructions to prevent odors and bacteria.
- Check for any damage: Inspect your helmet after cleaning to confirm it’s still in top shape; a damaged helmet isn’t just unsightly, it can compromise your safety.
Proper Storage Methods
After you’ve cleaned your motorcycle helmet and confirmed it’s in good condition, proper storage plays a key role in preserving its integrity and performance. To guarantee your helmet remains in top shape, invest in a quality protective case. This not only shields it from dust and moisture but also prevents accidental impacts. When storing, keep your helmet in a cool, dry place, away from direct sunlight and extreme temperatures, which can degrade materials over time. Avoid hanging your helmet by the straps, as this can warp the inner padding. Instead, place it upright in its case or on a dedicated shelf. With these helmet storage methods, you’ll keep your gear ready for your next ride, ensuring safety and longevity.
Inspecting for Damage
Regular inspections of your motorcycle helmet are vital for guaranteeing its continued safety and performance. Over time, even the best helmet materials can degrade or sustain damage, so conducting a thorough damage assessment is essential. Here are three key areas to check:
- Outer Shell: Look for cracks, dents, or scratches that could compromise structural integrity.
- Liner: Inspect the foam for any signs of compression or wear, which may affect impact absorption.
- Straps and Fasteners: Verify that the chin strap and retention system are intact and functioning properly.
Signs Your Helmet Is Properly Broken in
When your motorcycle helmet is properly broken in, you’ll notice a comfortable fit that feels secure without being restrictive. You should also experience reduced pressure points, allowing for longer rides without discomfort. Additionally, improved visibility and clarity will enhance your overall riding experience, making you feel more confident on the road.
Comfortable Fit Achieved
A properly broken-in motorcycle helmet should feel snug yet comfortable, indicating that it’s conforming to the shape of your head. When your helmet is just right, you’ll notice several signs:
- Even Pressure: You feel consistent pressure across your forehead, without any one area feeling overly tight.
- Secure Retention System: The straps fit snugly, keeping the helmet in place without choking you.
- Padding Adjustments: The internal padding molds to your head, providing comfort while still maintaining safety standards.
These indicators mean you’re ready to embrace the open road with confidence. A helmet that fits well not only enhances your experience but also guarantees your safety, allowing you to focus on the freedom of the ride.
Reduced Pressure Points
With a well-fitted helmet, you’ll notice a significant reduction in pressure points, which is a clear sign that it’s properly broken in. As you ride, the helmet padding should conform to your head, providing pressure point relief where it matters most. If you feel any discomfort or tightness after extended wear, it may indicate that your helmet hasn’t fully conformed yet. Pay attention to those areas that feel snug; they should ease as the padding breaks in. A properly broken-in helmet allows you the freedom to ride without distraction, ensuring your focus remains on the road ahead. Remember, comfort is essential for those long journeys, making pressure point relief a vital aspect of helmet performance.
Improved Visibility and Clarity
How can you tell if your motorcycle helmet is properly broken in? One of the key indicators is improved lens clarity, which directly affects your visibility on the road. When your helmet fits just right, you’ll notice a significant enhancement in your ability to see clearly, even in varying light conditions.
Here are three signs your helmet’s broken in:
- Comfortable Fit: No more pressure points; it feels like a second skin.
- Clear Vision: Your field of view is unobstructed, allowing you to spot hazards easily.
- Reduced Fogging: The visor stays clear longer, improving overall visibility.
When you experience these factors, you’re free to ride confidently, knowing your helmet is doing its job.
Frequently Asked Questions
How Long Does It Typically Take to Break in a Helmet?
Typically, it takes about 1 to 2 weeks to break in a helmet. You should use break-in techniques like wearing it around the house to help it conform to your head. Make comfort adjustments as needed, like removing padding or adjusting the straps. This process not only enhances fit but also guarantees you feel free and secure while riding. Patience is key; give it time to mold perfectly to your unique shape.
Can I Use Heat to Speed up the Break-In Process?
Absolutely, you can use heat application to speed up the break-in process of your helmet. Think of warmth as sunlight melting ice; it softens the helmet materials, allowing them to conform to your head shape. However, be cautious—too much heat can damage the helmet. Use a hairdryer on a low setting, focusing on tight areas for a few seconds. This method promotes comfort, ensuring you ride with freedom and confidence on the open road.
What Should I Do if My Helmet Still Feels Tight?
If your helmet still feels tight, consider making comfort adjustments. Start by checking the fit; verify it’s not too small for your head size. You can also gently stretch certain areas using specific tools or techniques designed for helmet sizing. If discomfort persists, consult a professional who can assist with custom fitting or padding alterations. Remember, a comfortable helmet is essential for enjoying your rides and embracing the freedom of the open road.
Is It Safe to Modify the Helmet’s Padding?
Is it really worth risking your safety for comfort? Modifying a helmet’s padding can lead to serious safety concerns. While some padding adjustments might seem harmless, they can compromise the helmet’s fit and protective capabilities. It’s essential to maintain the integrity of the helmet as designed by the manufacturer. Instead of altering the padding, consider using thinner layers or consult a professional to guarantee you get a safe and comfortable fit.
Can I Wear My Helmet While Riding During the Break-In Period?
Yes, you can wear your helmet while riding during the break-in period, but it’s vital to prioritize safety precautions. Initially, you might experience some discomfort as the padding adjusts to your head shape. Make certain the fit isn’t overly tight, as this can lead to fatigue on longer rides. Gradually increase your riding time to enhance comfort, allowing the helmet to mold properly while guaranteeing you enjoy that freedom on the open road.