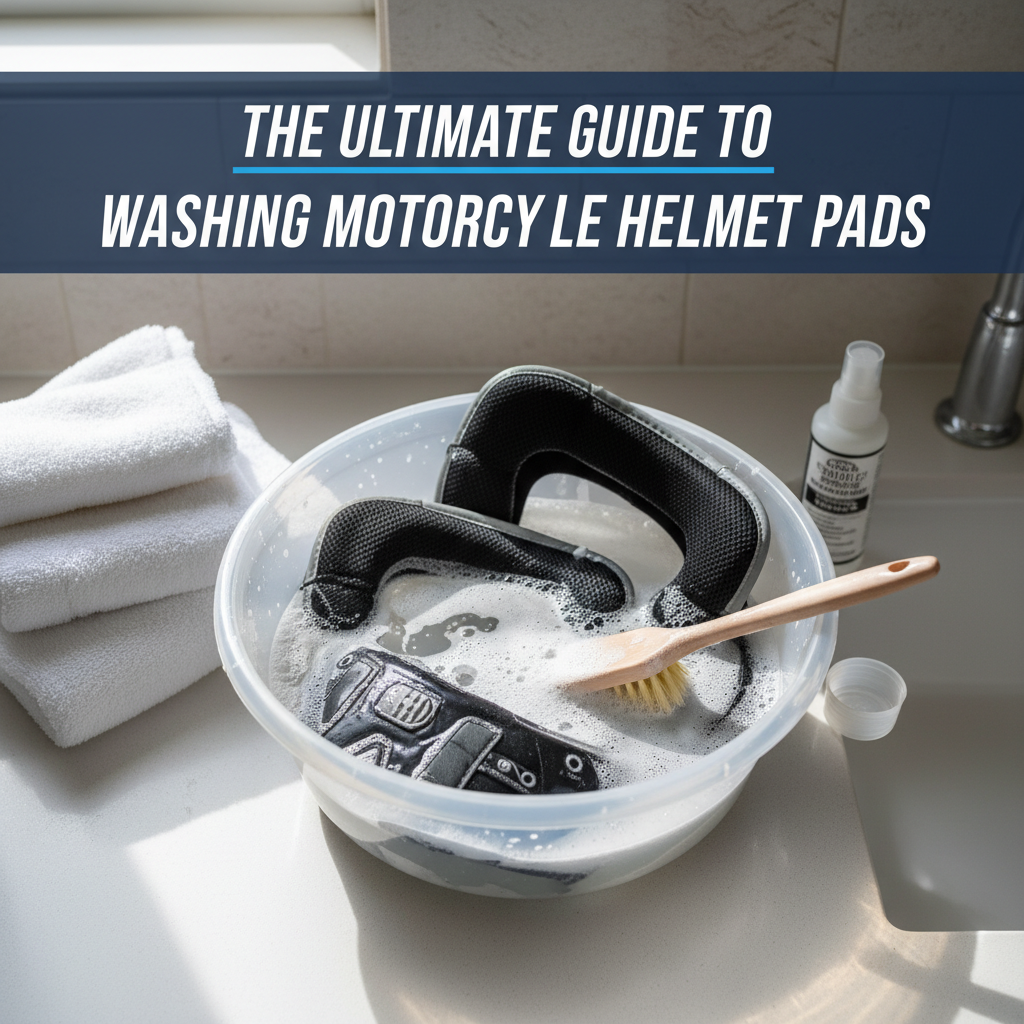
The Ultimate Guide to Washing Motorcycle Helmet Pads
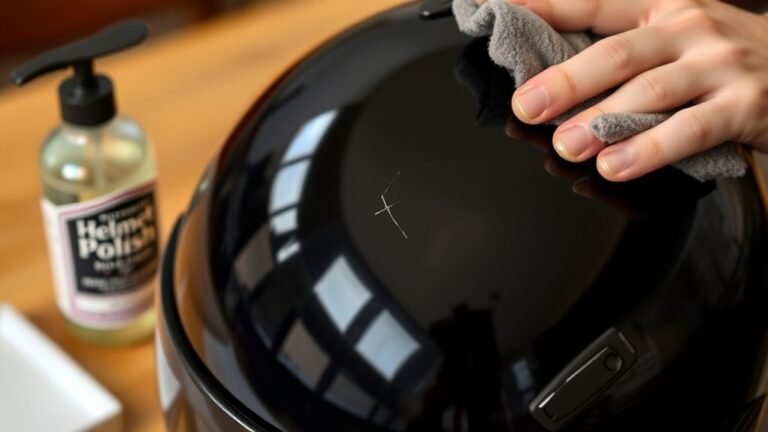
To effectively wash motorcycle helmet pads, remove them from the helmet and clean them using mild soap and warm water. Avoid harsh chemicals and ensure they are fully dry before reassembling. This not only prolongs the life of your helmet but also keeps it hygienic and comfortable. Regular maintenance of helmet pads is crucial for enhancing comfort, preventing skin irritations, and ensuring the integrity of the helmet materials. In this ultimate guide, we will take you through the best practices for cleaning, drying, and maintaining your motorcycle helmet pads.
Why Clean Your Helmet Pads?

Cleaning your helmet pads is essential for several reasons. Firstly, it enhances comfort and fit by preventing odor buildup that can occur due to sweat and environmental exposure. A fresh and clean helmet makes long rides more enjoyable, as you won’t be distracted by unpleasant smells.
Secondly, hygiene is a critical factor, especially for riders who spend extended periods in their helmets. Dirty pads can harbor bacteria and fungi, leading to skin irritations or infections. Regular cleaning minimizes these health risks, ensuring that your helmet remains a safe accessory.
Lastly, maintaining the integrity of the helmet materials is pivotal. Over time, sweat, dirt, and oils can degrade the padding and lining, compromising the helmet’s protective qualities. By keeping your helmet pads clean, you’re also safeguarding your investment in safety equipment.
Materials You’ll Need


Before you begin the cleaning process, gather the following materials to ensure a smooth and effective washing experience:
– Mild soap: Use a gentle dish soap or baby shampoo that won’t damage the materials of the pads. Avoid any harsh chemicals or detergents that can deteriorate the fabric or foam.
– Warm water: Warm (not hot) water is ideal for loosening dirt and grime without risking damage to the padding.
– Soft cloth or sponge: A soft cloth or sponge will help you scrub the pads gently without causing abrasions.
– Towel for drying: A clean towel is essential for pat drying the pads to remove excess water before air drying.
Having these materials ready will help streamline the process and ensure effective cleaning.
Step-by-Step Removal Process
Removing the helmet pads correctly is crucial for both cleaning and reassembly. Follow these steps to ensure a smooth removal process:
– Consult the manufacturer’s instructions: Begin by checking your helmet’s manual for specific instructions on how to detach the pads. Different helmet brands may have different attachment methods, such as snaps, Velcro, or clips.
– Carefully detach the pads: Gently pull or unfasten the pads without applying excessive force to prevent tearing. Take your time during this process to avoid damaging any components.
– Take note of the pad placement: As you remove the pads, make a mental note or take pictures of where each pad belongs. This will make reassembly easier and ensure that everything fits correctly.
By following these steps, you can avoid mishaps that could lead to improper reinstallation or damage to the helmet.
Washing Techniques
Once the pads are removed, it’s time to wash them effectively:
– Soak pads in warm soapy water: Fill a basin or sink with warm water and add a few drops of mild soap. Submerge the pads and let them soak for 15-30 minutes. This will help loosen dirt, sweat, and oils.
– Gently scrub with a soft cloth: After soaking, take a soft cloth or sponge and gently scrub the pads. Focus on areas that appear particularly dirty or stained. Avoid using abrasive materials, as they can scratch or damage the surface of the pads.
– Rinse thoroughly: Once cleaned, rinse the pads under warm running water to remove any soap residue. Make sure no soap remains, as it can irritate the skin when the pads are reattached.
By employing these washing techniques, you ensure that the pads are not only clean but also remain intact and functional.
Drying and Reassembly Tips
Proper drying is just as important as washing. Here’s how to ensure your helmet pads dry effectively:
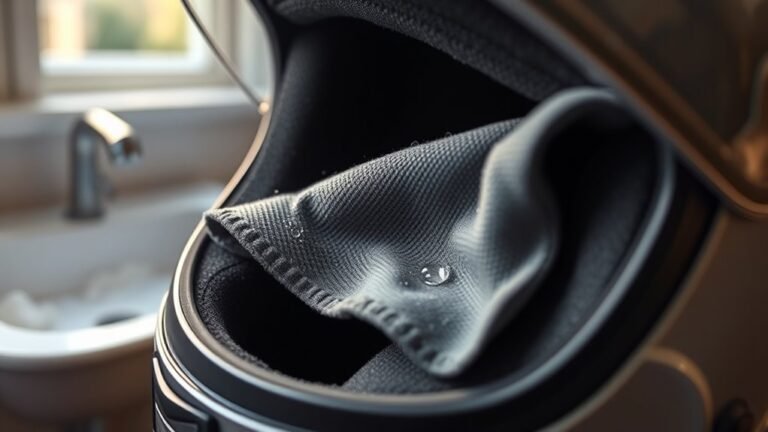
– Pat pads dry with a towel: After rinsing, gently pat the pads with a clean towel to remove excess water. Do not wring or twist the pads, as this could distort their shape.
– Air dry completely: Place the pads in a well-ventilated area away from direct sunlight or heat sources. It’s crucial that the pads are completely dry before reattaching them to the helmet, as moisture can lead to mold and mildew.
– Reattach carefully: Once fully dry, refer to your notes or images taken during removal to reattach the pads correctly. Ensure that each pad is secured properly to maintain the helmet’s fit and safety.
Following these drying and reassembly tips will help extend the life of your helmet pads and ensure they perform optimally.
Maintenance Tips for Longevity
Maintaining your motorcycle helmet pads is essential for their longevity and your comfort. Here are some actionable tips:
– Regularly clean pads: Aim to clean your helmet pads every few months or after long rides. Frequent cleaning will prevent build-up and maintain hygiene.
– Store your helmet properly: When not in use, store your helmet in a cool, dry place. Avoid leaving it in hot cars or damp environments, as these conditions can promote mildew growth.
– Inspect regularly: Check the pads for signs of wear and tear. If you notice any fraying or loss of cushioning, it’s a good idea to consider replacing the pads to maintain comfort and safety.
Implementing these maintenance tips will help ensure your helmet remains in excellent condition for years to come.
Additional Advice: When to Replace Helmet Pads
Despite regular cleaning and maintenance, there may come a time when replacement is necessary. Here are key indicators that it’s time to consider new helmet pads:
– Signs of wear: Look for fraying edges, cracks, or loss of cushioning. If the pads no longer provide adequate comfort or support, it’s time for a replacement.
– Persistent odors: If odors continue to linger even after thorough cleaning, it may indicate that bacteria or mildew have penetrated the padding beyond cleaning. New pads can resolve hygiene issues and improve your riding experience.
– Manufacturer recommendations: Some manufacturers recommend replacing pads after a certain period or after a specific number of rides. Consult the user manual for guidance on when to replace your helmet pads.
By paying attention to these signs, you can ensure your helmet pads remain effective and hygienic.
In conclusion, keeping your motorcycle helmet pads clean is essential for comfort, hygiene, and helmet longevity. By following this ultimate guide, you can ensure your helmet remains in top shape through effective cleaning, drying, and maintenance practices. Don’t wait—start your cleaning process today for a fresher ride, and enjoy the peace of mind that comes with a well-maintained helmet.
References
- https://www.motorcyclistonline.com/how-to-clean-your-motorcycle-helmet/
- https://www.webbikeworld.com/how-to-clean-a-motorcycle-helmet/
- https://www.ama-cycle.org/
- https://www.nhtsa.gov/road-safety/motorcycles
- https://www.cdc.gov/motorvehiclesafety/motorcycles/index.html
- https://www.helmet.org/
- https://www.helmets.org/