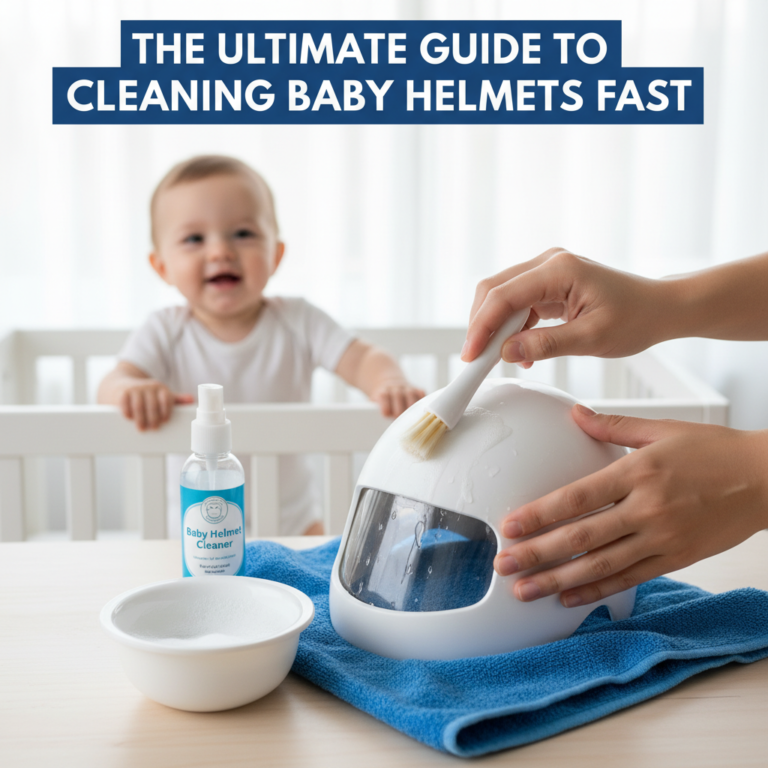
The Ultimate Secret to Cleaning Your Bike Helmet
To clean your bike helmet effectively, start by removing the padding and using mild soap and water. This simple method will ensure your helmet stays hygienic and extends its lifespan. A clean helmet is not just about aesthetics; it is fundamental for safety and comfort during your rides. In this guide, we’ll explore the best practices for maintaining your helmet, keeping it safe and fresh after every ride, so you can enjoy your cycling experience without worry.
Why Cleaning Your Bike Helmet Matters

Cleaning your bike helmet is essential for several reasons. First and foremost, it prevents bacteria build-up, which can lead to unpleasant odors and skin irritations. Sweat, dirt, and grime accumulate over time, creating a breeding ground for harmful microbes. Regular cleaning eliminates these contaminants, ensuring that your helmet remains a haven of hygiene.
Moreover, a clean helmet enhances safety. The outer shell may show signs of wear and tear that are easier to spot when free from dirt and grime. Regular inspection during the cleaning process allows you to identify cracks or structural damage that could compromise the helmet’s effectiveness in protecting your head. Remember, your helmet is your first line of defense in the event of an accident; maintaining it is not just good practice—it’s essential for your safety.
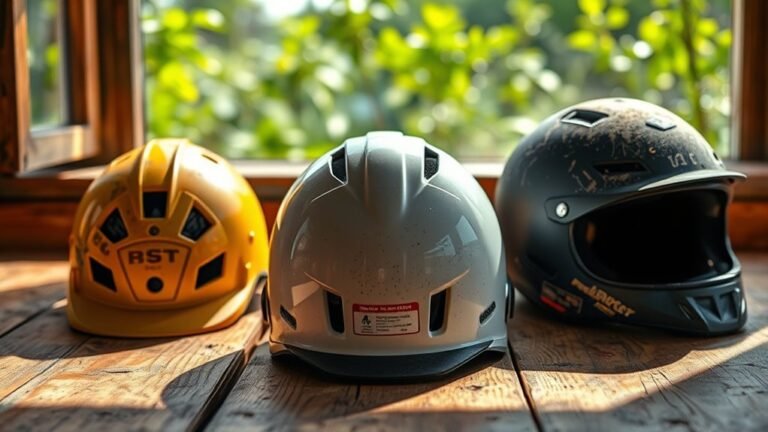
Essential Tools for Helmet Cleaning


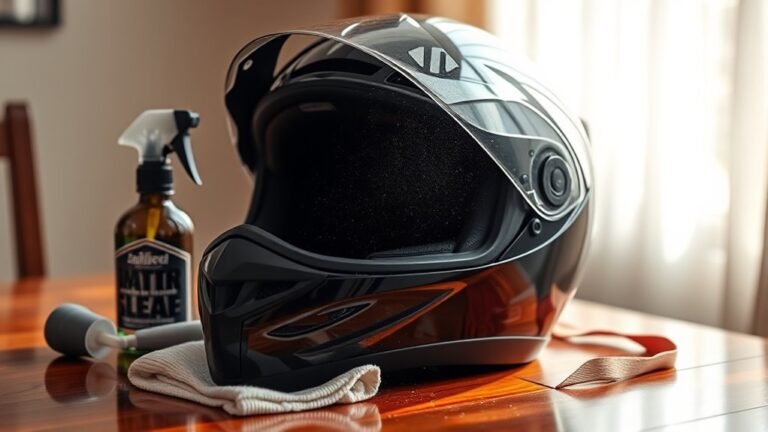
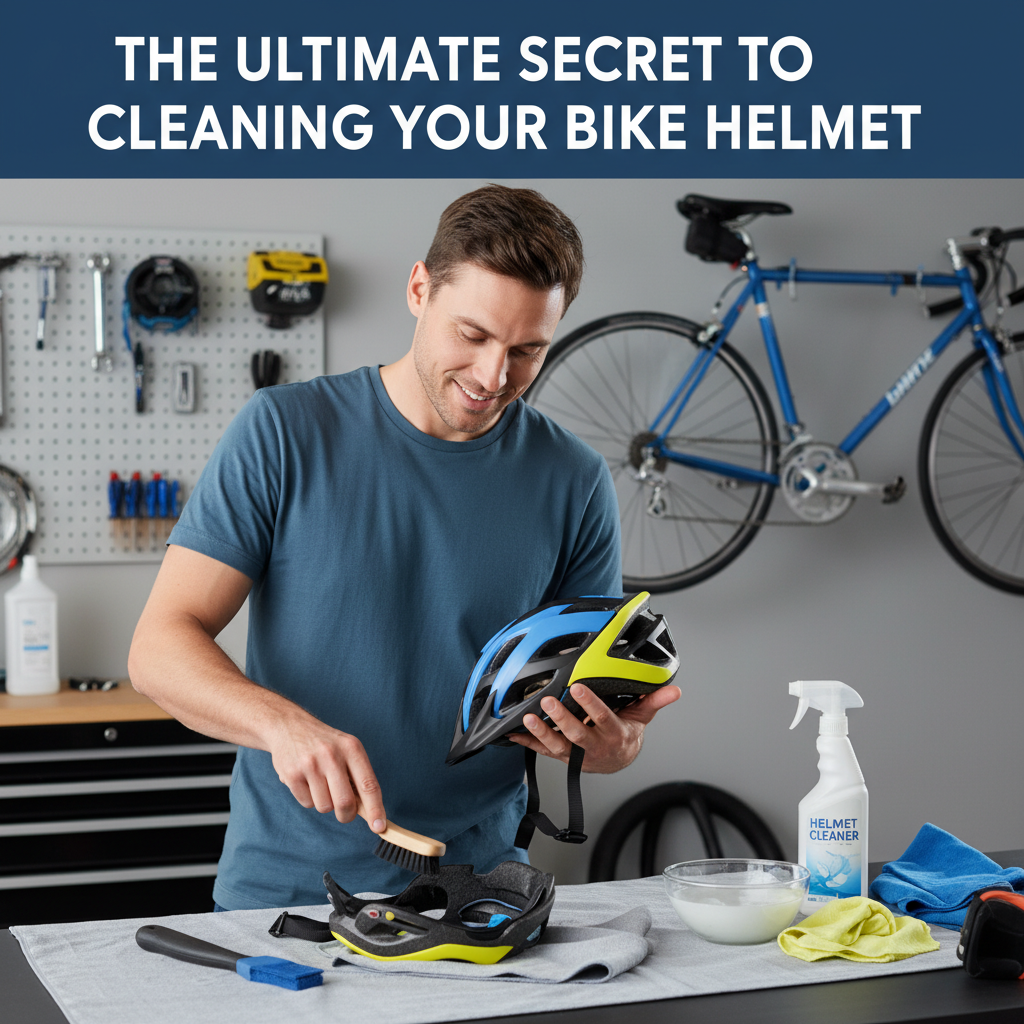
To effectively clean your bike helmet, you need the right tools. Firstly, microfiber cloths are essential. These soft cloths are gentle on your helmet’s surface and prevent scratches, which can weaken the outer shell. Additionally, a mild soap is crucial. Opt for a non-toxic soap that is free from harsh chemicals, as these can degrade the helmet materials over time. You may also consider using a soft brush with bristles that are not too stiff; it can help reach crevices in the helmet that require a more thorough cleaning.
Step-by-Step Cleaning Process
Cleaning your bike helmet can be broken down into a few straightforward steps. Begin by removing the inner padding. Most helmets have removable padding that can be detached with ease. Follow the manufacturer’s guidelines for removal to avoid damaging the helmet. Once the padding is removed, use a damp cloth with mild soap to wipe down the exterior of the helmet. Pay particular attention to vents and any areas where dirt tends to accumulate.
After wiping the outer shell, rinse it with clean water to remove any soap residue. It’s vital to ensure that no cleaning agents remain, as they can irritate your skin during your next ride. Allow the helmet to dry completely in a well-ventilated area before reattaching the padding, as moisture can lead to mold growth.
Cleaning the Padding
The inner padding of your helmet requires special attention. Hand washing is the only recommended method for cleaning helmet padding. Begin by soaking the padding in a mixture of warm soapy water for about 15-20 minutes. This allows the soap to penetrate and break down any oils and dirt. After soaking, gently scrub the padding with your hands or a soft cloth, being careful not to be too aggressive—this could damage the padding material.
Once cleaned, rinse the padding thoroughly with clean water to remove any soap residue. It’s vital to ensure that the padding is completely dry before reattaching it to the helmet. To air dry, lay the padding flat on a clean towel or hang it in a well-ventilated area. Avoid using a dryer or placing it near direct heat sources, as these can warp the padding.
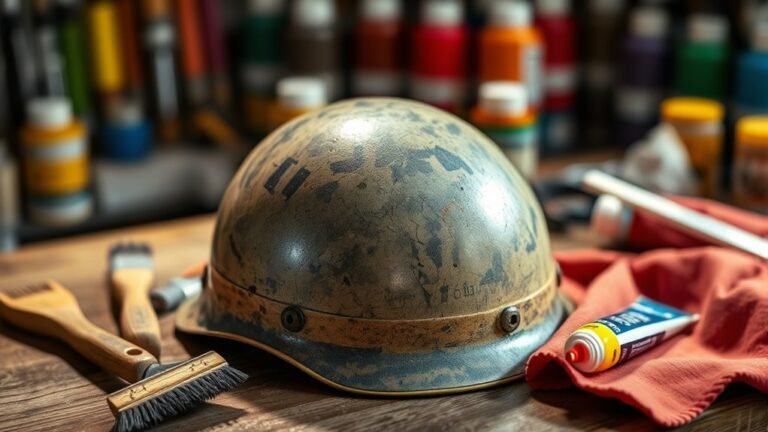
Maintenance Tips for Longevity
Proper maintenance can significantly extend the lifespan of your bike helmet. Store your helmet in a cool, dry place, away from direct sunlight. UV rays can degrade the materials of your helmet over time, leading to premature wear and tear. If possible, use a helmet bag to protect it from dust and scratches when not in use.
Regular inspections are also crucial. Make it a habit to check your helmet for cracks, dents, or other signs of damage every few rides. This proactive approach ensures that you catch any potential issues early, allowing you to address them before they compromise your safety. If you notice any damage, it is better to err on the side of caution and replace the helmet, as its effectiveness may be compromised.
Common Mistakes to Avoid
While cleaning your bike helmet may seem straightforward, several common mistakes can undermine your efforts. One of the most significant errors is using harsh chemicals. Cleaners containing bleach or strong solvents can degrade the helmet materials, making them less effective in protecting your head. Always stick to mild, non-toxic soaps designed for sensitive surfaces.
Another common mistake is neglecting to clean the inner padding. The padding absorbs sweat and oils from your skin, which can lead to unpleasant odors and bacterial growth. Regularly cleaning the padding is just as important as the helmet’s exterior; both contribute to your overall safety and comfort.
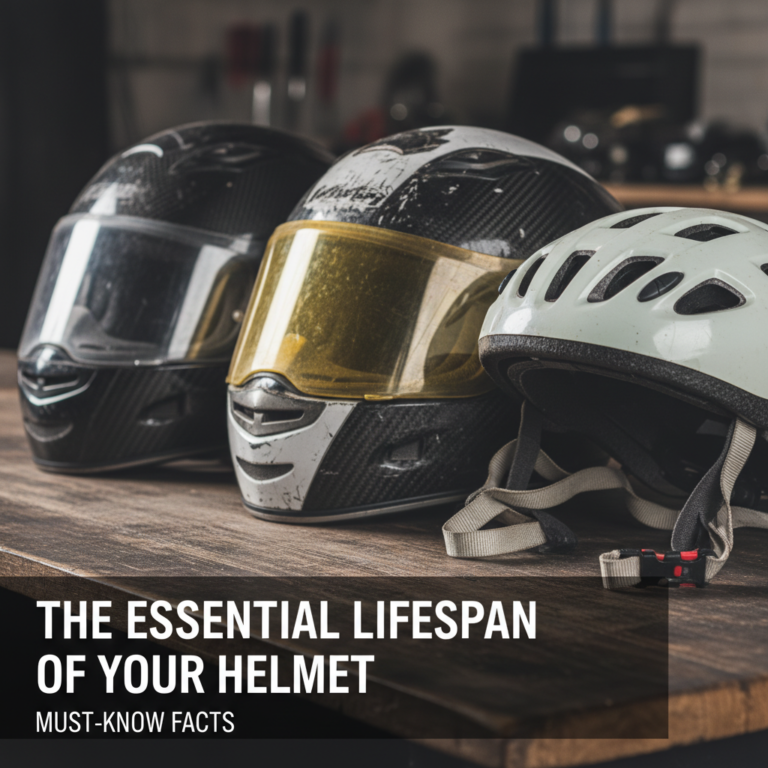
When to Replace Your Helmet
Understanding when to replace your helmet is crucial for maintaining safety. If your helmet has endured any kind of crash or impact, it should be replaced immediately. Even if there are no visible signs of damage, the structural integrity may be compromised, rendering it ineffective.
Experts generally recommend replacing your helmet every three to five years, even if you haven’t been in an accident. Over time, the materials can degrade due to exposure to UV rays, sweat, and general wear and tear. Keeping a close eye on the expiration of your helmet’s lifespan is vital for ensuring you always have optimal protection.
In summary, maintaining a clean bike helmet is crucial for both hygiene and safety. By following these essential steps and tips—removing padding, using mild soap, and conducting regular inspections—you can ensure your helmet remains in top condition. Start your cleaning routine today and enjoy safer, fresher rides!
References
- https://www.cdc.gov/headsup/bikes/bikehelmets.html
- https://www.hc-sc.gc.ca/hl-vs/iyh-vsv/prod/helmet-casque-eng.php
- https://www.bikeleague.org/content/helmet-safety-tips
- https://www.nhtsa.gov/road-safety/bicycle-safety
- https://www.bike.com.au/safety/cleaning-your-bicycle-helmet
- https://www.helmets.org/faq.htm
- https://www.nsr.gov.au/road-safety/bike-helmet-safety
- https://www.cpsc.gov/Business–Manufacturing/Business-Guidance/Bicycle-Helmets