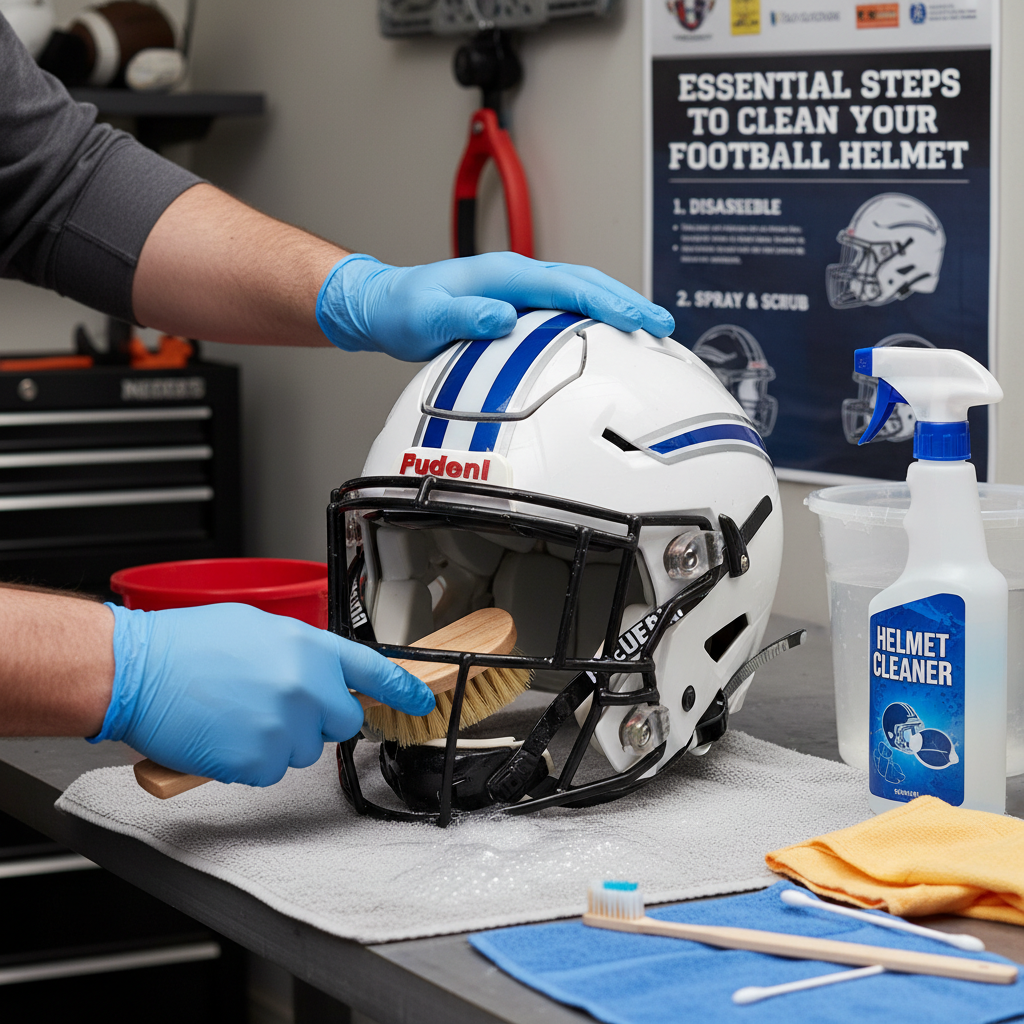
Essential Steps to Clean Your Football Helmet Now
Essential Steps to Clean Your Football Helmet Now: Protect Skin, Odor, and Shell Integrity
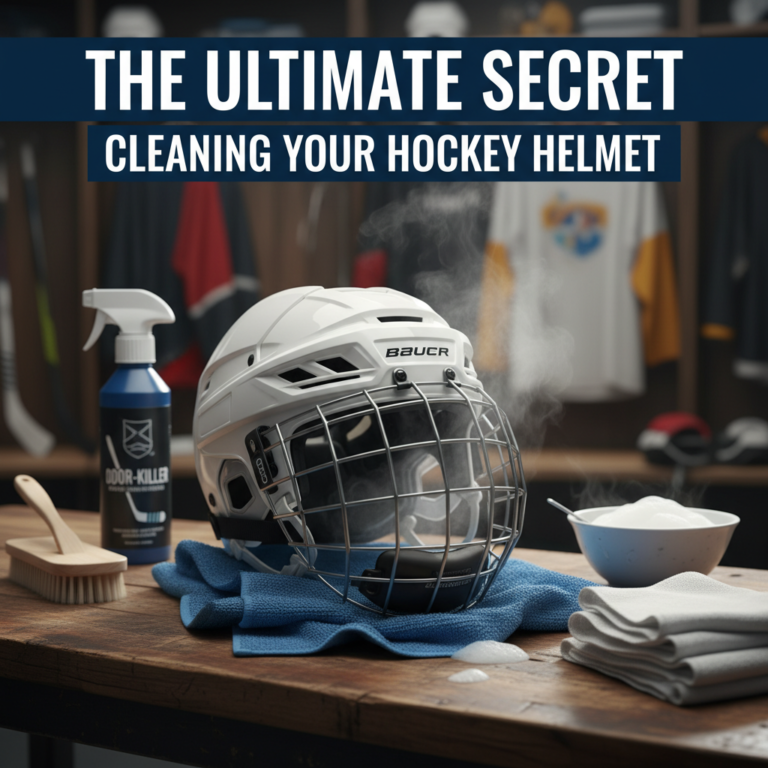
Cleaning your football helmet promptly after practices is one of the most practical ways to protect player hygiene and maintain protective performance. The key is using the right materials, cleaning the high-sweat contact zones, and drying everything thoroughly so odors and bacteria do not return.
Why Cleaning a Football Helmet Matters More Than Most Players Think
Football helmets collect sweat, skin oils, and debris that can create a breeding ground for odor-causing microbes. Regular cleaning is also essential because trapped moisture and grime can accelerate wear on liners, padding, and retention systems.
Helmet hygiene is defined as the routine removal of sweat, salts, and contaminants from the helmet’s interior materials to reduce odor, skin irritation, and microbial buildup. Many coaches and sports equipment specialists emphasize that consistent sanitation supports both comfort and safety during contact play.
What can build up inside a helmet?
The interior of a helmet is exposed to high-frequency contact and repeated cycles of sweat. Over time, you can find:
- Sweat salts that can leave residue and worsen odor.
- Skin oils that cling to foam and fabric.
- Moisture that can remain trapped in liners if drying is incomplete.
- Dirt and skin flakes that stick to padding and straps.
How often should you clean?
A widely accepted approach is to do a quick wipe-down after each practice and a deeper cleaning on a regular schedule, such as weekly during active season. If you play multiple days in a row, a faster reset (wipe and air-dry) can prevent grime from setting into foam.
The key difference is that quick cleaning reduces buildup immediately, while deeper cleaning removes residue that has already absorbed into padding and fabric layers.
Direct Answer: Gather the Right Cleaning Supplies Before You Start
The fastest way to avoid damaging your helmet is to gather safe, non-abrasive supplies before you begin. Use products designed for sports equipment, gentle detergents, and soft microfiber cloths—never harsh solvents.
Essential supplies for a safe, effective clean
- Mild soap or helmet-specific cleaner: Look for gentle, sports-gear formulations that won’t degrade foam.
- Soft microfiber cloths: Microfiber is defined as a low-scratch synthetic fabric that lifts grime without grinding it into materials.
- Soft sponges or foam-safe brushes: Choose non-abrasive tools for liner fabrics.
- Lukewarm water: Warm water dissolves sweat salts and residues more effectively than cold water, without increasing material stress like very hot water can.
- Disinfecting wipes (optional, interior-only): Use only if they are intended for sports gear and avoid oversaturating foam.
- Clean, dry towels for blotting before air-drying.
What should you avoid?
Many helmets include foams, adhesives, and synthetic fabrics that can be harmed by strong chemicals. Avoid:
- Bleach or heavy chlorine solutions (can degrade materials).
- Acetone or strong solvents (can damage plastics and adhesives).
- High-pressure rinsing directly into foam layers.
- Scrubbing pads or abrasive sponges (can scratch finishes and fray padding).
Preparing Your Helmet for Cleaning: Remove Pads and Inspect Damage
Preparation makes cleaning easier and more thorough, especially in areas that are hard to reach. Before you use any cleaner, remove removable components and check for damage that could affect fit or protection.
Step 1: Remove the interior padding (if your helmet allows it)
Many modern football helmets use removable liners and cheek pads. Carefully detach them so you can clean surfaces you cannot access when parts are installed.
X is defined as a “deep-clean safe interior” when the liner is removed enough to allow gentle cleaning and complete drying without trapping moisture.
Step 2: Inspect for wear or breakdown
While the helmet is disassembled, check the interior and retention points for issues that cleaning cannot fix. Look for:
- Cracks, dents, or deformation in the shell area you can see.
- Fraying in fabric liners.
- Flattened foam that no longer springs back.
- Loose stitching or damaged chin strap components.
If padding is separated from foam, permanently compressed, or the helmet no longer fits as securely as it should, replacement may be the safest option. Equipment guidance typically stresses that damaged padding can reduce the helmet’s ability to manage impact forces.
Direct Answer: Clean the Helmet Interior Using a Gentle, High-Sweat Method
To clean effectively without damaging the liner, use a lightly damp cloth, clean high-contact zones first, and avoid soaking foam. Sweat buildup concentrates around the forehead and cheek areas, so those zones deserve extra attention.
Step 3: Wipe down the interior surfaces
Start by lightly dampening a microfiber cloth or soft sponge with a mild soap solution. Wipe the interior surfaces using gentle pressure to lift oils and residue. Focus on consistent, controlled strokes rather than aggressive scrubbing.
The key difference is wiping with mild cleaner removes films of sweat and skin oils, while heavy scrubbing pushes residue deeper into fabrics and foam.
Step 4: Focus on the forehead, cheek pads, and chin area
These areas collect sweat and friction every play. Apply slightly more attention to:
- Forehead region where helmets often trap moisture.
- Cheek pads that contact skin and absorb oils.
- Chin strap and any hardware that contacts the wearer.
Also check for dried salt marks. If you see buildup, use a slightly more concentrated soap solution on a cloth and wipe repeatedly until the residue loosens.
Step 5: Clean removable padding separately
If your padding is designed to be removed, clean it carefully while it’s out of the helmet. Blot excess moisture and keep foam from staying soaked. For disinfecting, follow product instructions and avoid saturating padding materials.
Conversational Q&A: Can I use disinfectant wipes?
Q: Can I use disinfecting wipes inside my football helmet?
A: Yes, if the wipes are intended for sports gear and you use them sparingly. Wipe surfaces lightly rather than soaking foam. After disinfecting, make sure the helmet and padding dry completely.
Direct Answer: Dry Completely to Prevent Odor and Microbial Growth
Drying is not optional. Even if a helmet looks clean, leftover moisture can create persistent odor and promote microbial growth within liners.
Step 6: Blot, air-dry, and keep airflow moving
After cleaning, use a clean towel to blot remaining moisture. Then air-dry the helmet and removable pads in a well-ventilated area.
- Time target: dry until no damp spots remain; many helmets require several hours to fully dry, depending on humidity and padding thickness.
- Airflow: place the helmet so air can reach interior surfaces.
- Temperature: avoid high heat. Intense heat can warp plastics and damage foam and adhesives.
Typical Drying Priorities by Helmet Interior Zone (Indoor Air-Dry)
| # | Interior zone | Primary sweat retention | Typical air-dry time* | Material-safe drying priority | Dryness target (so odor won’t return) |
|---|---|---|---|---|---|
| 1 | Forehead liner area | Moisture trapped under brow contact | 6–10 hrs | ★★★★☆ | No cool/damp spots |
| 2 | Cheek pads | Skin-oil films on fabric faces | 5–9 hrs | ★★★★☆ | Completely dry to touch |
| 3 | Chin strap webbing | Sweat wicking along seams | 4–8 hrs | ★★★★☆ | No lingering dampness |
| 4 | Removable top liner pads | Padding thickness slows drying | 7–12 hrs | ★★★☆☆ | Dry throughout the padding |
| 5 | Retention/fit system straps | Humidity trapped behind components | 3–7 hrs | ★★★☆☆ | Dry at contact points |
| 6 | Vent channels and air paths | Surface moisture in channels | 2–5 hrs | ★★★☆☆ | No visible wet sheen |
| 7 | Helmet shell interior edges | Moisture along seam lines | 3–6 hrs | ★★★☆☆ | Dry before reassembly |
Conversational Q&A: Should I put my helmet in the sun?
Q: Is it okay to dry a helmet in direct sunlight?
A: Occasional outdoor airflow can help, but prolonged direct sun can degrade materials over time and fade finishes. Indoor ventilation is often the safer first choice.
Reassemble, Maintain Fit, and Build a Cleaning Routine
Once everything is fully dry, reassemble the helmet carefully and check that padding sits correctly. A consistent routine makes the next cleaning faster and keeps the helmet comfortable session after session.
Step 7: Reinstall pads and verify secure fit
After drying, attach padding exactly as designed and ensure the chin strap and retention features operate normally. If your helmet includes faceguard attachments or internal retention systems, confirm they are seated properly.
Step 8: Establish a simple “after practice” routine
Many teams benefit from a standardized approach that players can follow quickly. A practical routine includes:
- Quick wipe with a soft cloth after practices.
- Air-out the helmet between uses.
- Weekly deep clean during season, or more often during high-sweat schedules.
Expert consensus in sports equipment care consistently points to gentle cleaning, complete drying, and avoidance of harsh chemicals as the best way to protect helmet materials.
Common Mistakes That Damage Helmets (and How to Avoid Them)
Several well-intended cleaning habits can shorten helmet lifespan or compromise comfort. Avoid soaking, harsh chemicals, and rushed drying.
Mistake 1: Soaking foam liners
Even mild cleaners can trap moisture if foam is soaked. Clean with damp cloths and blot excess moisture rather than submerging materials.
Mistake 2: Skipping drying time
A helmet that is only partially dry can smell again within hours. Dry until the interior feels completely moisture-free.
Mistake 3: Using abrasive scrubbers
Abrasive pads can roughen finishes and fray liners. Microfiber and soft sponges are the safer choice.
Quick Checklist: Clean Your Football Helmet in the Right Order
Use this order to ensure you clean thoroughly while protecting materials. Following a consistent sequence also makes the process easier to repeat.
- Gather supplies: mild cleaner, microfiber cloth, lukewarm water, clean towels.
- Prepare: remove padding (if possible) and inspect for damage.
- Clean: wipe interior surfaces; focus on forehead, cheek pads, and chin strap.
- Dry: blot and air-dry with airflow until fully dry.
- Reassemble: reinstall pads correctly and confirm secure fit.
Next Step: Keep Your Helmet Fresh With Proper Storage
Proper storage helps your helmet stay cleaner between cleanings. After it dries, store it where it can breathe rather than trapping moisture in a closed bag.
The key difference is ventilated storage reduces moisture buildup, while sealed storage can reintroduce odor and grime.
If you want, tell me your helmet brand/model (for example, Schutt, Riddell, VICIS, or Nike) and whether the pads are removable. I can suggest a tailored cleaning cadence and material-safe approach for that setup.
Frequently Asked Questions: Essential Steps to Clean Your Football Helmet Now
How often should I clean my football helmet?
Clean your football helmet at least after every season or whenever it smells, feels sticky, or has visible sweat and grime. For heavy use, a quick clean of the interior padding and face area after practices can help prevent odor buildup and bacteria growth. A deeper clean—where you remove and wash (or wipe down) removable pads—should be done regularly, especially before storing the helmet for the off-season. Always follow your helmet manufacturer’s care instructions, since some liners and finishes can be sensitive to certain products.
What’s the safest way to clean the inside padding and liner?
Start by removing all removable padding according to the manufacturer’s guidance. Use a mild detergent mixed with cool or lukewarm water and gently clean with a soft cloth or sponge. If the padding is washable, allow it to air-dry completely—never use high heat like a dryer, which can warp materials or break down adhesives. If pads are not removable, wipe them using a slightly damp microfiber cloth and a mild detergent solution, then follow with a clean water wipe using another lightly damp cloth. To prevent lingering odor, ensure the helmet interior dries fully before reassembly and storage.
Avoid: soaking the liner excessively, using harsh cleaners, and spraying disinfectants directly into seams or onto foam.
Can I use disinfectant sprays or alcohol to remove germs?
Sometimes disinfectants are appropriate, but it’s crucial to choose products compatible with helmet materials. In general, use mild, manufacturer-approved options first. If you do use a disinfectant, apply it carefully—preferably to a cloth rather than directly onto the helmet padding and shell—so you don’t saturate foam or force chemicals into vents and seams. Many alcohol-based products can damage certain plastics or degrade adhesives over time, and strong disinfectants may leave residue or affect the liner. Always test on a small, hidden area and confirm the product is safe for helmet liners, padding, and exterior finishes.
Best practice: clean with mild soap and water to remove sweat and oils, then disinfect only if the manufacturer recommends it and the surfaces are fully dry.
How do I clean the helmet shell without damaging it?
To clean the shell, first wipe away loose dirt with a dry microfiber cloth. Then use a mild soap solution (or a helmet-safe cleaner) and a soft cloth to gently scrub smudges and grime. Rinse by wiping with a cloth lightly dampened with clean water—avoid soaking the shell or letting water pool in seams, grommets, or ventilation channels. Dry immediately with a clean microfiber towel. Do not use abrasives (like steel wool) or aggressive chemicals such as acetone or strong solvents, which can dull or weaken the finish. If your helmet has a sticker decal or specialty paint, be extra gentle to prevent peeling.
Also check: inspect the shell after cleaning for cracks, loose hardware, or stress points that could affect safety.
What’s the best way to dry and store my helmet after cleaning?
After cleaning, dry everything thoroughly before reassembling or storing. Air-dry is the safest option: place the helmet in a well-ventilated area away from direct sunlight and heat sources. If pads are removable, dry them flat or in their normal shape to prevent warping. Ensure there’s no trapped moisture inside the helmet before putting it away—residual moisture can cause odor, mold, and deterioration of foam materials. Once completely dry, reattach pads securely, tighten straps appropriately, and store the helmet in a breathable bag or on a stand to maintain airflow and protect the finish.
Tip: a towel can help absorb surface moisture, but avoid heavy wringing or heat drying.
References
- PubMed: Biomedical Literature Search Google Scholar
https://pubmed.ncbi.nlm.nih.gov/ - Google Scholar: Search—Football Helmet Cleaning Disinfection Google Scholar
https://scholar.google.com/scholar?q=football+helmet+cleaning+disinfection - Google Scholar: Search—Protective Equipment Cleaning Guidelines Google Scholar
https://scholar.google.com/scholar?q=protective+equipment+cleaning+guidelines+fungus+bacteria - CDC: Cleaning and Maintaining Sports Protective Gear
https://www.cdc.gov/headsup/sports/cleaning-maintenance.html - CDC Heads Up Youth Sports: Resources and Safety Information
https://www.cdc.gov/headsup/youthsports/index.html - HealthyChildren.org (AAP): Guidance on Sports Equipment and Safety
https://www.healthychildren.org - WHO: Chemical Safety (Cleaning Agents and Health Considerations)
https://www.who.int/health-topics/chemical-safety - Encyclopaedia Britannica: Sanitation (Hygiene and Cleanliness Principles)
https://www.britannica.com/topic/sanitation
📅 Last Updated: July 06, 2026 | Topic: Essential Steps to Clean Your Football Helmet Now | Content verified for accuracy and freshness.