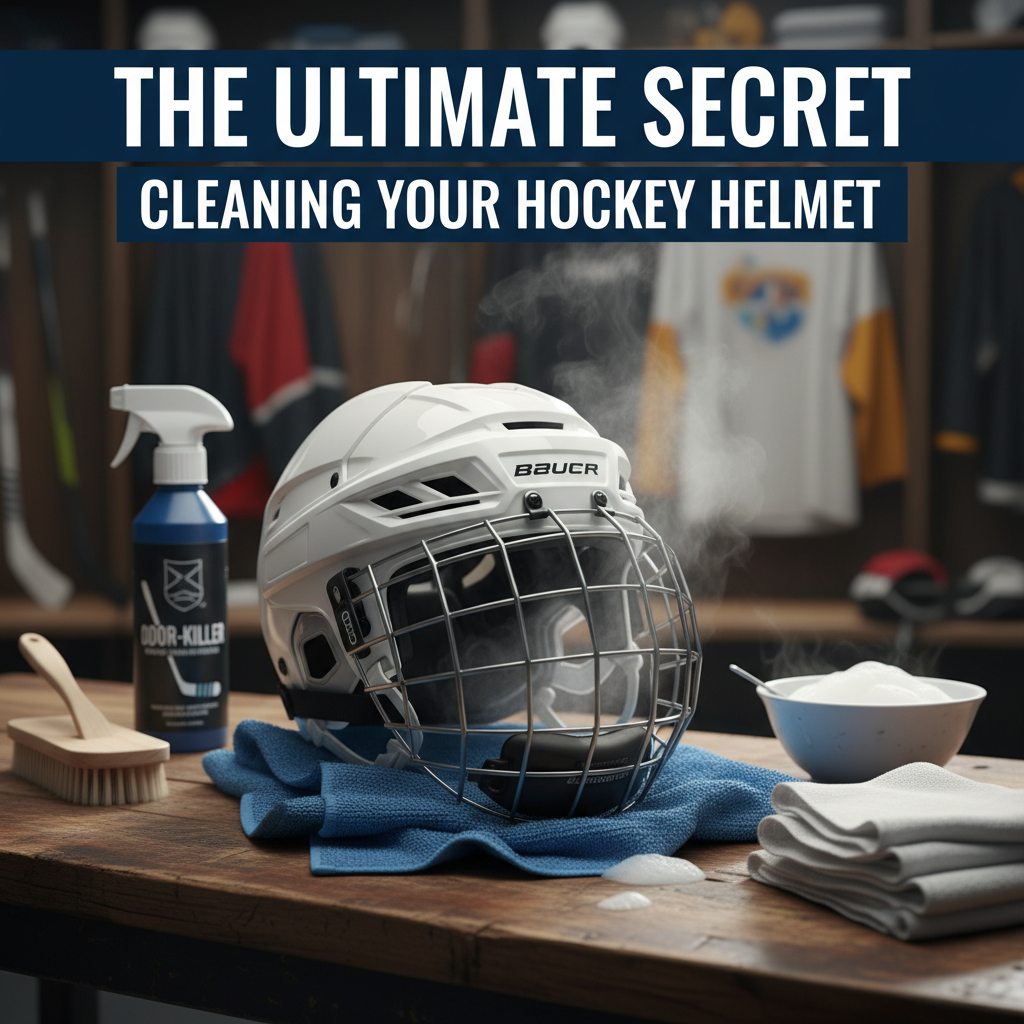
The Ultimate Secret to Cleaning Your Hockey Helmet
To effectively clean your hockey helmet, start by removing the inner padding and washing it separately. Then, use a gentle soap solution to clean the shell, ensuring you maintain hygiene for better protection during play. This routine not only prolongs the life of your helmet but also enhances your safety on the ice by minimizing bacteria and odor buildup. In this comprehensive guide, we will explore best practices and expert tips to keep your hockey helmet in top condition.
Understanding the Importance of Helmet Hygiene

Maintaining proper hygiene for your hockey helmet is crucial for several reasons. First and foremost, it prevents bacteria and odor buildup that can make wearing the helmet uncomfortable and potentially unsafe. Sweat, moisture, and skin oils accumulate in the padding and shell, creating an ideal environment for bacterial growth. This can lead to skin irritations or infections, which can sideline players from the game.
Moreover, regular cleaning enhances safety by maintaining the integrity of your helmet. Over time, dirt and grime can wear down the materials, compromising its protective features. A clean helmet is not only more comfortable but also functions optimally during play, providing the necessary protection against impacts and collisions. By prioritizing hygiene, players can ensure that their helmets remain reliable and effective, ultimately contributing to their overall performance on the ice.
Essential Tools for Cleaning


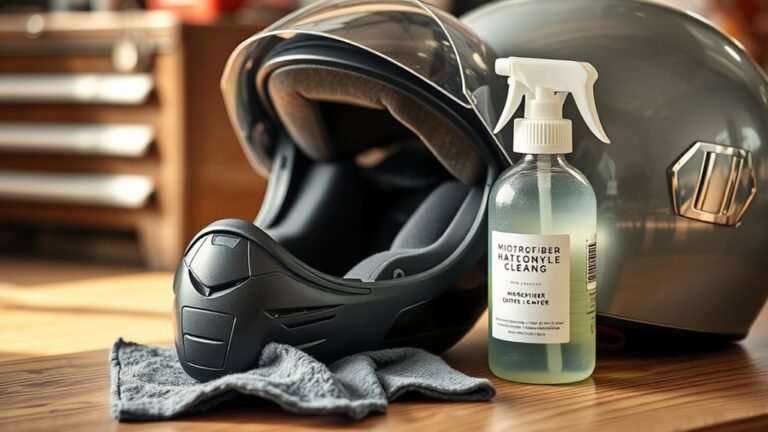
To effectively clean your hockey helmet, it is essential to gather the right tools. A soft sponge or cloth is critical for gentle scrubbing; this will help you avoid scratching the helmet’s surface while still removing dirt and debris. Opt for a non-abrasive sponge designed for delicate surfaces to ensure you won’t damage the helmet.
In addition to the sponge, you’ll need a mild soap or specialized helmet cleaner. Many manufacturers provide specific cleaning solutions that are formulated to be safe for the materials used in helmets. If you choose to use a mild soap, ensure it is free from harsh chemicals, as these can degrade the helmet’s materials over time. Having these tools on hand will make the cleaning process efficient and effective.
Step-by-Step Cleaning Process
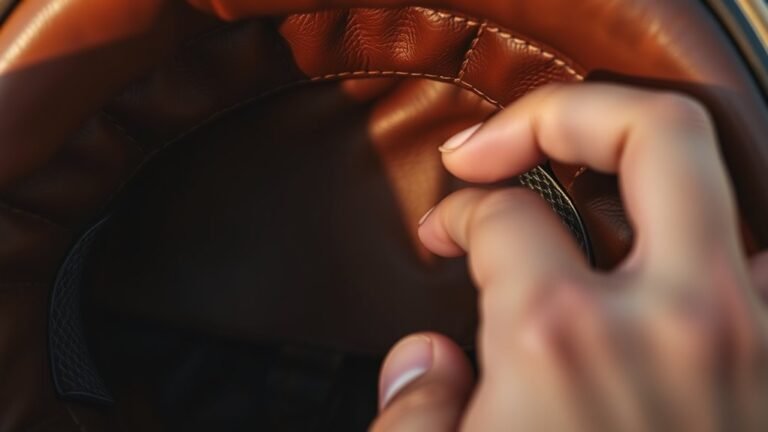
1. Remove the Padding: Start by carefully removing the inner padding from your helmet. This step is crucial, as the padding is often the most susceptible to odor and bacteria buildup. Check the manufacturer’s instructions for any specific guidelines on how to remove and clean the padding.
2. Wash the Padding: Wash the inner padding separately, following the manufacturer’s instructions. Typically, this involves using a gentle cycle in the washing machine or hand-washing with mild soap and water. Ensure that you rinse thoroughly to remove all soap residue, and allow it to air dry completely before reassembling.
3. Clean the Helmet Shell: While the padding is drying, prepare a soap solution with mild soap and warm water. Using your soft sponge or cloth, gently scrub the helmet shell, paying special attention to areas with visible dirt or grime. Be cautious around any vents or stickers, as excessive scrubbing can cause damage.
4. Rinse: After scrubbing, use a clean damp cloth to wipe down the helmet and remove any soap residue. Avoid submerging the helmet in water, as this can damage the internal components and liner.
5. Dry: Allow the helmet to air dry in a well-ventilated area, preferably out of direct sunlight, which can cause fading or degradation of the materials.
Drying and Storing Your Helmet
Proper drying and storage of your helmet are just as important as the cleaning process itself. After cleaning, it is vital to air-dry the helmet in a well-ventilated area. Avoid placing it near heat sources like radiators or direct sunlight, as excessive heat can warp or damage the helmet’s structure.
Once the helmet is completely dry, store it in a cool, dry place. Avoid damp or humid areas, as these can promote mold and mildew growth, which can be detrimental to both the helmet and your health. Consider using a helmet bag for protection against dust and debris, while also allowing for air circulation.
Tips for Maintaining Helmet Freshness
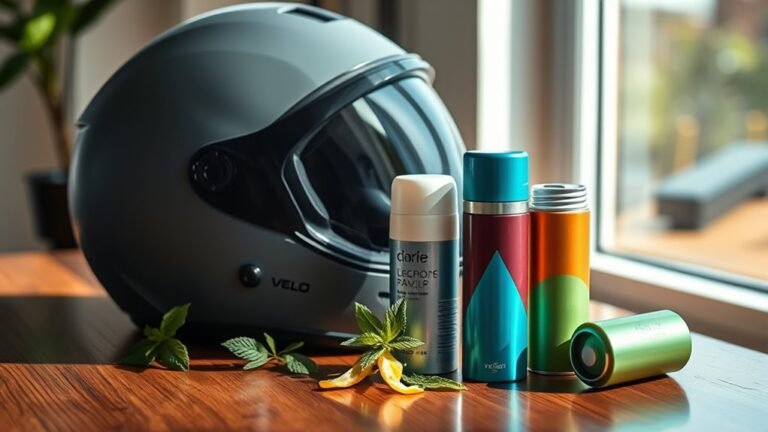
To keep your hockey helmet smelling fresh and clean, adopt a few simple maintenance practices. After every use, take a moment to wipe down the inside and outside of the helmet with a disinfectant wipe or a damp cloth. This will help reduce odor and bacteria buildup between cleanings.
Additionally, consider using an anti-bacterial spray specifically designed for sports equipment. This can provide an extra layer of protection against bacteria and odors. Be sure to choose a product that is safe for use on helmet materials and follow the application instructions carefully.
Common Mistakes to Avoid
When cleaning your hockey helmet, there are several common mistakes to be mindful of. One major error is using harsh chemicals or abrasive scrubbing tools. These can damage the helmet’s surface and compromise its protective features. Always opt for gentle, non-abrasive cleaning solutions and tools.
Another mistake is neglecting to clean the padding regularly. Since the padding absorbs sweat and moisture, it can quickly become a breeding ground for bacteria if not addressed. Make cleaning the padding part of your routine to maintain overall hygiene.
When to Replace Your Helmet
Even with diligent cleaning and maintenance, hockey helmets have a finite lifespan. After cleaning, it’s essential to inspect your helmet for any visible damage, such as cracks or significant wear. If you notice any irregularities, it may be time to consider a replacement.
Most manufacturers provide guidelines regarding the lifespan of their helmets, typically ranging from 3 to 5 years depending on usage and care. Always adhere to these guidelines and prioritize safety by replacing your helmet as needed.
A clean hockey helmet is essential for both performance and safety on the ice. By adopting these best practices, you can ensure that your helmet remains in top condition, providing the protection you need. Don’t overlook the importance of regular cleaning and maintenance; start your routine today for a healthier, safer game!
References
- https://www.ncaa.com/news/hockey/article/2020-02-12/how-clean-your-hockey-gear-and-helmet
- https://www.usahockey.com/news_article/show/1069745
- https://www.bauer.com/en-US/faq/cleaning-hockey-gear.html
- https://www.hockeycanada.ca/en-ca/news/2020-21-nov-helmet-care
- https://www.healthline.com/health/how-to-clean-hockey-gear
- https://www.nhl.com/news/hockey-gear-cleaning-tips/c-295900270
- https://www.fairfaxcounty.gov/health/hockey-helmet-safety
- https://journals.sagepub.com/doi/abs/10.1177/0363546519854731