How to Attach Helmet Accessories Securely
To attach helmet accessories securely, start by understanding your helmet’s design and material. Choose compatible accessories and use heavy-duty adhesive mounts for a strong bond. Straps and clips provide a snug fit, while magnetic systems allow quick adjustments. Always guarantee proper weight distribution to maintain helmet integrity. Test for stability with various shake and pull checks. Regular inspections keep your gear safe; continue to explore more tips for the best attachment methods and maintenance practices.
Understanding Your Helmet’s Design

When you pick up your helmet, it’s crucial to understand its design to make the most of your accessories. Helmets come in various shapes—like full-face, open-face, and modular—each offering unique benefits for different riding styles. You’ll also want to take into account the helmet materials, such as polycarbonate, fiberglass, or carbon fiber, as they impact weight, durability, and safety. A lighter helmet can enhance your freedom, while a sturdier one might provide better protection. Knowing how your helmet’s shape interacts with accessories like visors, communication systems, or cameras can greatly enhance your experience. By familiarizing yourself with these elements, you can guarantee a seamless integration of accessories, allowing for a more enjoyable and safe ride.
Choosing the Right Accessories

Understanding your helmet’s design sets the stage for choosing accessories that enhance your riding experience. You’ll want to explore various accessory types, including visors, lights, and communication devices, each serving a specific purpose. Think about what fits your riding style and needs. For instance, if you’re a night rider, lights are essential; if you love sharing your adventures, consider a camera mount. Don’t forget to weigh aesthetic options as well. Accessories like decals or colored visors can personalize your helmet, reflecting your unique style. Ultimately, select accessories that not only boost functionality but also resonate with your sense of freedom and individuality. This way, you’ll create a helmet that’s as expressive as your rides.
Utilizing Adhesive Mounts

Although you might think attaching accessories to your helmet is straightforward, utilizing adhesive mounts requires careful consideration to guarantee a secure fit. Choosing the right adhesive types and verifying proper mount placement can make all the difference. Here are some tips to keep in mind:
- Select the right adhesive: Use heavy-duty options for high-impact activities.
- Clean the surface: Confirm the helmet area is free of dirt and moisture.
- Check temperature: Apply adhesives in suitable weather conditions for better bonding.
- Allow curing time: Don’t rush; give the adhesive time to set fully.
- Test the strength: Before hitting the road, make sure everything’s secure.
Leveraging Helmet Straps and Clips
When it comes to attaching accessories, choosing the right straps is essential for security and comfort. You’ll also need to understand proper clip installation techniques to guarantee everything stays in place during use. Let’s explore how to effectively leverage these components for a reliable setup.
Choosing the Right Straps
Choosing the right straps for your helmet is essential for guaranteeing both comfort and safety while you ride. Understanding the different strap materials and lengths can enhance your experience and help you stay secure on your adventures. Here are some factors to take into account:
- Material: Opt for durable materials like nylon or polyester for longevity.
- Length: Adjustable lengths guarantee a snug fit for various head sizes.
- Padding: Look for padded straps for added comfort during long rides.
- Weight: Lightweight straps won’t weigh you down while you’re on the go.
- Compatibility: Confirm straps fit your helmet model for peak performance.
Proper Clip Installation Techniques
After you’ve selected the right straps, the next step is ensuring that your helmet clips are installed properly for maximum security and function. Start by identifying the clip types compatible with your helmet. Use installation tools like screwdrivers or pliers as needed, ensuring you have everything within reach. Align each clip with its designated spot on the strap, making sure they sit firmly without any wiggle. Tighten the clips securely, but avoid over-tightening, which could damage the material. Once everything’s in place, give each clip a gentle tug to confirm stability. Proper installation not only enhances safety but also allows you to enjoy the freedom of movement without worrying about your gear.
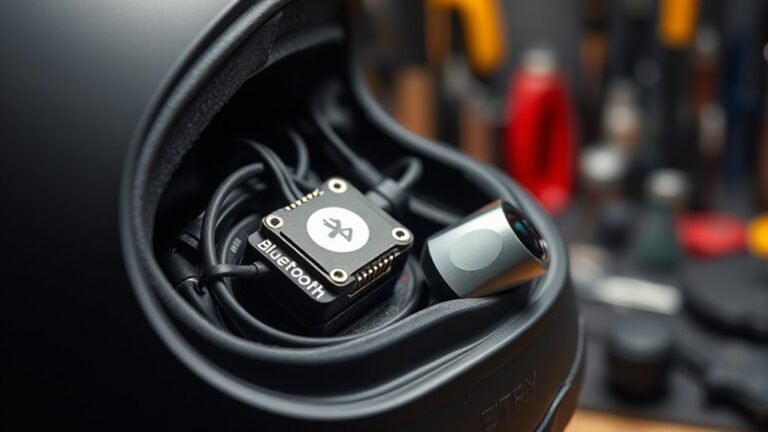
Exploring Magnetic Attachment Systems
Magnetic attachment systems offer a sleek and efficient way to secure your helmet accessories. You’ll appreciate their easy installation process and compatibility with various attachments. Let’s explore the benefits these systems bring to your helmet setup.
Benefits of Magnetic Systems
While many attachment systems can be cumbersome, magnetic systems offer a sleek and efficient alternative for helmet accessories. With impressive magnetic strength, these systems guarantee that your accessories stay securely in place while providing you with the freedom to quickly swap them out as needed.
Here are some key benefits of magnetic attachment systems:
- Quick attachment and detachment: Easily switch accessories without tools.
- Lightweight design: Enjoy minimal added weight on your helmet.
- Enhanced accessory flexibility: Customize your setup for different activities.
- Durability: Robust materials withstand outdoor elements.
- Sleek appearance: Maintain a streamlined look on your helmet.
Embrace the freedom magnetic systems provide and elevate your helmet accessory experience!
Installation Process Overview
Attaching helmet accessories using a magnetic system is a straightforward process that anyone can master in just a few simple steps. First, you’ll want to identify your helmet types and verify the magnetic system is compatible. Next, choose the right accessory materials—strong magnets work best for durability.
Here’s a quick overview of the installation process:
| Step | Action | Notes |
|---|---|---|
| Step 1 | Clean the helmet surface | Guarantees better adhesion |
| Step 2 | Position the magnets correctly | Align with accessory points |
| Step 3 | Attach the accessory securely | Press firmly to activate magnets |
Follow these steps, and you’ll enjoy the freedom of quick, reliable attachment for all your helmet accessories!
Compatibility With Accessories
When considering helmet accessories, it’s essential to confirm they’re compatible with the magnetic attachment system you plan to use. This guarantees a secure fit and ideal functionality. Here are some accessory types to keep in mind:
- Cameras: Ensure the mount aligns with the magnetic system.
- Lights: Check weight limits for your attachment methods.
- Visors: Look for flexible options that accommodate magnetic fittings.
- Communication Systems: Verify connections align with your helmet’s design.
- GoPro Accessories: Confirm compatibility with your specific magnetic setup.
Ensuring Proper Weight Distribution
To guarantee your helmet accessories don’t throw off your balance, it’s crucial to pay attention to weight distribution. Start by evaluating the weight of each accessory you plan to attach. Aim to keep heavier items closer to the center of the helmet, as this promotes better weight balance. When considering accessory placement, think about how each item interacts with your movement. For instance, if you’re mounting a camera, position it low and forward to minimize the top-heavy feel. Remember, uneven weight can lead to discomfort and distraction, so take your time to find the right configuration. By prioritizing weight distribution, you’ll enhance your riding experience, allowing for greater freedom and focus on the road ahead.
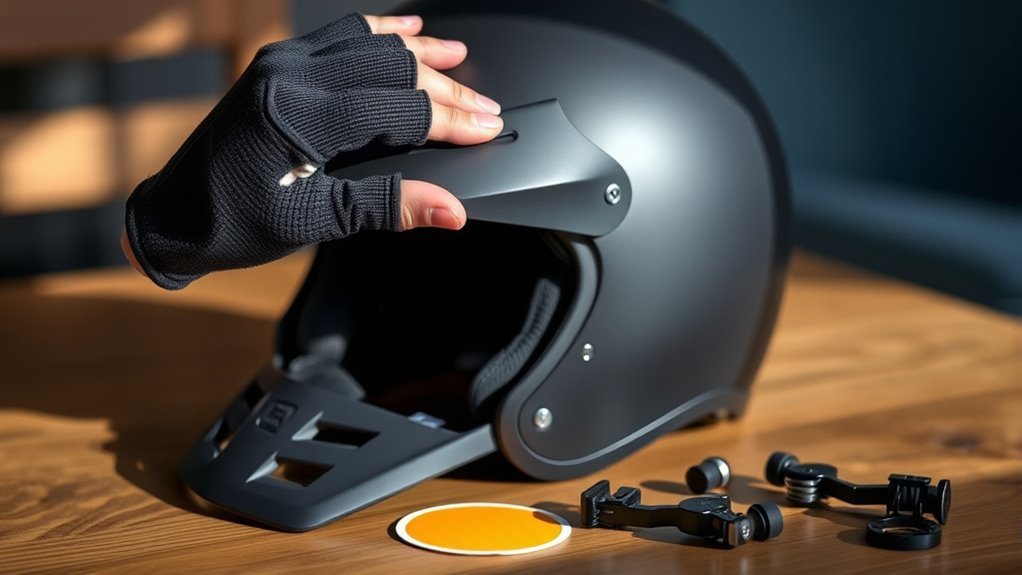
Testing for Stability and Security
Before hitting the road, it’s essential to test the stability and security of your helmet accessories. You want to guarantee everything is locked in place for your safety and peace of mind. Here’s how to perform effective stability tests and security checks:
- Shake Test: Gently shake your helmet to see if accessories wobble.
- Pull Test: Tug lightly on each accessory to check for secure attachment.
- Visual Inspection: Look for any signs of wear or loose fittings.
- Movement Test: Try moving your head side to side; feel for any shifting.
- Ride Test: Take a short ride to assess how everything holds up in motion.
These simple checks can make a big difference, allowing you to ride freely without worry.
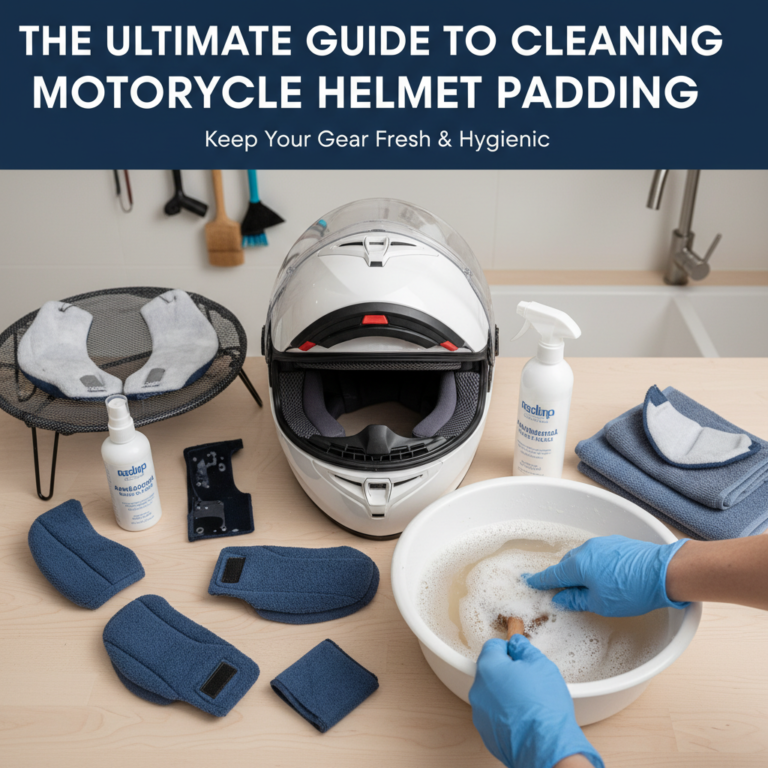
Regular Maintenance and Inspections
After ensuring your helmet accessories are stable and secure, regular maintenance and inspections become essential to prolong their lifespan and effectiveness. Establish a maintenance schedule to keep everything in top shape. Regular inspections help you catch any wear and tear before it becomes a more significant issue.
| Frequency | Task | Notes |
|---|---|---|
| Weekly | Visual Inspection | Check for loose parts or damage. |
| Monthly | Clean Accessories | Remove dirt and debris for peak performance. |
| Quarterly | Thorough Check-Up | Assess functionality and replace worn components. |
Safety Considerations When Adding Accessories
While adding accessories to your helmet can enhance functionality and personalization, it is crucial to prioritize safety above all else. Keep in mind that certain accessories can pose accessory risks that might compromise helmet safety. Here are some considerations to guarantee you’re staying safe:
Adding accessories to your helmet can boost personalization, but always prioritize safety to avoid compromising its effectiveness.
- Weight Distribution: Ensure accessories don’t add excessive weight.
- Integrity of Straps: Verify that straps remain functional and unaltered.
- Visibility: Avoid obstructing your line of sight or reflective surfaces.
- Material Compatibility: Use materials that won’t damage the helmet.
- Testing: Always test accessories before riding to verify stability.
Frequently Asked Questions
Can I Use Accessories From Different Brands on My Helmet?
Yes, you can use accessories from different brands on your helmet, but brand compatibility is key. Make sure the attachment mechanisms match; otherwise, you might face issues with fit or security. Various accessory types, like visors or cameras, often have universal designs, but it’s best to double-check compatibility. Mixing brands can offer you more freedom in customization, allowing you to create a setup that suits your unique style and needs perfectly.
How Do Weather Conditions Affect Accessory Attachment?
Weather conditions can considerably sway how securely your accessories stay attached. When it’s windy or wet, you’ll want to confirm your gear has the right weather resistance. Seasonal adjustments might be necessary; for instance, in summer, heat can weaken adhesive bonds. In contrast, cold can make materials brittle. Being mindful of these factors helps you maintain your freedom to ride without worrying about loose or lost accessories. So, stay savvy and secure!
What Tools Are Needed for Accessory Attachment?
You’ll need a few essential tools for attaching accessories. First, gather various adhesive types, like double-sided tape or strong glue, to guarantee a secure bond. You’ll also want mounting techniques like brackets or clips that can accommodate your gear. A clean cloth for surface prep is vital, as well as scissors for trimming materials. Finally, a heat source can help set adhesives, especially in cooler weather. With these tools, you’re ready to customize your helmet!
Are There Weight Limits for Helmet Accessories?
Yes, there are weight limits for helmet accessories. Imagine your helmet as a sturdy fortress; it needs to maintain its integrity. Safety standards dictate that adding too much weight could compromise protection and stability. When considering accessories, think about weight considerations—lightweight options are usually best. Balance is key; you want that feeling of freedom while ensuring your gear won’t let you down in critical moments. Always prioritize safety over style!
Can I Remove Accessories Without Damaging the Helmet?
Yes, you can remove accessories without damaging your helmet if you use proper removal techniques. Start by gently prying off adhesive mounts or clips, guaranteeing you don’t scratch the helmet’s surface. For items secured with screws, use the right screwdriver and apply light pressure. Always prioritize helmet safety; verify the structural integrity remains intact after removal. Taking your time will help maintain your helmet’s condition while allowing you the freedom to customize your gear.
References
- https://www.cdc.gov/niosh/topics/helmet/attach.html
- https://www.nhtsa.gov/equipment/helmets
- https://www.helmets.org/
- https://www.cpsc.gov/safety-education/safety-guides/helmet-safety-guide
- https://www.bikeleague.org/content/helmet-safety-tips
- https://www.ncbi.nlm.nih.gov/pmc/articles/PMC5414110/
- https://www.usa.gov/helmet-safety
- https://www.ama-assn.org/delivering-care/public-health/helmet-safety-tips