How to Clean Your Motorcycle Helmet Properly
To clean your motorcycle helmet properly, start by gathering supplies like microfiber cloths and a gentle soap. Remove the liner and wash it according to the manufacturer’s instructions. Clean the exterior shell with a pH-balanced cleaner and soft brushes. Don’t forget to disinfect both the inner and outer parts. Inspect for any damage, then reassemble everything once it’s dry. Regular maintenance is key for safety, and there’s more to learn about keeping your helmet in top shape.
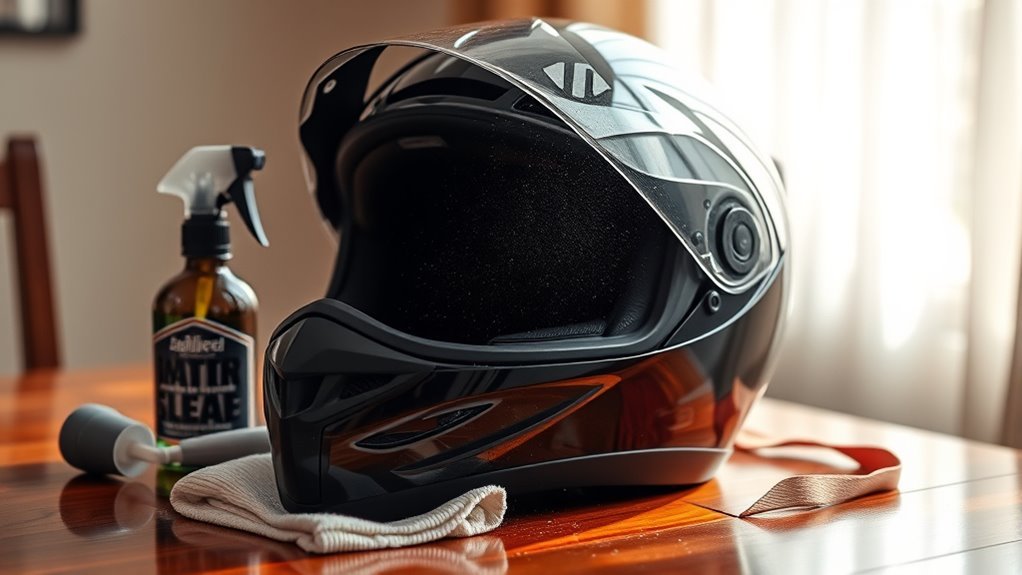
Gather Your Cleaning Supplies
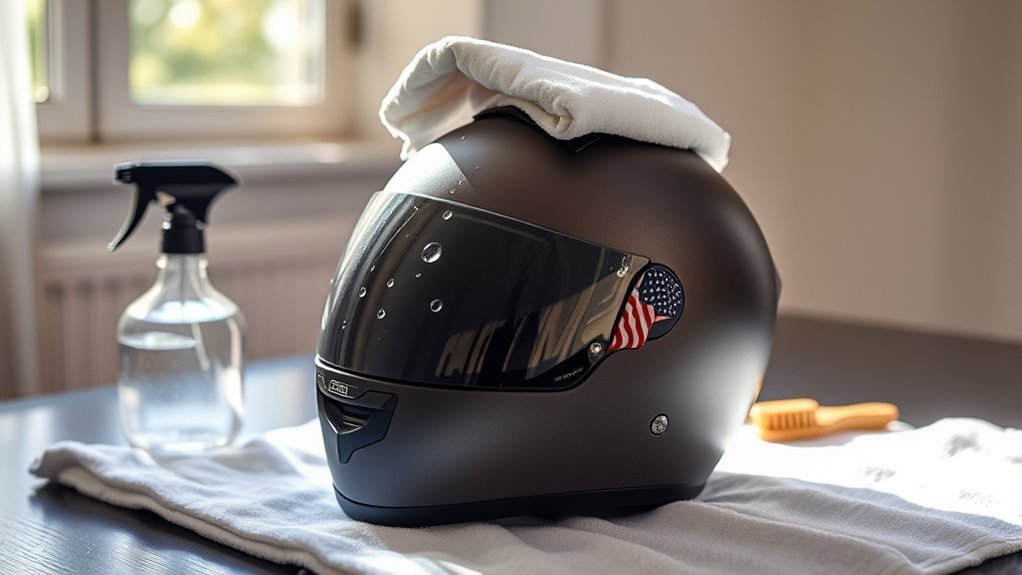
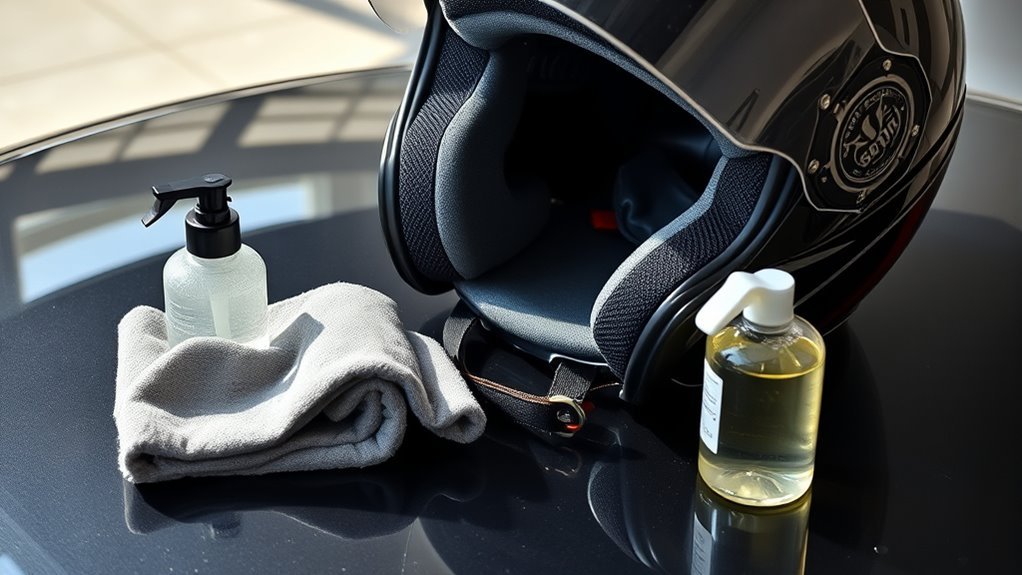
Before you plunge into cleaning your motorcycle helmet, it’s crucial to gather the right supplies. Start with a microfiber cloth; it won’t scratch your visor. You’ll also need a gentle soap or helmet-specific cleaner—harsh chemicals can damage the materials. Don’t forget warm water for rinsing, as well as a soft-bristle brush to tackle stubborn dirt. If your helmet has a removable liner, have a bucket ready for soaking it in soapy water. Finally, consider a spray bottle for easy application of cleaning solutions. These essential items will guarantee your helmet stays in top condition, promoting safety and comfort on your rides. With the right cleaning supplies, you can maintain that sense of freedom you cherish on the open road.
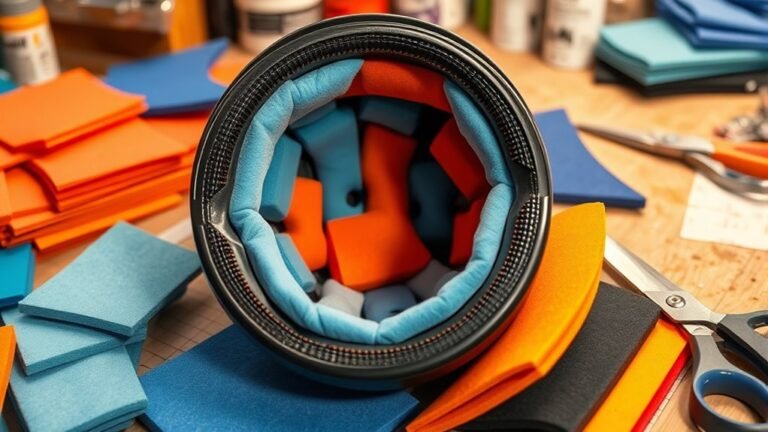
Remove the Helmet Liner
Start by carefully removing the helmet liner, as this step is essential for a thorough clean. Most liners are designed to be removable, usually secured by snaps or Velcro. Take your time here to avoid damaging delicate liner materials. Once removed, inspect the liner for any signs of wear or damage; maintaining helmet hygiene is vital for your safety and comfort.
If your liner’s machine-washable, follow the manufacturer’s instructions. For non-washable materials, use a damp cloth and mild soap to wipe it down. Allow it to dry completely before reinstallation. A clean liner not only enhances comfort but also promotes a fresher riding experience. Remember, a well-maintained helmet is key to enjoying the freedom of the road safely.
Clean the Exterior Shell
When it comes to cleaning the exterior shell of your motorcycle helmet, choosing the right cleaner is crucial to avoid damaging the surface. You should also use soft cleaning tools to guarantee a thorough yet gentle clean. By taking these steps, you can maintain both the appearance and safety of your helmet.
Choose the Right Cleaner
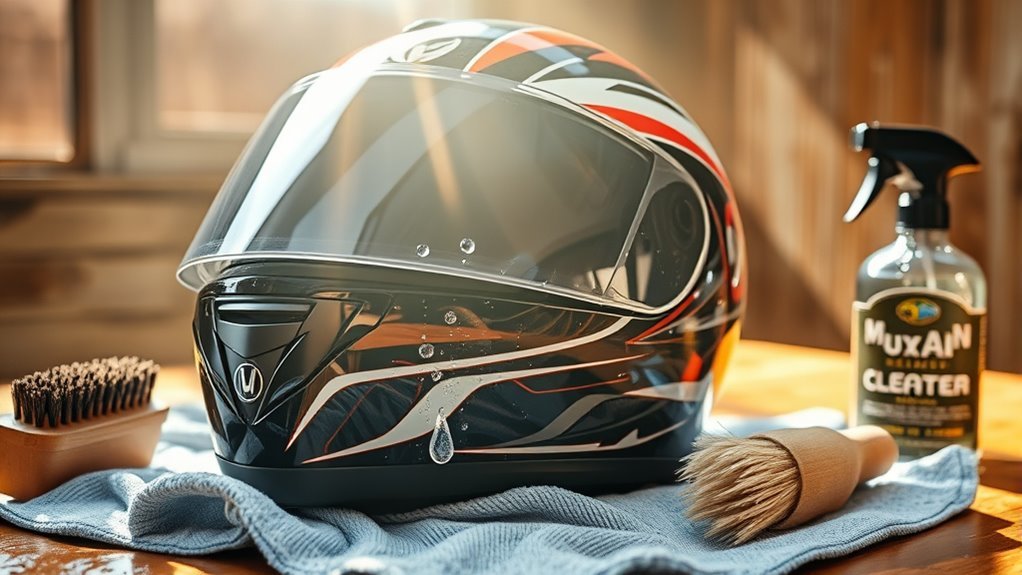
Choosing the right cleaner for your motorcycle helmet’s exterior shell is vital for maintaining both its appearance and protective qualities. Different helmet materials, like polycarbonate or fiberglass, require specific cleaning agents to avoid damage. Look for pH-balanced, non-toxic cleaners that won’t strip away the helmet’s finish or weaken its structure. Avoid using harsh chemicals, as these can degrade the materials and compromise safety. Instead, opt for gentle, motorcycle-specific products designed to clean without causing harm. Remember, your helmet is your safeguard on the open road, so taking the time to select the appropriate cleaner guarantees it remains in top condition. Protect your freedom by keeping your gear well-maintained and ready for the next adventure.
Use Soft Cleaning Tools
While you might be enthusiastic to give your motorcycle helmet a good scrub, using the right tools is crucial for preserving its integrity. Harsh materials can scratch or damage the shell, so stick with gentle options. Here’s what you need:
- Soft Brushes: Use these to remove dirt without harming the surface. They’re perfect for getting into crevices and around vents.
- Microfiber Cloths: These are ideal for wiping down the exterior. Their soft texture guarantees you won’t leave scratches.
- Water: A simple rinse with lukewarm water can help loosen stubborn grime before you start scrubbing.
Wash the Interior Liner
Cleaning the interior liner of your motorcycle helmet is essential for both hygiene and comfort. Start by removing the liner according to your helmet’s instructions, as many are designed to be taken out easily. Use a gentle detergent that’s safe for the interior materials. Warm water works best, so soak the liner and scrub it lightly to tackle stubborn stains and odors. For effective odor removal, you might want to add a bit of white vinegar to the rinse water. Rinse thoroughly to eliminate any detergent residue, which can irritate your skin. After washing, let the liner air dry completely before reassembling it into your helmet. This guarantees your gear remains fresh, allowing you to ride freely and comfortably.
Disinfect the Helmet
Disinfecting your helmet is crucial for maintaining a safe and healthy riding experience. Regularly using effective disinfecting techniques can help keep harmful bacteria and odors at bay. Here’s how to do it:
- Choose the Right Disinfectant: Use a helmet-safe disinfectant spray or a homemade solution of water and vinegar to avoid damaging materials.
- Apply Thoroughly: Lightly spray the interior and exterior surfaces of the helmet, making sure you cover all nooks and crannies.
- Let it Dry: Allow the helmet to air dry completely before wearing it again.
Aim to disinfect your helmet every month or after extended rides to promote ideal cleanliness and safety. With consistent cleaning frequency, you’ll enjoy the freedom of the open road with peace of mind.
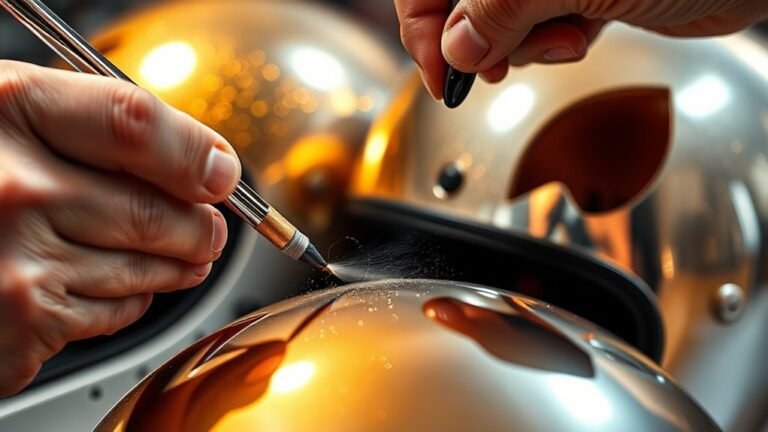
Clean the Visor
Since the visor is your primary line of sight while riding, keeping it clean is essential for safety and visibility. Start by using a soft microfiber cloth and a gentle cleaner specifically designed for helmet visors. Avoid paper towels or rough fabrics, as they can scratch the surface. When cleaning, use circular motions to lift dirt and grime without damaging the visor protection. After cleaning, consider applying an anti-fog treatment to enhance visibility in various weather conditions. This is especially critical during colder rides or when humidity is high. Remember, a clear visor isn’t just about comfort; it’s about ensuring you can see the road ahead, feel the wind, and enjoy the freedom of the ride without obstruction.
Inspect for Damage
Before you put your helmet back on, it’s vital to inspect it for any damage. Look closely for visual signs like cracks or dents, check the interior padding for wear, and make certain the face shield operates smoothly. Keeping your helmet in top condition is essential for your safety on the road.
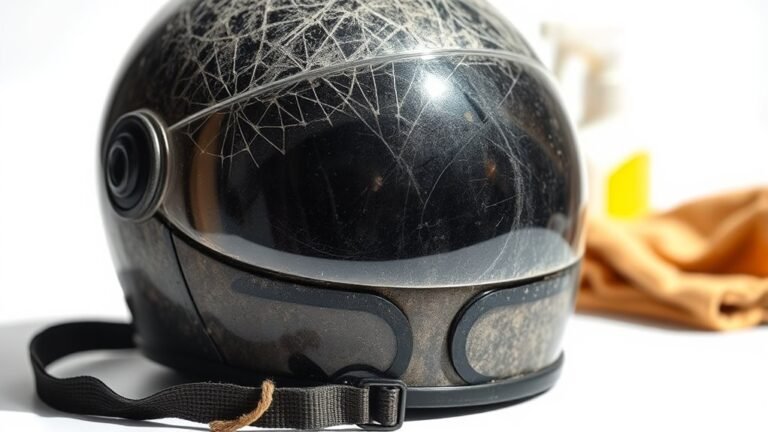
Visual Damage Assessment
While you may be enthusiastic to plunge into cleaning your motorcycle helmet, taking a moment to assess it for visual damage is essential. A thorough visual inspection can reveal damage signs that could compromise your safety. Here’s what to look for:
- Cracks or Dents: Examine the outer shell carefully for any imperfections that could weaken its structure.
- Scratches: Look for deep scratches on the visor or shell that may hinder visibility or indicate underlying damage.
- Loose Parts: Check for any loose components, like straps or vents, that might not secure properly.
If you notice any of these damage signs, it’s important to address them before hitting the road. Your helmet is your first line of defense—don’t compromise on safety.
Check Interior Padding
Inspecting the interior padding of your motorcycle helmet is essential for ensuring your safety and comfort. Regular checks help maintain interior hygiene and prolong your helmet’s lifespan. Look for any signs of wear, such as fraying, tears, or unusual odors, which can indicate it’s time for a replacement.
| Condition | Action Needed | Notes |
|---|---|---|
| No Damage | Continue using | Regular cleaning required |
| Minor Wear | Monitor closely | Schedule padding care soon |
| Significant Damage | Replace immediately | Safety is paramount |
Inspect Face Shield
Regularly check your face shield for any signs of damage, as it’s vital for your safety on the road. Proper face shield maintenance not only protects you but also enhances your visibility. Here’s what to look for:
- Scratches: Even minor scratches can impair your view, especially in low light.
- Cracks: Any crack could compromise the shield’s integrity and your safety.
- Cloudiness: A foggy shield can reduce visibility, making it harder to see hazards.
If you spot any issues, replace the face shield immediately. Remember, a clear view is essential for enjoying the ride and staying safe. Regular inspections can make all the difference in ensuring your freedom on the open road.
Reassemble the Helmet
After thoroughly cleaning all components of your motorcycle helmet, it’s time to reassemble it with care. Start by verifying all parts are completely dry and free from debris. Begin the helmet assembly by placing the inner padding back into the shell, making sure it fits snugly. Next, attach the face shield, checking for a secure fit; it should move smoothly without obstruction. Perform safety checks by inspecting the chin strap and closure mechanism, confirming they engage properly. Don’t forget to verify that ventilation ports are clear and functional. Proper reassembly not only enhances your comfort but also guarantees maximum protection as you ride free on the open road. Remember, safety is paramount; take your time to do it right.
Regular Maintenance Tips
While you might think your motorcycle helmet is good to go after a thorough cleaning, it’s essential to keep up with regular maintenance to confirm its longevity and effectiveness. Establishing a helmet care routine is vital for your safety and comfort on the road. Here are three tips to include in your maintenance schedule:
- Inspect Regularly: Check for cracks, dents, or wear on the outer shell and interior lining.
- Replace Padding: Make sure the padding is clean and intact; replace it if it’s worn or loses its shape.
- Store Properly: Keep your helmet in a cool, dry place away from direct sunlight to avoid material degradation.
Frequently Asked Questions
How Often Should I Clean My Motorcycle Helmet?
You should clean your motorcycle helmet regularly, ideally every few rides, depending on your riding conditions. Dust, grime, and sweat can accumulate quickly, affecting both visibility and safety. For best helmet care, establish a cleaning frequency that keeps your helmet in top shape. If you’ve been riding in rain or dirt, it’s a good idea to clean it more often. A clean helmet not only looks better but guarantees your freedom on the road is safe.
Can I Use Dish Soap for Cleaning?
Yes, you can use dish soap for helmet cleaning, but be cautious. Opt for a mild, biodegradable dish soap to avoid damaging the helmet’s materials. Mix a small amount with water and use a soft cloth to gently clean the exterior and visor. Rinse thoroughly to remove any soap residue. Always prioritize safety; guarantee the helmet’s integrity remains intact to keep you safe on the road while enjoying your freedom.
Is It Safe to Use a Pressure Washer?
It’s not safe to use a pressure washer on your motorcycle helmet. The intense force can damage the helmet’s structure and compromise its safety features. Instead, opt for safe cleaning techniques, like using mild soap and warm water. Gently wipe down the exterior and clean the interior padding separately. This way, you keep your helmet in top shape while ensuring your freedom on the road is never at risk.
What Materials Should I Avoid When Cleaning?
When cleaning your helmet, steer clear of certain substances! Chemical cleaners and abrasive materials can cause catastrophic damage. They may scratch your visor or strip away protective coatings. Instead, opt for gentle soaps and soft cloths to guarantee safety and preserve your helmet’s integrity. Freedom on the road starts with a well-maintained helmet, so always choose products that protect rather than harm. Keep your gear gleaming, and enjoy every ride!
Can I Machine Wash the Helmet Liner?
You can’t machine wash the helmet liner. Doing so can damage the materials, compromise helmet safety, and affect its fit. Instead, opt for gentle hand washing with mild soap and water to guarantee proper liner care. Always follow the manufacturer’s guidelines for cleaning to maintain your helmet’s integrity. Protecting your gear is essential for keeping that sense of freedom alive while riding, so treat your helmet with the respect it deserves.