How to Fix Cracks in Foam Helmets
To fix cracks in foam helmets, first assess the damage to identify crack types. Gather necessary tools like a utility knife and epoxy. Clean the affected area with appropriate solutions based on foam type, ensuring it’s dry. Apply epoxy carefully into cracks and let it cure for at least 24 hours. Optionally, reinforce with fiberglass for added strength. Finally, conduct visual checks and drop tests to confirm safety and functionality. Further techniques can enhance your repair process.
Understanding the Importance of Helmet Integrity
Helmet integrity is essential for guaranteeing safety during any activity that poses a risk of head injury. You need to understand that the foam quality within a helmet plays a critical role in its effectiveness. High-quality foam absorbs impact energy, reducing the force transmitted to your skull during an accident. If the foam degrades or becomes compromised, it can considerably diminish helmet safety. Regularly inspect your helmet for signs of wear, such as dents or cracks, which can indicate that the foam has lost its protective capabilities. Maintaining the integrity of your helmet not only enhances your safety but also allows you the freedom to enjoy activities without unnecessary risk. Prioritize quality foam to guarantee maximum protection when you need it most.
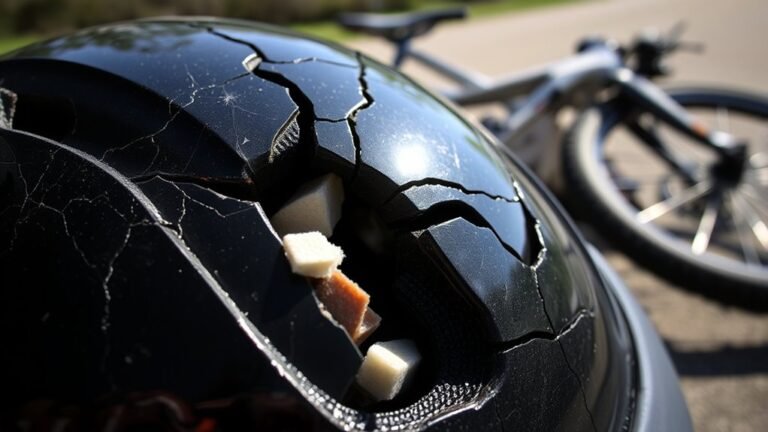
Assessing the Damage: Types of Cracks
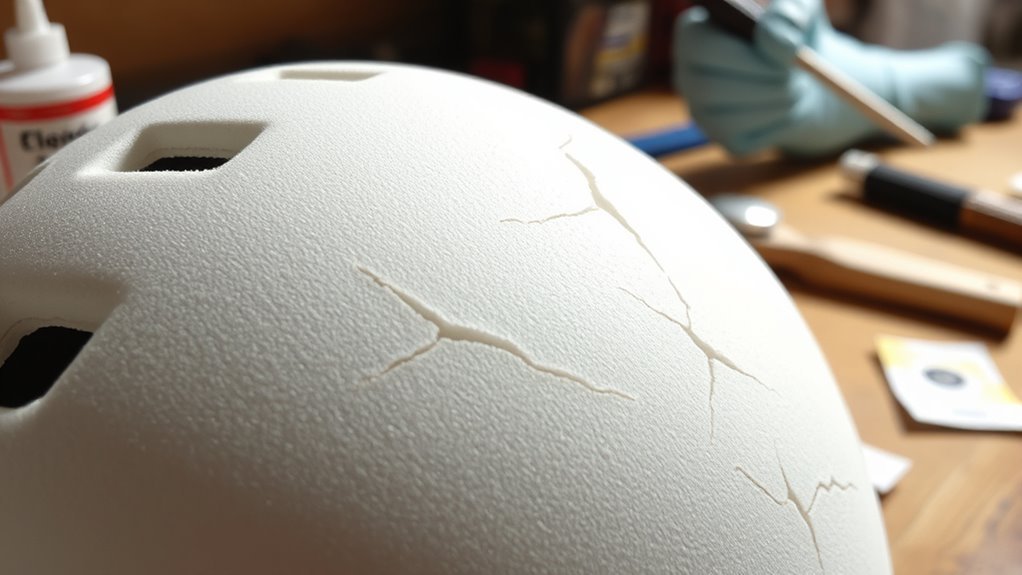
When evaluating foam helmets, identifying the type of cracks is essential for maintaining safety. Surface cracks may seem minor, but they can indicate underlying structural integrity concerns that could compromise the helmet’s effectiveness. Understanding these distinctions allows you to make informed decisions on necessary repairs or replacements.
Surface Cracks Identification
How can you tell if your foam helmet has sustained damage? Identifying surface cracks is vital for maintaining safety and performance. There are various crack types, each requiring specific repair techniques.
Here’s a quick guide to help you assess the damage:
| Crack Type | Description |
|---|---|
| Hairline Cracks | Very thin, superficial cracks |
| Surface Gouges | Indentations or missing foam |
| Deep Cracks | Cracks penetrating more deeply |
| Large Rips | Significant breaks in the foam |
Inspect your helmet regularly. If you find any of these cracks, it’s important to address them promptly to guarantee your helmet’s effectiveness and longevity. Ignoring surface damage can lead to more serious issues down the line.
Structural Integrity Concerns
While evaluating the structural integrity of your foam helmet, it’s essential to recognize that not all cracks are created equal. Surface cracks may seem minor, but they can compromise helmet safety by allowing moisture and debris to infiltrate. Deeper cracks or fractures, especially those that penetrate the foam, pose a more significant threat, potentially affecting the helmet’s ability to absorb impact. Evaluating the type of crack is critical in determining appropriate repair techniques. For minor surface cracks, a sealant might suffice, but deeper fractures may require replacing the helmet altogether. Always prioritize helmet safety; a compromised helmet can endanger your well-being. Regularly inspect your helmet and address any cracks promptly to guarantee your protection on the road or trail.
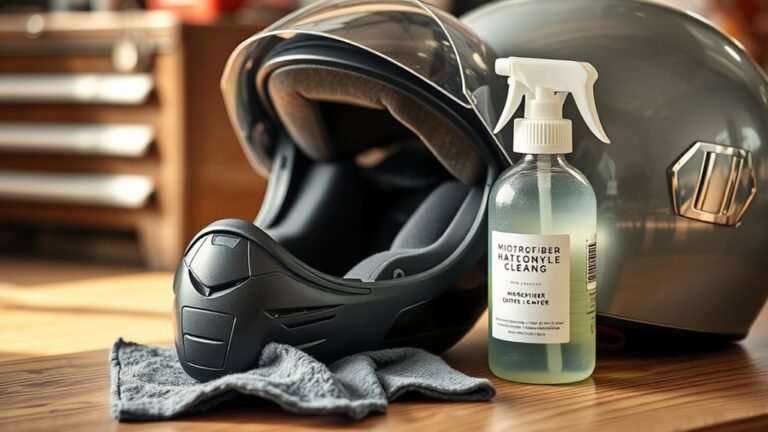
Gathering Necessary Tools and Materials
Before starting any repairs on your foam helmet, you’ll need to gather specific tools and materials. Essential tools include a utility knife and adhesive, while materials might consist of foam patches and fabric. Additionally, don’t forget to use safety equipment, like gloves and goggles, to protect yourself during the repair process.
Essential Tools Required
To effectively repair foam helmets, you’ll need a specific set of tools and materials that guarantee the job is done correctly. Start with a sharp utility knife for precise cuts and trimming. A heat gun helps soften the foam for shaping during repairs. You’ll also want a strong adhesive suitable for foam, as this will secure the cracks effectively. Various sanding tools, like fine-grit sandpaper, allow you to smooth out rough edges and guarantee a seamless finish. Additionally, a mixing tool is necessary if you’re using two-part adhesives. Each of these tool types plays an essential role in the repair techniques you’ll use, guaranteeing your foam helmet is restored to ideal condition.
Materials for Repair
Once you’ve gathered the necessary tools, it’s time to focus on the materials that will aid in your helmet repair. For effective repair techniques, you’ll need high-density foam or foam patches compatible with your helmet type. Selecting the right adhesive is essential; consider using a polyurethane or contact cement that bonds well with foam. You’ll also want to have a flexible sealant on hand to guarantee durability and water resistance. For finishing touches, choose a paint or coating that matches your helmet’s color and is safe for foam materials. Proper material selection not only enhances the repair’s effectiveness but also preserves the aesthetics and integrity of your helmet, allowing you to ride freely and confidently.
Safety Equipment Needed
Gathering the right safety equipment is essential for effectively repairing foam helmets. Begin with safety goggles to protect your eyes from debris and dust during the repair process. Next, use gloves to keep your hands safe from adhesive chemicals that may not meet safety standards. A mask can also be beneficial to avoid inhaling harmful fumes while applying adhesives or sealants. For helmet maintenance, have a clean workspace and tools like a utility knife for precision cutting, sandpaper for smoothing edges, and a strong adhesive suitable for foam. Ensuring you have these items will enhance the repair process and maintain safety standards, allowing you to work confidently and effectively on your helmets.
Cleaning the Affected Area
Cleaning the affected area of your foam helmet requires careful attention to detail to make certain you don’t damage the material. Different foam types necessitate specific cleaning solutions to guarantee effective yet gentle cleaning. Always test a small section first to avoid any adverse reactions.
| Foam Type | Recommended Cleaning Solution | Notes |
|---|---|---|
| Expanded Polyethylene | Mild soap and water | Avoid harsh chemicals |
| Expanded Polystyrene | Isopropyl alcohol (diluted) | Use sparingly |
| EVA Foam | Vinegar and water mix | Rinse thoroughly afterwards |
| Neoprene | Commercial foam cleaner | Confirm it’s non-toxic |
Confirm the area is completely dry before proceeding with repairs. Following these guidelines keeps your helmet safe and ready for use.
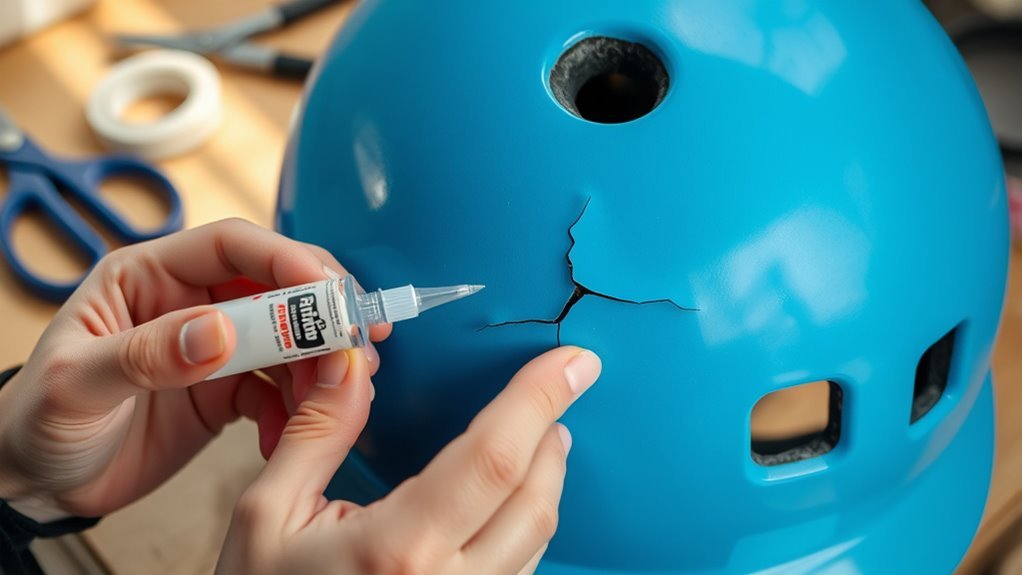
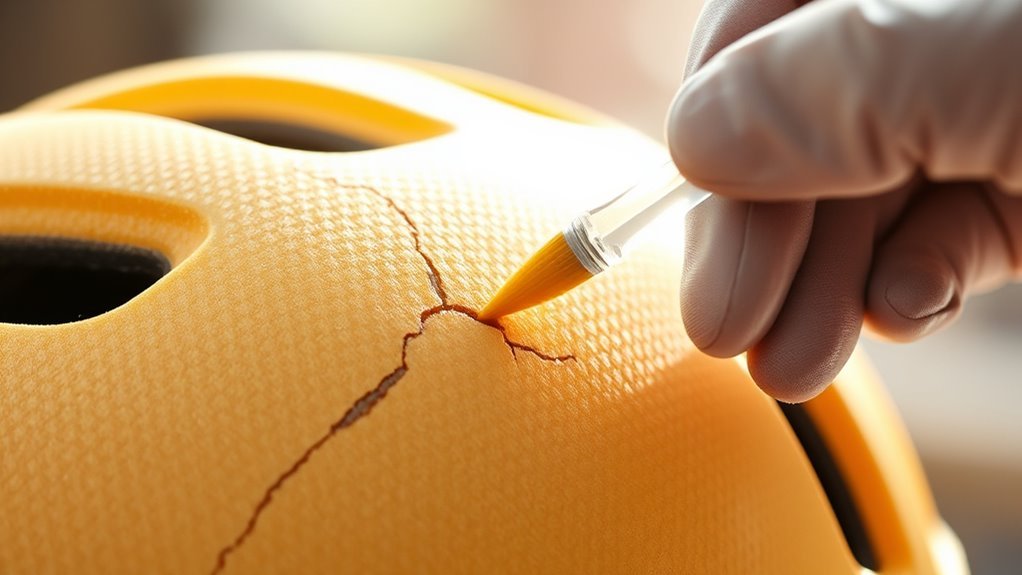
Applying Epoxy or Foam Repair Kits
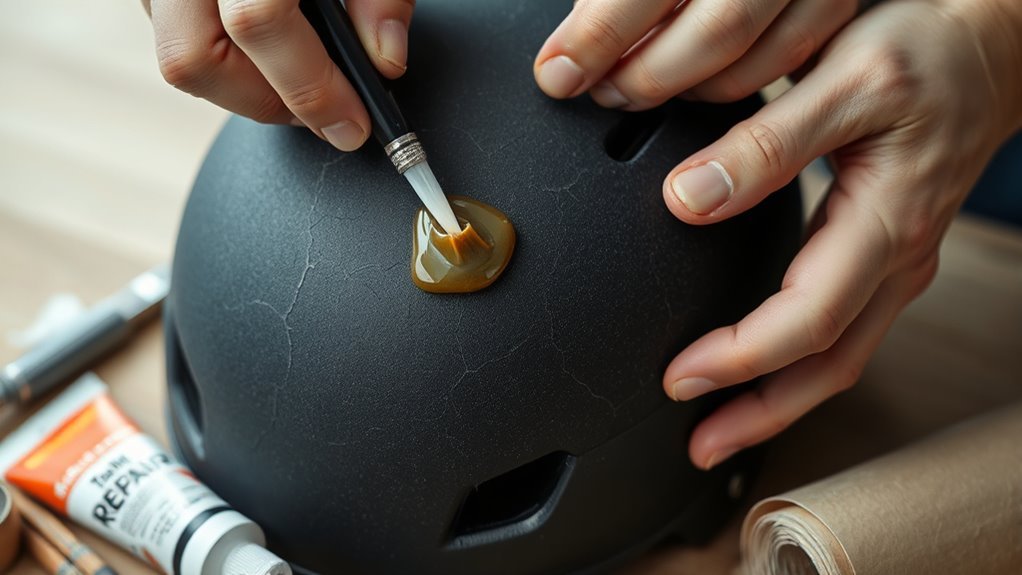
Before you begin applying epoxy or foam repair kits, make certain you have all necessary materials at hand and the damaged area is completely dry. Start by selecting the right foam repair options that match your helmet’s material. For epoxy application techniques, mix the epoxy according to the manufacturer’s instructions. Use a small brush or spatula to carefully apply the epoxy into the crack or hole, ensuring it fills the damaged area completely. Smooth the surface for a seamless finish. Allow it to cure as specified, avoiding any disturbance during this time. Once cured, inspect the repair; if needed, sand it down for a more polished look. Your helmet should now be ready for use, providing both safety and durability.
Reinforcing With Fiberglass (Optional)
Reinforcing your foam helmet with fiberglass can greatly enhance its structural integrity and durability. To start, gather your materials: fiberglass cloth, epoxy resin, and a mixing container. You’ll use fiberglass layering techniques to apply the cloth over the damaged areas. Cut the fiberglass cloth to size, ensuring it overlaps the cracks adequately. Mix the epoxy resin according to the manufacturer’s instructions, then apply a thin layer to the foam surface. Lay the fiberglass cloth over the resin, pressing down to eliminate air bubbles. Afterward, apply another coat of resin on top of the cloth, ensuring it’s fully saturated. This method provides additional strength, allowing for a more resilient helmet ready for any adventure.
Allowing for Proper Curing Time
Once you’ve applied the fiberglass and resin, it’s important to allow for proper curing time to guarantee the helmet achieves its maximum strength. Curing techniques vary, but typically, you’ll need to let the repair sit undisturbed for at least 24 hours at room temperature. This confirms the resin hardens effectively, creating a robust bond. Keep in mind that temperature and humidity can affect curing speed, so adjust your repair timelines accordingly. If you’re in a cooler environment, consider extending the curing period to avoid weak spots. Rushing this process might compromise the helmet’s integrity, negating your hard work. Patience during this phase is vital for a successful repair and the longevity of your helmet.
Testing for Safety and Functionality
How can you guarantee your foam helmet is safe and functional after repairs? You need to conduct thorough testing to confirm it meets safety standards and performs as expected. Here’s what to focus on:
- Check for visible damage: Inspect the helmet for any cracks or weak spots.
- Conduct functional testing: Put the helmet on and assess its fit and comfort.
- Assess shock absorption: Drop it from a controlled height to evaluate how it withstands impact.
- Review compliance: Verify that your repairs adhere to established safety standards.
Taking these steps helps you confirm that your helmet not only looks good but also protects you effectively, giving you the freedom to ride with confidence.
Frequently Asked Questions
Can I Use Super Glue Instead of Epoxy for Repairs?
Sure, you can use super glue instead of epoxy for repairs, but don’t expect it to work miracles. While super glue’s quick and easy, it may not hold up against the rigors of helmet use. If you’re feeling adventurous, explore super glue alternatives like polyurethane or silicone adhesives for a more durable bond. Remember, helmet repair techniques are essential—your safety’s on the line, and you wouldn’t want your helmet to crack under pressure!
How Long Will the Repair Last Before Needing Replacement?
The repair longevity of your helmet will depend on the materials used and the extent of the damage. Typically, a well-executed repair can last several months, but it’s essential to monitor it regularly. If the helmet experiences significant stress or impact, the lifespan may decrease. Ultimately, if you want to guarantee your safety, consider replacing the helmet after repairing, especially if it’s showing signs of wear or compromise.
Is It Safe to Wear a Repaired Helmet?
Yes, it can be safe to wear a repaired helmet, but it depends on the repair techniques used. If you’ve followed proper methods and utilized high-quality materials, the helmet’s safety should be maintained. However, keep in mind that repairs might not restore the original integrity completely. Always inspect your helmet for any signs of weakness before use. Prioritize helmet safety, and consider replacing it if you’re uncertain about its reliability after repairs.
Can I Paint Over the Repaired Area?
Yes, you can paint over the repaired area, but you must prepare the surface properly first. Start by sanding the repair to create a smooth finish, then clean it thoroughly to remove any dust or debris. For the best results, use appropriate painting techniques, like spray painting or brush-on applications, ensuring the paint is compatible with foam. This way, you’ll maintain the helmet’s integrity while achieving a fresh, vibrant look.
What Should I Do if the Crack Worsens?
If the crack worsens, you should stop using the helmet immediately to avoid compromising your safety. Implement crack prevention strategies by storing the helmet in a cool, dry place and avoiding high-impact activities until it’s repaired. Regular helmet maintenance tips include inspecting for damage and keeping it clean. If the damage is severe, consider replacing the helmet entirely to guarantee maximum protection during your activities. Prioritize your safety above all!