How to Make a Transparent Helmet Visor
To make a transparent helmet visor, start by selecting materials like polycarbonate or acrylic for clarity and impact resistance. Measure your helmet’s dimensions precisely, focusing on key areas. Design a template based on these measurements, then cut the visor shape using a utility knife. Attach it securely using clips or screws, checking visibility and comfort. Finally, enhance the visor’s aesthetics through painting or decals. Discover more tips and insights to perfect your custom visor project.
Materials Needed for Your Custom Visor
To craft a transparent helmet visor, you’ll need a specific set of materials that guarantee both functionality and durability. Begin by selecting the right visor material options, such as polycarbonate or acrylic, which offer excellent impact resistance and optical clarity. Polycarbonate is particularly favored for its lightweight nature, while acrylic provides enhanced scratch resistance. Next, consider your visor tint choices; clear visors are ideal for maximum visibility, whereas tinted options can reduce glare and enhance comfort in bright conditions. Verify that any tint you choose complies with safety standards to maintain visual acuity. By carefully selecting these materials, you’ll create a helmet visor that not only protects but also enhances your experience, allowing for freedom and confidence during your rides.
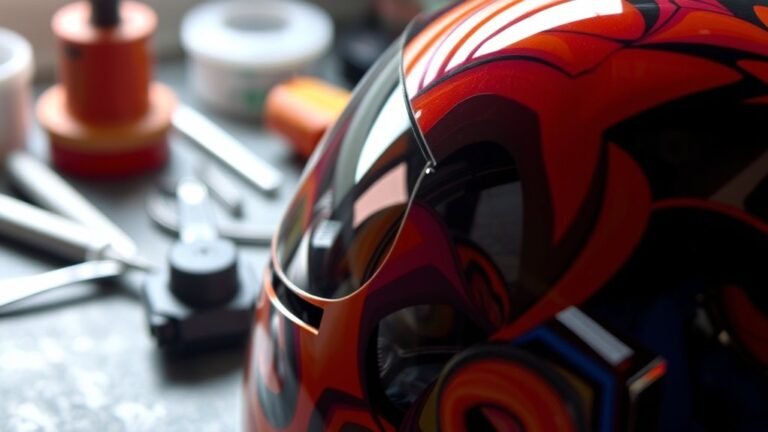
Tools Required for the Project

Creating a transparent helmet visor requires specific tools to secure precision and quality in your project. First, make sure you have safety goggles to protect your eyes while cutting and shaping helmet materials. A sharp utility knife is essential for clean cuts, and a heat gun can help in bending the visor to fit your helmet’s curvature. You’ll also need measuring tools, like a ruler and a protractor, to achieve accurate dimensions. A fine-toothed saw might be necessary for thicker helmet materials. Finally, a sanding block is invaluable for smoothing edges, preventing sharp surfaces. With these tools, you’ll be well-equipped to create a visor that meets your needs while ensuring safety and functionality.
Measuring Your Helmet for a Perfect Fit
To achieve a perfect fit for your helmet visor, you’ll need specific tools to take accurate measurements. Focus on key areas such as the head circumference and the distance from the forehead to the nape of the neck. Ensuring these measurements are precise will guarantee that your visor aligns correctly with the helmet structure.
Tools Required for Measuring
When measuring your helmet for a perfect fit, having the right tools is essential to guarantee accuracy and comfort. Start with a flexible measuring tape, which allows you to navigate the contours of your head smoothly. You’ll also need a notepad to record your measurements, making sure you don’t lose critical data. A level or straight edge can be useful for checking alignment during your measurement techniques, ensuring consistency. If available, a caliper can provide precise measurements for particular areas. Finally, a mirror can help you visually assess the fitting process. Equipped with these measuring tools, you’ll make certain your helmet not only fits well but also enhances your freedom while riding, providing both safety and comfort.
Key Measurement Areas
While ensuring a proper fit for your helmet, it’s vital to focus on specific measurement areas. Start by measuring the circumference of your head, just above the eyebrows, using effective measurement techniques. This will determine your base size. Next, assess the distance from the forehead to the back of your head and from ear to ear, as these dimensions are significant for visor dimensions. Each measurement helps in customizing the visor’s shape and ensuring it aligns perfectly with your helmet. Don’t forget to check the helmet’s internal padding, as it can affect comfort and fit. Accurate measurements empower you to create a visor that not only fits seamlessly but also enhances your riding experience, promoting the freedom you seek.
Ensuring Accurate Fit
Accurate measurements directly influence how well your visor will fit within the helmet’s structure. To guarantee a precise fit, start by measuring the helmet’s internal dimensions, focusing on width, height, and depth. These metrics are vital for making necessary fit adjustments. When crafting your visor, account for the curvature of the helmet, which affects visor alignment. A visor that’s too large or small can compromise safety and comfort, so it’s imperative to test it in place before finalizing any cuts. Use a flexible measuring tape to capture dimensions accurately, and always double-check your measurements. Remember, a well-fitted visor enhances not only visibility but also the overall riding experience, allowing you to embrace freedom on the road.
Designing Your Visor Template
Creating a visor template is an essential step in ensuring your transparent helmet visor fits correctly and functions effectively. Begin by gathering design inspiration from existing visors, whether from helmets in your collection or online resources. This will inform your template creation process.
Here’s a simple table to visualize the key elements of your visor design:
| Element | Description |
|---|---|
| Shape | Determine the overall contour needed |
| Dimensions | Measure height and width accurately |
| Attachment Points | Identify where the visor will connect |
| Material | Choose the right transparent material |
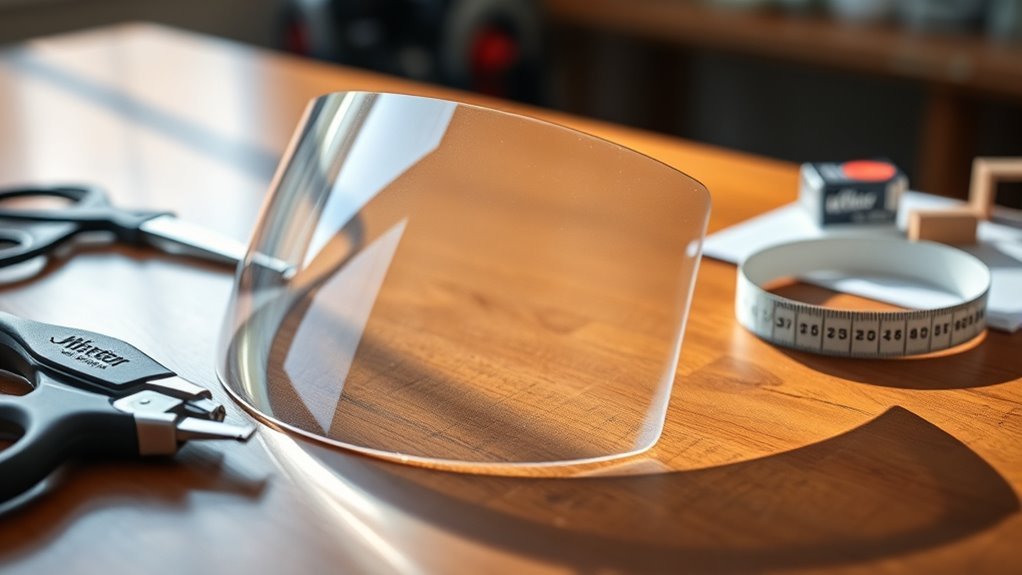
Cutting the Visor Shape
Begin by carefully cutting the visor shape from your template, ensuring precision at every step. Utilize sharp cutting tools that suit your material choice—whether it’s acrylic or polycarbonate. Employ cutting techniques such as straight cuts for edges and curves for rounded sections, maintaining a steady hand for accuracy. Pay attention to the visor design, as any deviation can affect both aesthetics and functionality. Consider using a jigsaw for intricate shapes, and be cautious of excessive heat generation, which can warp the material. It’s essential to follow your template closely, as this will yield a visor that fits your helmet perfectly, providing the freedom you desire while riding. Take your time; a well-cut visor is foundational for your project.
Polishing the Edges for Safety
Polishing the edges of your visor is essential for guaranteeing safety and comfort. Rough edges can pose a risk, potentially leading to cuts or snags. To meet safety standards, you’ll want to employ effective edge treatments. Start by using fine-grit sandpaper to smooth out any irregularities along the edges. Gradually progress to a polishing compound, applying it with a soft cloth to achieve a clear, glossy finish. This process not only enhances aesthetics but also reduces the likelihood of jagged edges catching on gear or skin. Always test the visor’s edges after polishing to verify they’re safe to handle. Prioritizing these steps will contribute to a reliable helmet visor that aligns with your desire for freedom and safety in your adventures.
Attaching the Visor to Your Helmet
When attaching the visor to your helmet, selecting the appropriate attachment method is essential for functionality and safety. You’ll need to guarantee a secure fit to prevent any movement during use, which could compromise visibility or protection. Evaluate options like snaps, screws, or adhesive strips based on your helmet design and intended application.
Choosing Attachment Method
As you explore options for attaching the visor to your helmet, it is vital to evaluate the method that best suits your specific needs and preferences. Choosing materials that guarantee both functionality and durability is significant. Evaluate durability against the conditions you’ll face, whether it’s high-speed riding or off-road adventures. Here are some common attachment methods to take into account:
- Snap-on clips: Easy to use and replace.
- Velcro straps: Adjustable and versatile.
- Bolts and screws: Provide a more permanent solution.
- Magnetic mounts: Quick to attach and detach.
Each method has its pros and cons, so weigh them carefully based on your riding style and how often you might want to remove or adjust the visor.
Ensuring Secure Fit
Ensuring a secure fit for your visor is essential, not just for comfort but also for safety during your rides. Start by checking your helmet’s mounting points and aligning them with your visor. You’ll want to make fit adjustments to accommodate the visor’s width and depth, ensuring it sits flush against the helmet. Use secure fastening methods, such as snap buttons or Velcro strips, to firmly attach the visor. These should provide a reliable hold while allowing for easy removal when needed. Regularly inspect the fastening mechanism for wear or loosening, as these can compromise your safety. Ultimately, a well-fitted visor enhances your riding experience, providing both clarity and protection without hindering your freedom on the road.
Testing Visibility and Comfort
Although a transparent helmet visor may seem straightforward, testing its visibility and comfort is essential for peak performance. You should conduct visibility tests under various lighting conditions to guarantee clarity and prevent distortion. Additionally, perform comfort adjustments to find the best fit and positioning that minimizes pressure points.
Consider the following aspects during your tests:
- Field of view: Ensure peripheral vision isn’t compromised.
- Fog resistance: Check for fogging in different temperatures.
- Weight distribution: Assess how the visor affects the helmet’s overall balance.
- Material flexibility: Test how the visor responds to impacts and stress.
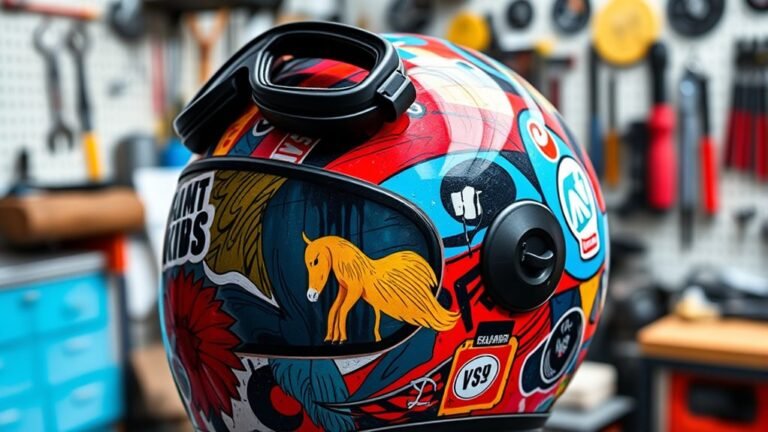
Customizing Your Visor With Paint or Decals
After confirming that your helmet visor offers ideal visibility and comfort, personalizing it with paint or decals can enhance both aesthetics and functionality. You can explore various custom paint techniques, such as airbrushing or spray painting, to create a unique design that reflects your personality. Make certain you use high-quality, durable paint that adheres well to the visor material.
For decals, selecting appropriate decal application methods is essential. Clean the visor thoroughly to eliminate dust and grease, then carefully apply your chosen decals, making sure no air bubbles are trapped underneath. Consider using a clear coat finish to protect both your paint and decals from scratches and fading. This customization not only enhances your helmet’s look but also allows you to express your individuality.
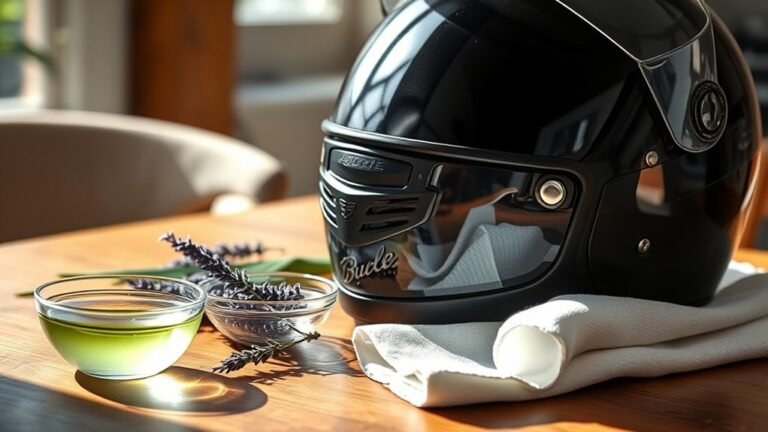
Maintenance Tips for Your Transparent Visor
A transparent visor requires regular maintenance to maintain ideal clarity and prevent damage. Implementing effective cleaning techniques and proper storage tips can greatly extend your visor’s lifespan.
- Use a microfiber cloth to gently wipe the visor, avoiding scratches.
- Clean with a mild soap solution; harsh chemicals can degrade the material.
- Store your visor in a protective case when not in use to prevent dust accumulation.
- Avoid exposing the visor to extreme temperatures or direct sunlight for extended periods.
Frequently Asked Questions
Can I Use Any Plastic Material for the Visor?
Can you really just use any plastic for your visor? While you might think all plastics are created equal, that’s far from the truth. Polycarbonate options offer high impact resistance and clarity, making them ideal for safety. In contrast, acrylic limitations include lower durability and susceptibility to scratching. So, if you want a visor that balances clarity and protection, opt for polycarbonate to guarantee your freedom in risky situations isn’t compromised.
What Is the Best Way to Clean My Visor?
To clean your visor effectively, use a mild soap solution or specific cleaning solutions designed for plastics. Avoid harsh chemicals that can scratch or damage the surface. Use a soft microfiber cloth for maintenance, as it minimizes the risk of abrasion. Regularly inspect for scratches and clean any debris promptly to maintain visibility. Following these maintenance tips guarantees your visor remains clear and functional, enhancing your riding experience without compromising safety.
How Often Should I Replace My Helmet Visor?
Think of your visor as the windshield of your motorcycle journey; it needs to be clear for a safe ride. Generally, you should replace your visor every 2 to 5 years, depending on its lifespan and usage. Frequent exposure to sunlight, scratches, or fogging can diminish visibility, so assess its condition regularly. If you notice significant wear or distortion, it’s time for a replacement to guarantee your freedom on the road remains unimpeded.
Will a Tinted Visor Affect Visibility at Night?
Yes, a tinted visor can considerably affect visibility during night riding. Tinted visors reduce the amount of light entering your field of vision, which can impair your ability to see obstacles and other road users clearly. This could lead to dangerous situations. For ideal safety, it’s best to use a clear visor at night, ensuring you can see well and maintain your freedom on the road without compromising your safety.
Can I Use a Heat Gun for Shaping the Visor?
Absolutely, you can use a heat gun for shaping the visor! With heat gun techniques, you can transform your visor into a perfectly contoured masterpiece. Just remember to control the temperature; too much heat can warp it beyond recognition. Focus on specific areas to achieve the desired shape, ensuring even heating for consistent results. It’s all about precision, so take your time and enjoy the freedom that comes with customizing your gear!
References
- https://en.wikipedia.org/wiki/Visor
- https://www.sciencedirect.com/science/article/pii/S0268005X10005950
- https://www.nhtsa.gov/equipment/helmets
- https://www.cdc.gov/niosh/topics/trauma/helmet.html
- https://www.sae.org/publications/technical-papers/content/2014-01-0181/
- https://www.bikehelmet.org/helmet-facts/