Replacing Helmet Padding – A Step-by-Step Guide
To replace your helmet padding, first assess its condition for wear or odors. Gather tools like a utility knife and heat gun for removal. Clean the interior thoroughly before selecting appropriate replacement padding. When installing, guarantee a snug fit without pressure points. Adjust straps for comfort and secure fit. Regular maintenance checks will enhance the lifespan of your helmet. Continue for detailed steps and tips on guaranteeing safety and comfort during rides.
Assessing the Condition of Your Helmet Padding
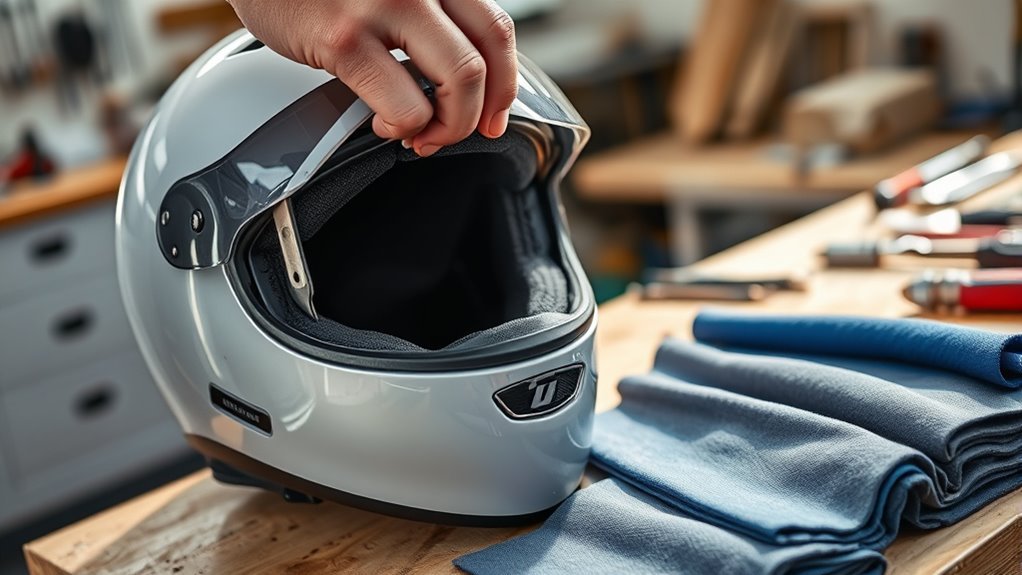
When evaluating the condition of your helmet padding, start by inspecting it for signs of wear and tear. Look for any fraying, cracking, or hardening of the padding materials, as these can compromise helmet safety. Soft, flexible padding is essential for effective impact absorption; if it feels stiff or brittle, it’s time for a replacement. Pay attention to the smell as well—unpleasant odors may indicate bacterial growth, which can affect your health. Check for any visible mold or mildew, especially if the helmet has been exposed to moisture. Regular assessments guarantee that your helmet provides maximum protection. Remember, your safety relies on the integrity of your helmet padding, so make it a priority in your gear maintenance routine.
Gathering Required Tools and Materials
Before you start replacing your helmet padding, you need to gather the right tools and materials. Essential tools typically include a screwdriver and adhesive, while replacement materials consist of padding and fabric for covering. Having everything ready will streamline the replacement process and guarantee a proper fit.
Essential Tools Needed
Replacing helmet padding requires a specific set of tools and materials to guarantee the job is done effectively and safely. You’ll need a utility knife for precise cutting, scissors for flexibility with various padding types, and a heat gun to soften adhesive when necessary. It’s also wise to have a screwdriver for removing any helmet components blocking access to the padding. Additionally, a measuring tape secures accurate sizing of new padding, while a cleaning cloth helps maintain a clean workspace. Familiarizing yourself with different installation techniques is essential, as they can vary based on padding types. With these tools at your disposal, you’ll be well-prepared to tackle the replacement process with confidence.
Materials for Replacement
Gathering the right materials is essential for a successful helmet padding replacement. Start by selecting appropriate padding materials, such as foam or gel, which offer comfort and protection. You’ll find various replacement options available, including pre-cut pads or sheets that you can customize to fit your helmet’s interior. Be sure to take into account the density and thickness of the padding to guarantee ideal safety and comfort. Additionally, you may need adhesive or Velcro strips to secure the new padding in place. Don’t forget to have scissors or a utility knife on hand for precise cutting. With the right materials gathered, you’re well on your way to enhancing your helmet’s performance and keeping yourself safe on the road or trail.
Removing the Old Padding
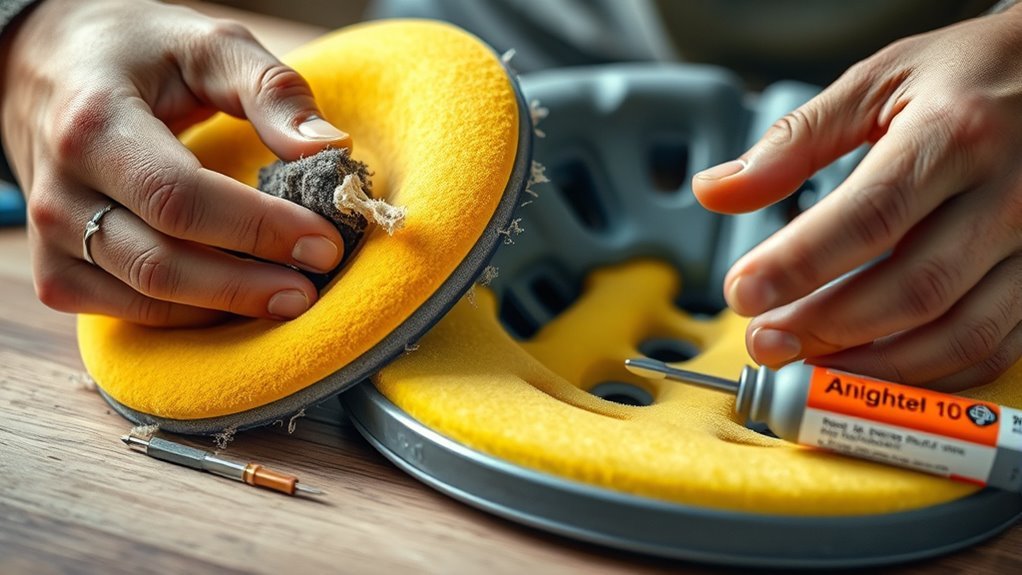
To begin the process of removing the old padding, carefully inspect the helmet for any screws, snaps, or adhesives securing the padding in place. Different padding types may require specific removal techniques, so be attentive. If screws are present, use the appropriate screwdriver to remove them. For snap-secured padding, gently pull at the edges to release them. If adhesive holds the padding, apply heat from a hairdryer to soften the glue, making removal easier. Remember, proper helmet upkeep is essential for safety, so handle the helmet carefully to avoid damaging the shell. Once the old padding is removed, you’ll have a clean surface for installing the new padding, ensuring your helmet remains effective and comfortable.
Cleaning the Helmet Interior
To maintain your helmet’s integrity and hygiene, you’ll need specific tools for cleaning the interior. Effective cleaning techniques are essential for removing dirt and sweat buildup, ensuring peak performance. In this section, we’ll cover the necessary tools and best practices for a thorough cleaning process.
Tools Needed for Cleaning
When cleaning the interior of a helmet, having the right tools can make the process efficient and effective. Start with basic cleaning supplies: a soft brush, microfiber cloths, and mild soap or helmet-specific cleaner. You’ll also need a bucket of warm water for rinsing. If your helmet has removable padding, a gentle detergent can help in washing those parts. A toothbrush is useful for reaching tight spaces and removing stubborn dirt. For a thorough maintenance routine, consider having a small vacuum for debris and a spray bottle for cleaner application. These tools will guarantee you can maintain your helmet’s hygiene without compromising its integrity, providing you the freedom to ride safely and confidently.
Cleaning Techniques and Tips
After gathering the necessary tools for cleaning, it’s time to focus on effective techniques for maintaining the helmet’s interior. Regular cleaning is essential, especially if you ride frequently. Aim to clean your helmet every few weeks, depending on usage and the type of padding materials involved.
| Cleaning Frequency | Recommended Padding Materials |
|---|---|
| Every 2 weeks | Foam, Gel |
| Monthly | Memory Foam |
| Every 6 weeks | Synthetic Fabrics |
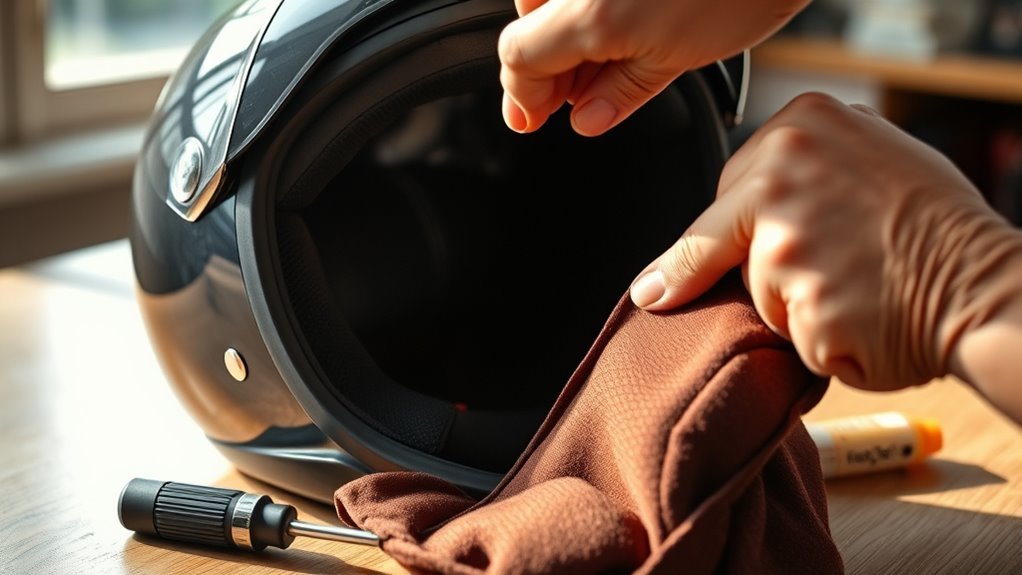
Start by removing the padding and using a mild detergent mixed with water. Gently scrub with a soft cloth to avoid damaging the materials. Rinse thoroughly and let it air dry completely before reassembling. This practice will help maintain hygiene and extend the life of your helmet.
Selecting the Right Replacement Padding
How can you guarantee maximum safety and comfort when selecting replacement helmet padding? Start by evaluating the padding materials available, as they play a vital role in impact absorption and durability. Look for high-quality foams, gels, or viscoelastic materials that offer excellent shock resistance. Next, consider comfort features. Opt for padding that includes moisture-wicking properties and ventilation, which can enhance breathability and keep you cool during intense activities. Ascertain the padding fits snugly within your helmet without causing pressure points. Additionally, check for adjustable options that allow customization based on your head shape. By carefully selecting padding that balances protection and comfort, you’ll enjoy a safer, more enjoyable experience every time you wear your helmet.
Installing the New Padding
Installing new padding in your helmet is an essential step to guarantee maximum safety and comfort. Start by preparing your workspace and gathering the right tools. Next, consider the padding material options available, such as foam or gel, based on your preferences. Utilize effective padding installation techniques to verify a snug fit.
Here’s a quick reference table to help you choose the right technique:
| Technique | Description |
|---|---|
| Adhesive Application | Use strong adhesive for a secure bond |
| Snap-In Method | Align and snap padding into place |
| Velcro Strips | Attach padding using Velcro for easy removal |
| Compression Fit | Insert padding that adjusts under pressure |
| Layering | Combine materials for enhanced comfort |
Follow these steps carefully, and you’ll achieve a successful installation.
Ensuring a Proper Fit
Once the new padding is installed, ensuring a proper fit is essential for both safety and comfort. Start by referring to the sizing guide specific to your helmet model. This will help you identify the correct size and necessary fit adjustments. Place the helmet on your head and check for snugness; it shouldn’t wobble or shift easily. The padding should make full contact with your head without excessive pressure points. Adjust the straps and buckles to secure the helmet firmly but comfortably. Remember, a well-fitted helmet allows for minimal movement while providing ideal protection. Don’t hesitate to make further adjustments until you achieve the perfect fit, as this can greatly enhance your riding experience.
Testing Your Helmet for Comfort and Safety
When evaluating the comfort and safety of your helmet, what should you be looking for? Start with a thorough comfort assessment. Verify the padding fits snugly without causing pressure points. Next, conduct safety checks by inspecting for any visible damage or wear.
| Aspect | Evaluation Criteria |
|---|---|
| Padding Fit | Snug, no gaps or excessive tightness |
| Straps | Secure, adjustable, and comfortable |
| Impact Resistance | No cracks or deformities |
| Overall Feel | Comfortable for extended wear |
Once you’ve completed these steps, wear your helmet for a short ride. Confirm it feels secure yet comfortable, allowing you the freedom to focus on your ride without distractions.
Maintaining Your Helmet Padding for Longevity
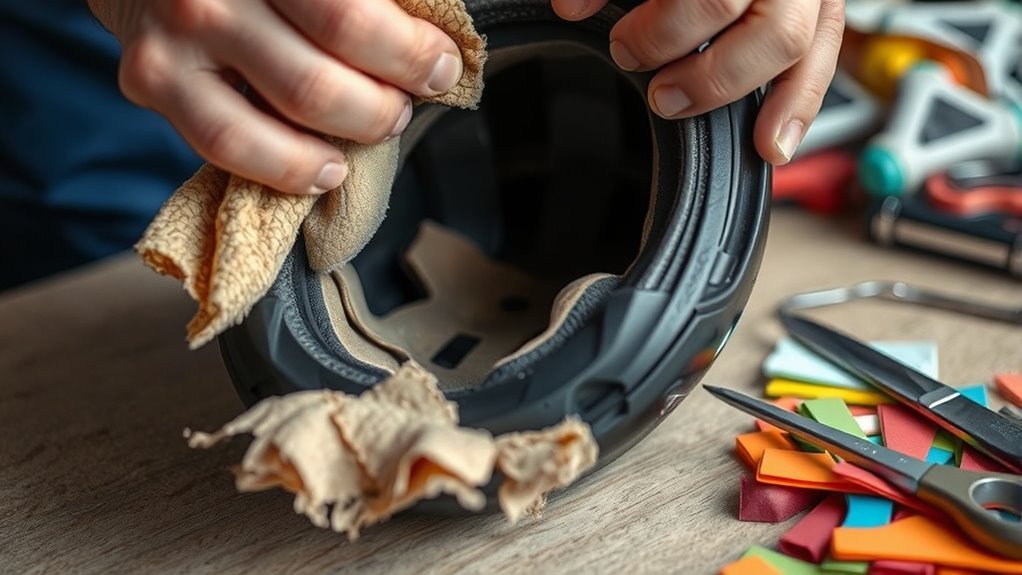
Although maintaining your helmet padding might seem like a minor task, it plays an essential role in ensuring your helmet’s longevity and overall performance. To start, regularly inspect your padding for wear and tear, replacing it when necessary. Proper padding care involves cleaning it with mild soap and water, avoiding harsh chemicals that can degrade materials. Make sure to dry it thoroughly to prevent mold and odors, enhancing your helmet hygiene. Store your helmet in a cool, dry place away from direct sunlight to prevent damage. Finally, consider using removable padding options, which can be easily cleaned and replaced, ensuring your helmet remains in top condition for all your adventures. Prioritize these steps for a safer, more enjoyable ride.
Frequently Asked Questions
How Often Should I Replace My Helmet Padding?
You should replace your helmet padding every 1-3 years, depending on usage and the padding lifespan. Regular helmet maintenance is essential for ensuring your safety. If you notice any signs of wear, like cracks or a loss of cushioning, it’s time for a replacement. Always prioritize comfort and protection; a well-maintained helmet can make a significant difference in protecting you during your activities. Don’t compromise on safety—stay proactive with your gear!
Can I Wash the Old Helmet Padding?
Yes, you can wash old helmet padding, but be careful. For proper padding care, use mild soap and water, avoiding harsh chemicals that can degrade materials. Gently scrub with a soft cloth, then rinse thoroughly and let it air dry completely before reassembling. Regular helmet maintenance, including cleaning padding, can extend its life and guarantee comfort. However, if the padding shows signs of wear, consider replacing it for ideal safety.
Are There Different Types of Padding Materials Available?
Yes, there are different padding types available, each with unique material benefits. Foam padding is lightweight and offers excellent shock absorption, while gel padding provides superior comfort and cushioning. Some helmets use multi-density materials that enhance protection by dispersing impact forces more effectively. Additionally, moisture-wicking fabrics can help keep you dry during use. Choosing the right padding type can greatly enhance your comfort and safety, allowing you to enjoy your activities with confidence.
What Should I Do if the New Padding Doesn’t Fit?
If the new padding doesn’t fit, don’t panic; it’s not the end of the world! First, check for any sizing issues—maybe you grabbed the wrong size. Then, explore padding adjustments like trimming or using additional spacers to achieve a snug fit. If that doesn’t work, consider returning the padding and selecting a different type that better matches your helmet’s dimensions. Proper fit’s essential for safety, so take your time to get it right.
Is It Safe to Use Aftermarket Padding?
Yes, it can be safe to use aftermarket padding, but you need to verify it meets industry safety standards. Aftermarket safety varies, so check for certifications and reviews on durability. Using high-quality materials can enhance your helmet’s performance and comfort. However, improper fitting or low-quality options might compromise protection. Always prioritize compatibility with your helmet model to maintain its effectiveness and guarantee you’re fully protected while enjoying your freedom on the road.
References
- https://www.cdc.gov/headsup/basics/helmet.html
- https://www.nhtsa.gov/equipment/helmets
- https://www.safecar.gov/parents/helmet-safety
- https://www.nhl.com/news/helmet-safety-tips/c-295508196
- https://www.bikes.org/helmet_faqs.htm
- https://www.asec.org/helmet-fitting-guide
- https://www.sportsafety.org/helmet-care-and-maintenance
- https://www.americanhelmets.org/helmet-safety-tips
- https://www.nsc.org/home-safety/safety-topics/helmet-safety
- https://www.cpsc.gov/safety-education/safety-guides/helmets