How to Fix Common Helmet Wear and Tear Issues
To fix common helmet wear and tear, start by inspecting your helmet for any cracks or dents. Replace worn out padding if it crumbles or loses thickness. Adjust loose straps to guarantee a snug fit and replace any broken buckles promptly. Clean scuff marks with suitable cleaners, and if the visor’s damaged, consider a compatible replacement. By following these steps, you’ll maintain helmet safety and longevity. Continue to explore more solutions and tips for ideal helmet care.
Inspecting Your Helmet for Damage

When it comes to helmet safety, regular inspections are essential. To guarantee your helmet’s integrity, start by examining the outer shell for cracks or dents, which are common wear indicators. Check the straps for fraying or broken buckles, as these can compromise the helmet’s fit and effectiveness. Don’t forget to inspect the interior padding for any signs of degradation; worn padding can affect comfort and protection. Use these helmet inspection tips: perform checks before each ride, and keep a log of any findings. If you notice any significant damage, it’s best to replace the helmet rather than risk your safety. Remember, a well-maintained helmet is your best ally in preserving your freedom on the road.
Replacing Worn Out Padding

When your helmet padding shows signs of wear, it’s essential to identify the extent of the damage. Look for crumbling foam, reduced thickness, or any noticeable odor, as these indicate that replacement is necessary. Selecting the right replacement padding involves ensuring compatibility with your helmet model and choosing materials that provide ideal comfort and protection.
Identifying Padding Damage
Although helmets are designed for durability, the padding inside can wear down over time, affecting both comfort and safety. To identify padding damage, start by inspecting the different padding types used in your helmet. Common padding materials include foam, gel, and fabric liners. Look for signs of compression, tearing, or discoloration, as these can indicate that the padding has lost its protective qualities. You should also check for any unpleasant odors, which can signal bacteria buildup. If you notice any of these issues, it’s essential to replace the padding promptly. Remember, compromised padding not only diminishes comfort but also reduces the helmet’s effectiveness in absorbing impact during an accident, putting your safety at risk.
Choosing Replacement Padding
Finding the right replacement padding for your helmet is vital for maintaining both comfort and safety. When selecting new padding, consider the following factors:
- Padding Materials: Choose high-quality materials like foam or gel that provide effective impact absorption and moisture-wicking properties.
- Padding Thickness: Opt for a thickness that suits your helmet type and personal preference; thicker padding may offer more comfort, while thinner options can enhance fit.
- Compatibility: Confirm the replacement padding is compatible with your helmet model to guarantee a secure fit.
- Maintenance: Look for padding that’s easy to clean or replace, extending the life of your helmet.
Adjusting Loose Straps
When your helmet straps feel loose, it’s essential to identify the problem accurately. Proper adjustment guarantees a secure fit, enhancing safety during use. Let’s explore how to spot loose strap issues and apply effective adjustment techniques.
Identifying Loose Strap Issues
It’s important to regularly inspect your helmet straps, as loose straps can compromise safety and comfort during use. Identifying common strap issues early can help maintain peak performance. Here are some strap maintenance tips to keep in mind:
- Check for Fraying: Inspect straps for signs of wear, such as fraying or cuts.
- Test Adjustability: Confirm that the straps adjust smoothly and hold their position when tightened.
- Look for Stretching: Check if the straps have lost elasticity, which can lead to looseness over time.
- Examine Attachment Points: Verify that the straps are securely fastened to the helmet and not slipping.
Proper Adjustment Techniques
To guarantee your helmet fits securely and comfortably, adjusting loose straps is vital. Start by putting the helmet on, ensuring it sits level on your head. Next, grasp the chin strap and pull it snugly, adjusting the side straps until they create a V-shape just below your ears. This alignment is important for effective helmet fit importance. Use the adjustment sliders to eliminate any slack in the straps, ensuring they’re neither too tight nor too loose. Finally, perform a quick shake test; if the helmet shifts noticeably, repeat the adjustment. Mastering these helmet adjustment techniques not only enhances comfort but also maximizes safety, allowing you to enjoy your rides with confidence and freedom.
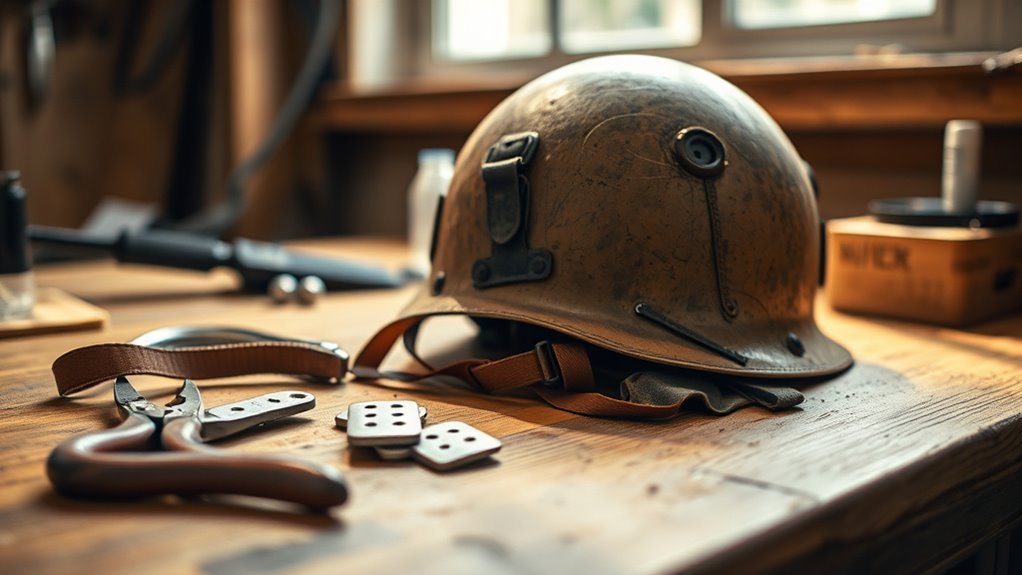
Fixing Broken Buckles
Evaluating the condition of your helmet’s buckles is essential for ensuring safety during use. If you find broken buckles, addressing the issue promptly can prevent accidents. Here’s how to fix them:
- Inspect Buckle Materials: Check if the buckle is made from durable plastic or metal, as each has specific replacement options.
- Choose Replacement Options: Look for compatible buckles from the manufacturer or aftermarket suppliers that match your helmet’s model.
- Remove the Old Buckle: Carefully detach the broken buckle from the helmet straps using tools like pliers if needed.
- Install the New Buckle: Secure the new buckle in place, ensuring it’s properly aligned for peak safety.
Taking these steps will help maintain your helmet’s functionality and your freedom on the road.
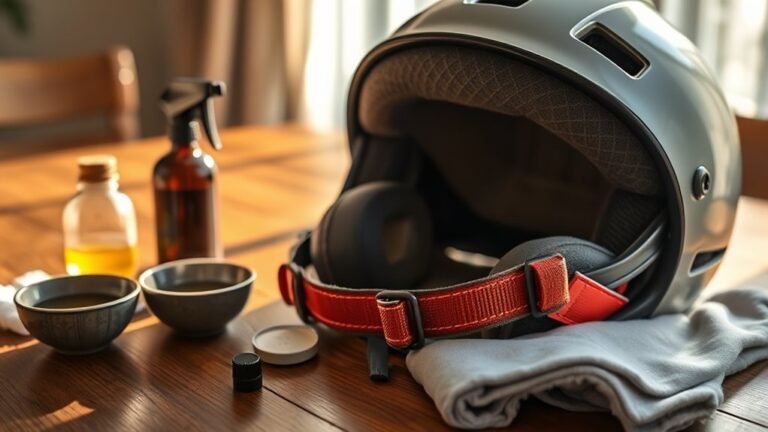
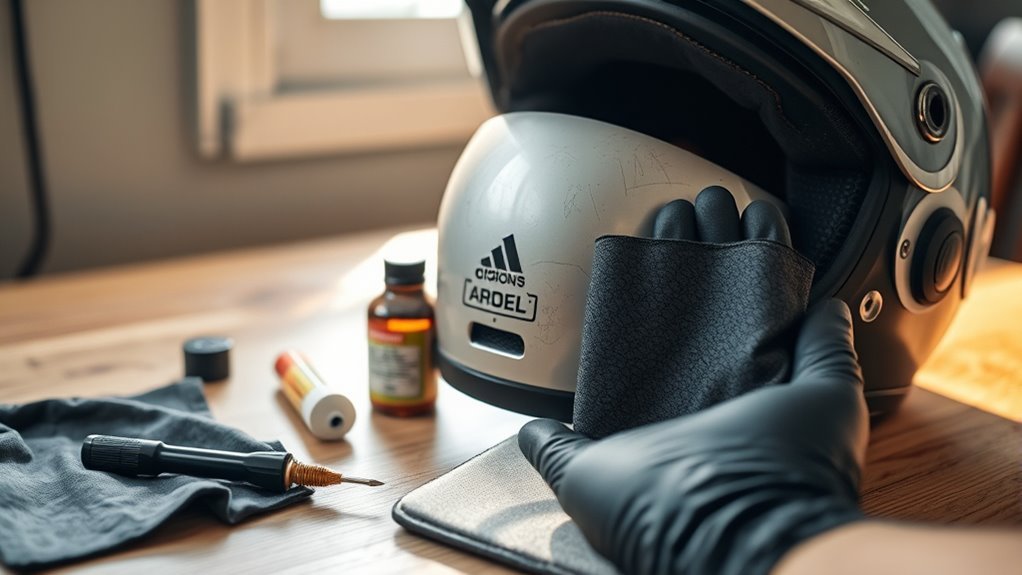
Cleaning Scuff Marks and Scratches
After addressing any buckle issues, the next step in helmet maintenance involves cleaning scuff marks and scratches that can accumulate over time. Start by using a soft microfiber cloth to gently wipe the helmet’s surface, removing dirt and debris. For removing scuffs, apply a small amount of automotive polish or a specialized helmet cleaner to the affected areas. Use the cloth to buff in a circular motion, guaranteeing even coverage. This process not only helps in removing scuffs but also aids in polishing surfaces, restoring the helmet’s original shine. After cleaning, allow the helmet to dry completely before further use. Regular maintenance keeps your helmet looking great and guarantees peak performance, allowing you the freedom to ride with confidence.
Repairing Cracks in the Shell
When you notice cracks in your helmet’s shell, it’s essential to assess the extent of the damage before proceeding with repairs. Using high-quality epoxy glue can effectively bond the cracked areas, restoring structural integrity. Always verify the surface is clean and dry for best adhesion during the repair process.
Assessing Damage Extent
How can you determine the extent of damage to your helmet’s shell? Evaluating damage is essential for maintaining your helmet’s lifespan. Look for these damage indicators:
- Visible Cracks: Inspect the exterior for any noticeable cracks or chips.
- Deformation: Check for warping or dents that could compromise structural integrity.
- Surface Scratches: Identify deep scratches that may weaken the shell.
- Liner Damage: Examine the interior padding for any signs of wear that could affect fit and safety.
Repairing With Epoxy Glue
Repairing cracks in your helmet’s shell can be effectively accomplished using epoxy glue, a durable adhesive designed for hard materials. First, clean the cracked area thoroughly to guarantee proper adhesion. Then, apply the epoxy using precise application techniques, allowing you to fill the crack completely. Mix the epoxy according to the manufacturer’s instructions, making sure you achieve a consistent blend for maximum strength. After application, clamp the area or hold it firmly until the epoxy sets, usually within a few hours. For long-lasting repairs, consider sanding the surface once cured to smooth out any unevenness. This method not only restores the helmet’s integrity but also enhances its longevity, providing you with the freedom to ride confidently.
Replacing a Damaged Visor
Although a damaged visor might seem like a minor issue, it can greatly impair your visibility and safety while riding. Replacing it is crucial for a secure experience. Here are some visor replacement options and maintenance tips to keep in mind:
- OEM Visors: Original equipment manufacturer visors guarantee perfect fit and quality.
- Aftermarket Visors: These can offer different tints and features, but check compatibility with your helmet.
- Cleaning Supplies: Use appropriate cleaners to maintain clarity and prevent scratches.
- Regular Inspections: Routinely assess your visor for cracks or wear to catch issues early.
Ensuring Proper Fit and Comfort
A proper fit and comfort level in your helmet are essential for both safety and enjoyment while riding. To achieve this, start by measuring your head circumference and choosing a helmet that matches those dimensions. When you put the helmet on, it should feel snug but not too tight; your cheeks should touch the inner padding without discomfort. Adjust the chin strap for a secure fit, ensuring it’s neither too loose nor too tight. Regularly check for signs of wear, as proper helmet maintenance can affect fit. If you notice any foam degradation or looseness, consider replacing your helmet. Remember, ensuring a snug fit not only enhances comfort but also maximizes protection during your rides.
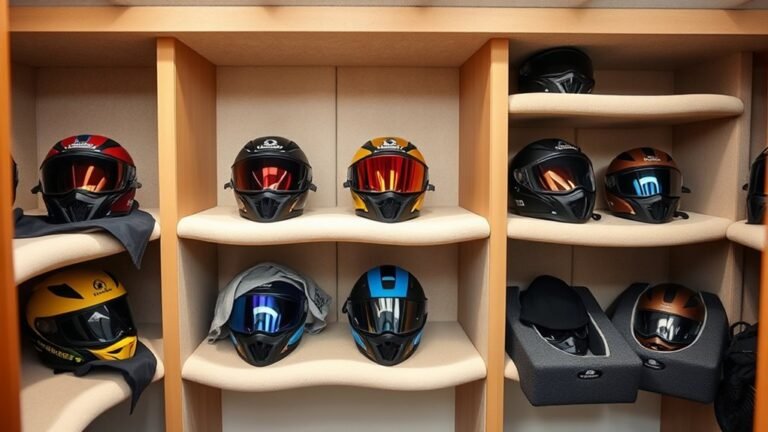
Storing Your Helmet Correctly
Proper fit and comfort are only part of the equation when it comes to helmet care. Storing your helmet correctly guarantees its longevity and performance. Here are some essential helmet storage solutions that take helmet climate considerations into account:
Proper fit and comfort are crucial, but correct storage is vital for your helmet’s durability and performance.
- Cool, Dry Place: Avoid extreme temperatures; store your helmet in a climate-controlled environment.
- Avoid Direct Sunlight: UV rays can degrade materials, so keep it out of direct light.
- Use a Helmet Bag: Protect it from dust and scratches with a padded bag.
- Hang, Don’t Stack: If possible, hang your helmet to prevent deformation from pressure.
Knowing When to Replace Your Helmet
When should you consider replacing your helmet? Generally, a helmet’s lifespan is around three to five years, depending on usage and storage conditions. If you’ve been in a crash, it’s essential to replace it immediately, even if there’s no visible damage. Helmets are designed to absorb impact, and once compromised, they can’t guarantee the same level of protection. Regularly inspect for cracks, dents, or worn padding, as these can affect safety standards. If the foam inside feels compressed or the straps are frayed, it’s time for a new helmet. Prioritizing your safety means staying vigilant about your gear, ensuring you’re always ready to embrace the freedom of your ride without compromise.
Frequently Asked Questions
How Often Should I Inspect My Helmet for Damage?
You should inspect your helmet for damage at least once a month, or more frequently if you use it regularly. Look for signs like cracks, dents, or frayed straps, as these indicate wear that could compromise safety. Additionally, after any significant impact, a thorough inspection is vital. Regular helmet inspection frequency guarantees you’re ready for your next adventure, maintaining both your freedom and safety on the road. Don’t take any chances with your protection!
Can I Use Regular Glue to Fix My Helmet?
You shouldn’t use regular glue for helmet repairs. Instead, consider helmet repair techniques that involve specialized adhesives designed for the materials used in helmets. These adhesive options guarantee a strong bond without compromising safety. Using inappropriate glue could weaken structural integrity, leading to potential hazards. Always prioritize your safety by choosing the right products and following manufacturer guidelines for repairs. Keeping your helmet in peak condition is essential for your protection.
Is It Safe to Paint My Helmet?
It’s not safe to paint your helmet. While you might think a fresh coat of color looks cool, most helmet paint types can compromise the integrity of the materials. Paint can interfere with the helmet’s safety standards, affecting its ability to protect you in an accident. If you’re set on customizing, consider using helmet-safe vinyl wraps instead. They maintain the helmet’s structural integrity while giving you the freedom to express your style.
What Is the Lifespan of a Typical Helmet?
A typical helmet’s lifespan is around 3 to 5 years, depending on the helmet materials and usage. Helmets with high-quality materials may last longer, but exposure to UV rays, impacts, and wear can compromise their integrity. Always check for helmet certification, as it guarantees safety standards are met. Regularly inspect your helmet for signs of damage, and if you’re unsure, it’s better to replace it than risk your safety.
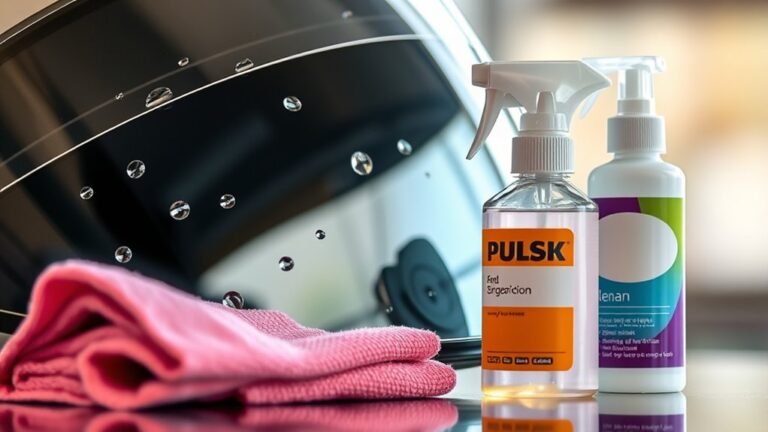
Are There Specific Cleaning Products I Should Avoid?
You should avoid cleaning products containing bleach or ammonia, as they can degrade helmet materials like polycarbonate and EPS foam. Notably, nearly 60% of helmet users don’t realize that improper cleaning can shorten a helmet’s lifespan. Stick to gentle cleaning methods, like mild soap and water, to maintain the integrity of your helmet. Remember, protecting your gear is essential for your safety and freedom while riding.
References
- https://www.cpsc.gov/Safety-Education/Safety-Guides/Bicycles/Helmets
- https://www.nhtsa.gov/equipment/helmet-safety
- https://www.helmets.org/
- https://www.cdc.gov/headsup/basics/helmet.html
- https://www.sportsinjuryclinic.net/sport-injuries/head-injuries/helmet-injury-repairs
- https://www.rideapart.com/news/570162/how-to-repair-your-motorcycle-helmet/
- https://www.bikeexchange.com/blog/how-to-care-for-your-bike-helmet
- https://www.hse.gov.uk/toolbox/managing/repair.htm