Essential Tips for the Perfect Hockey Helmet Fit
Essential Tips for the Perfect Hockey Helmet Fit
A properly fitted hockey helmet is defined as one that stays stable during head movement while maintaining full, comfortable contact with your scalp. The key difference between “fits” and “fits correctly” is measurable stability: the helmet should not shift when you move, and it should sit in the correct vertical position relative to your eyebrows.
Start With the Right Measurements (Sizing Comes First)
Helmet fit begins with accurate sizing, not with trying to “make it work” after the fact. The key difference is that helmet size is determined by head circumference in millimeters/centimeters, while comfort depends on internal padding adjustment.
How to measure head circumference correctly
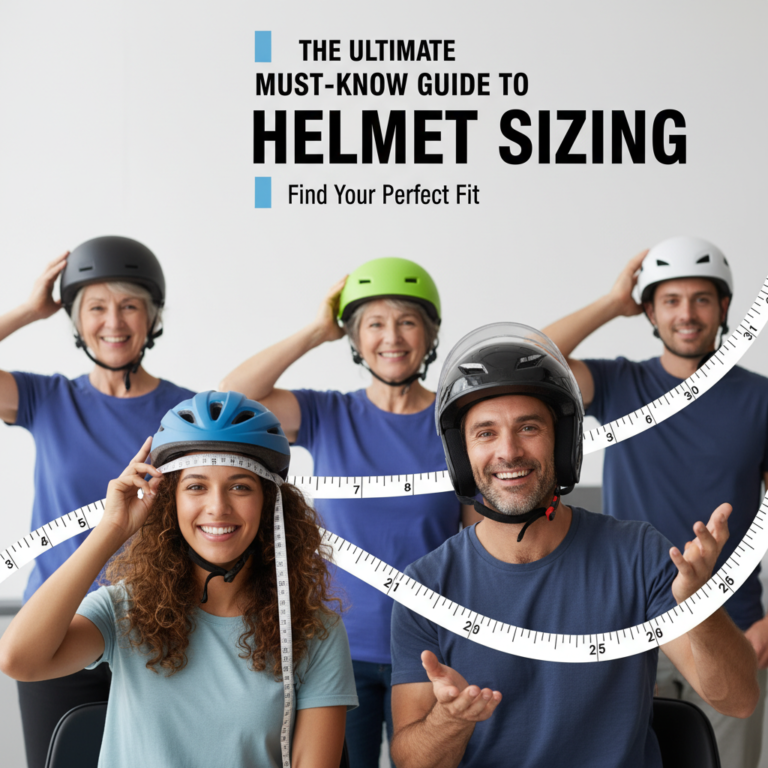
Head circumference is defined as the measurement around the widest part of your head using a flexible tape measure. For hockey helmets, this is typically taken above the eyebrows, around the forehead, and across the widest portion of the back of the skull.
- Use a soft, flexible tape measure (tailor’s tape works well).
- Position the tape level around the head: usually just above the ears and across the forehead.
- Record the measurement to the nearest millimeter or 0.1 inch if your tape supports it.
- Measure once while standing naturally; avoid stretching the tape.
Use the manufacturer’s sizing chart, not guesswork
Even when two helmets share the same “size label,” their internal geometry can differ by brand and model. Widely-used expert guidance is to follow the specific sizing chart for the helmet you’re buying, because padding thickness and shell shape can change effective fit.
If your head measurement lands between two sizes, many fit specialists recommend choosing the larger size when your helmet model includes adjustment padding or liners that can take up slack. The reason is safety: a helmet that is forced to fit too tightly can create pressure points, while an adjustable system can achieve a secure, stable fit.
What certifications matter for real protection
Certification does not guarantee perfect fit, but it does indicate the helmet has been tested for impact performance. Look for standards commonly referenced in North American hockey safety: CSA (Canadian Standards Association) and ASTM (American Society for Testing and Materials) related standards, depending on the product category and age level.
Expert consensus across sports safety guidance is consistent: a certified helmet worn correctly reduces risk, but the helmet must still fit your head properly to function as intended.
Positioning: The Helmet Should Sit in the Correct Vertical Spot
Correct helmet positioning is defined as placement where the front edge is just above the eyebrows without obstructing vision. The key difference is visibility plus coverage: you want protection for the forehead and impact zones while keeping your sightline clear.
Front-to-eyebrow rule (practical placement check)
- The helmet should sit low enough to protect the forehead but not so low that it presses into the eyebrows or brow ridge.
- Your eyes should remain fully visible through the helmet’s clearance.
- Most athletes should feel even contact around the forehead and sides, not a single pressure hotspot.
Where the helmet should contact your head
A well-fitted helmet maintains full contact with the head without large gaps. If the helmet contacts only at a few points, it can shift under motion, especially during skating, checking, or quick head turns.
Adjust the Fit Internally for Stability and Comfort
The purpose of internal adjustments is to customize the helmet to your head shape, not simply to reduce looseness. The key difference is stability: the helmet should move less than 1–2 cm during normal play motions, based on your shake-test results.
Use liners, removable pads, and fit dials
Many hockey helmets include removable foam pads, fit systems, or dial-based mechanisms that let you tune front, back, and side pressure. Foam padding inserts are defined as shaped cushioning pieces that fill space and reduce helmet movement.
- If your helmet feels loose at the sides, adjust side pads first.
- If the helmet rides up when you look down, add or reposition rear support pads.
- If you feel pressure at one spot, reduce that pad thickness or reposition the liner to distribute force.
Balance pressure: “Snug” should not mean painful
Comfort is part of safe fit because discomfort leads to inconsistent wearing. The widely accepted fit principle is that you should feel secure support with minimal hot spots after the first few minutes.
As a practical checkpoint: after wearing the helmet for 10–15 minutes, you should not develop sharp pain, numbness, or lingering tingling around the temples or forehead. If you do, it’s a sign the internal adjustment is not distributing pressure correctly.
Chin Strap Fit: One to Two Fingers for Most Players
The chin strap is defined as the retention system that keeps the helmet from shifting during impact and motion. The key difference is that strap tension must secure the shell while allowing tolerable pressure under the chin.
How tight is “right”?
A commonly used fit guideline is the “one to two finger” test. You should be able to fit one or two fingers between the strap and your chin without the strap becoming loose enough to let the helmet move.
Chin Strap “Finger Gap” Fit Guide (Typical Hockey Helmet Fit)
| # | Finger gap under chin strap | Typical feel | Helmet stability risk | Fit score |
|---|---|---|---|---|
| 1 | 0 fingers (strap contacts chin) | Tight pressure | High | ★ ★ |
| 2 | ~0.5 finger | Near-tight, may cause irritation | Moderate–High | ★ ★ ★ |
| 3 | 1 finger | Secure without digging | Low–Moderate | ★ ★ ★ ★ |
| 4 | 1–2 fingers (ideal range) | Stable support | Low | ★ ★ ★ ★ ★ |
| 5 | ~2.5 fingers | Mild slack; helmet may loosen in motion | Moderate | ★ ★ ★ |
| 6 | 3 fingers | Loose strap; increased helmet movement risk | High | ★ ★ |
| 7 | >3 fingers | Very slack; helmet can lift/shift easily | Very High | ★ ★ |
- If you can insert more than two fingers easily, the helmet may shift.
- If it compresses your throat or causes discomfort quickly, it’s too tight.
- Make sure the strap lies flat and does not twist; twisted straps can reduce effective retention.
Fast strap-check routine before play
Before every session, do a quick visual and tactile check: strap alignment, buckle security, and that the helmet does not lift at the front when you open your mouth slightly.
Perform the Movement Tests (Shake Test and Gap Check)
Testing for movement is defined as verifying that the helmet stays stable when you move your head through typical hockey angles. The key difference is that “feels fine standing still” is not enough; real fit must survive motion.
The shake test: side-to-side and up-and-down
Shake your head gently but firmly side to side and then up and down. A properly fitted helmet should remain in place without noticeable shifting.
- If it slides up when you look down, your rear padding or overall size may be off.
- If it shifts laterally, revisit side padding or consider a different size/model.
- If it rotates, check strap tension and strap alignment in addition to liners.
Gap inspection: forehead and back-of-head clearance
Inspect the contact points around the forehead and the back of the skull. A correct fit should create near-uniform contact without visible or felt gaps.
If you can insert a finger between the helmet and your head in areas that should be secure, the helmet likely needs readjustment or replacement. This is especially important for youth and junior players, where growth spurts can change head shape quickly.
Common Fit Problems and How to Fix Them
Fit issues are common, and most can be corrected by adjusting padding, strap tension, or selecting the correct size. The key difference between a fixable problem and a replacement issue is whether movement persists after adjustments.
Problem: Helmet feels loose at the sides
Looseness at the sides usually means insufficient side coverage or pads are worn/thin. Try side liner adjustments first.
- Add or reposition side padding.
- Confirm strap tension with the one to two finger rule.
- Re-run the shake test.
Problem: Helmet rides too high
If the helmet front edge sits too high, you can lose forehead protection and increase the chance of shifting during motion.
- Verify the vertical position relative to your eyebrows.
- Adjust rear padding to improve retention.
- If it still rides up, the size may be too large.
Problem: Pressure points on temples or forehead
Pressure points are defined as localized spots of discomfort caused by uneven shell contact or overly thick/incorrect padding. The key difference is distribution: secure fit should spread pressure, not concentrate it.
- Reposition liners for even contact.
- Swap pads if your model supports thickness options.
- Do not ignore persistent pain; it can lead to improper wearing.
Helmet Fit for Youth and Growing Players
Youth and junior athletes need fit checks more often because head shape and size change during growth spurts. The key difference is that a helmet that fit at the start of a season may no longer provide stability by mid-season.
When to re-check helmet fit
- Every 4–6 weeks during active growth periods
- Immediately after significant weight gain or growth
- Any time you notice movement during the shake test
Why correct fit matters in contact situations
During checks, board contact, and collisions, the helmet must maintain position to protect the intended areas. A stable fit supports consistent coverage, which is critical for safe play.
FAQ: Quick Answers for Common Helmet Fit Questions
How snug should a hockey helmet be?
A hockey helmet should feel snug and secure, with even contact and no painful hotspots. You should also pass the shake test and be able to fit one to two fingers under the chin strap.
Should I be able to move the helmet with my hands?
You should not be able to easily move the helmet around your head during normal motion. If the helmet shifts with gentle force or on a head shake, adjust padding and strap tension first, then reassess sizing if the movement persists.
What if I’m between sizes?
If you measure between two sizes, start by using the manufacturer’s sizing chart and consider the helmet’s adjustment system. Many athletes choose the larger size only when the internal padding and fit features can eliminate motion effectively.
Do I need to wear a helmet liner or padding inserts?
Helmet liners and padding inserts are often included or recommended to fine-tune fit. A liner is defined as an internal component that fills gaps and reduces helmet movement to improve retention and comfort.
Final Fit Checklist Before You Skate
Use this checklist to confirm that your hockey helmet fit is safe, stable, and repeatable. The key difference is verifying fit through motion, strap tension, and contact points rather than relying on standing comfort alone.
- Size: Helmet size matches your measured head circumference using the brand’s chart.
- Position: Front edge sits just above the eyebrows; vision is unobstructed.
- Stability: Helmet passes the shake test with minimal to no shifting.
- Contact: No significant forehead or back-of-head gaps.
- Chin strap: One to two fingers fit between strap and chin; strap is flat and untwisted.
- Comfort: No sharp pressure points after 10–15 minutes.
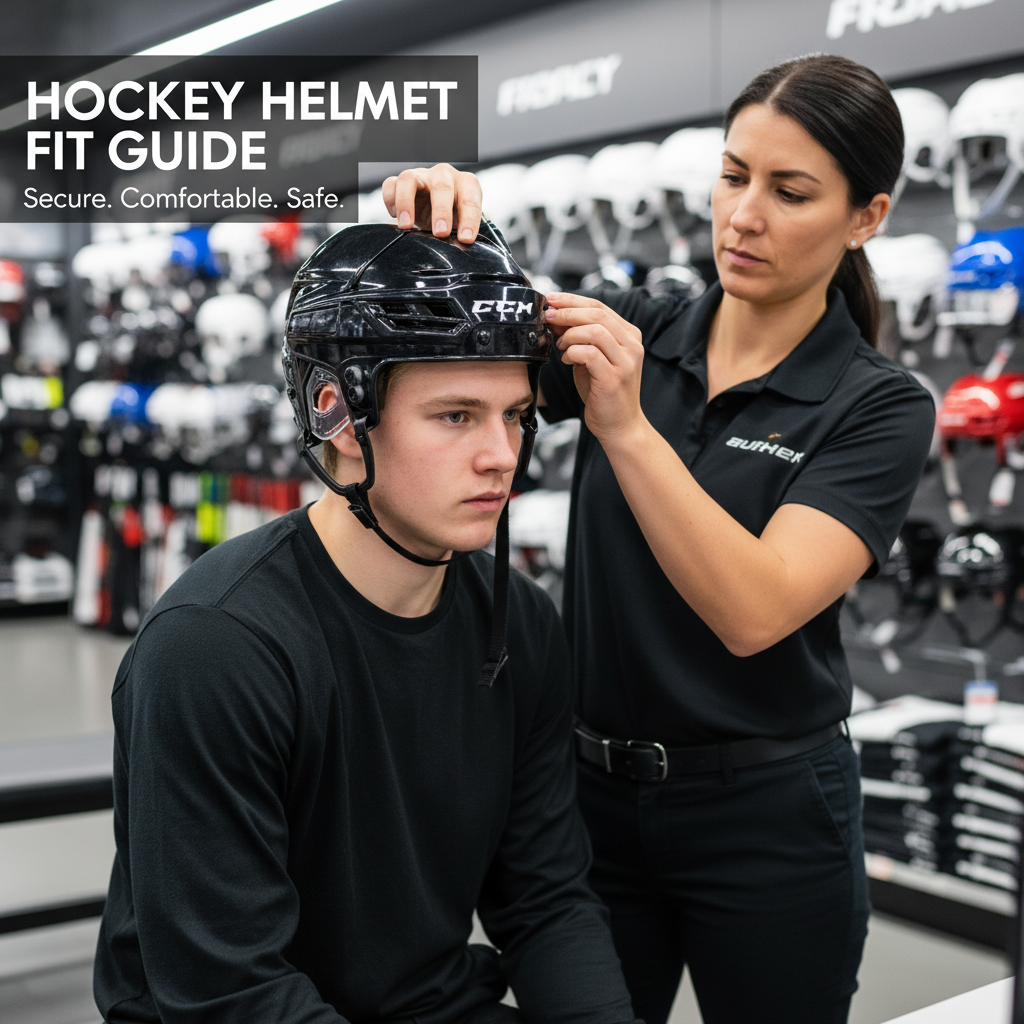
When in doubt, consider getting a professional fitting at a hockey pro shop or retailer that carries multiple helmet models and offers correct sizing guidance. A small adjustment or size change can make the difference between “worn” and “properly fitted,” which is what safety technology is designed to deliver.
Frequently Asked Questions: Essential Tips for the Perfect Hockey Helmet Fit
How should a hockey helmet fit for safety and comfort?
A properly fitted hockey helmet should sit level on your head (not tilted forward or back) and stay snug without causing pressure points. The helmet should contact your head evenly around the sides and back, with minimal gaps between the liner and your skin. When you fasten the chin strap and open your mouth, you shouldn’t be able to lift the helmet off your head more than slightly (if at all). You should also be able to move your head through different positions without the helmet shifting significantly. Comfort matters, but safety comes first—if the helmet is loose enough to wobble, it won’t protect well during impacts.
What is the correct sizing process for a hockey helmet?
Start by measuring head circumference around the widest part of your head—typically about 1 inch (2–3 cm) above the eyebrows and around the back of the skull. Use a soft measuring tape and keep it level. Compare your measurement to the manufacturer’s size chart for the specific helmet model, since sizing can vary by brand. If you’re between sizes, generally try the smaller size first if it feels secure without causing pain, because hockey helmets are designed to break in slightly. Always confirm fit with the chin strap fastened and with the helmet worn like it would be during play.
Should the helmet move or wiggle when I shake my head?
A properly fitted hockey helmet should feel stable. After fastening the chin strap, gently shake your head side-to-side and look for movement. Some minor adjustment of foam or alignment is normal, but the helmet should not slide around, lift off the head, or create noticeable gaps. If the helmet rotates or shifts significantly during movement, you likely need a different size or different internal pads (or a different model that matches your head shape). Wobbling reduces protection because the helmet may not stay positioned during an impact.
Where should the chin strap and ear guards sit?
The chin strap should be snug and secure, forming a firm fit under your chin without digging into the skin. Most players should be able to insert only one or two fingers between the strap and the chin, depending on the manufacturer’s guidance. The helmet’s ear openings should align with your ears so the helmet provides coverage without pressing uncomfortably. If your ear guards or pads interfere with comfort, it may indicate incorrect pad selection, strap length, or a helmet size mismatch. After adjusting, check that the strap doesn’t allow the helmet to shift when you move your head.
How do I know if my helmet pads are the right fit and not overdue for replacement?
Helmet pads are meant to create a snug, even contact across the sides and back of your head, filling the space between your head and the shell. If you notice pressure points, numbness, or the helmet feels loose at specific spots, you may need different pad thickness or placement (for example, swapping side pads for a better contour fit). Pads should also maintain their shape—if they’re flattened, compressed unevenly, cracked, or no longer secure, they may not provide proper cushioning. As a rule of thumb, replace damaged or worn pads immediately, and consider replacing the full helmet if it’s been in a serious impact, no longer fits correctly after pad adjustments, or shows age-related deterioration.
References
- Traumatic Brain Injury (TBI) (NCBI Bookshelf, NIH) Google Scholar
https://www.ncbi.nlm.nih.gov/books/NBK554432/ - PubMed search: hockey helmet fit Google Scholar
https://pubmed.ncbi.nlm.nih.gov/?term=hockey+helmet+fit - Google Scholar: hockey helmet fit padding proper fit Google Scholar
https://scholar.google.com/scholar?q=hockey+helmet+fit+padding+proper+fit - Google Scholar: ice hockey helmet fit fit testing method Google Scholar
https://scholar.google.com/scholar?q=ice+hockey+helmet+fit+fit+testing+method - HEADS UP: Preventing Sports-Related Traumatic Brain Injuries (CDC)
https://www.cdc.gov/traumaticbraininjury/prevention/headsup/sports.html - Injury and Violence Prevention Topics for Families (CDC)
https://www.cdc.gov/safechild/ - Head injuries (WHO)
https://www.who.int/news-room/fact-sheets/detail/head-injuries - Ice hockey equipment (Wikipedia)
https://en.wikipedia.org/wiki/Ice_hockey_equipment
📅 Last Updated: July 06, 2026 | Topic: Essential Tips for the Perfect Hockey Helmet Fit | Content verified for accuracy and freshness.