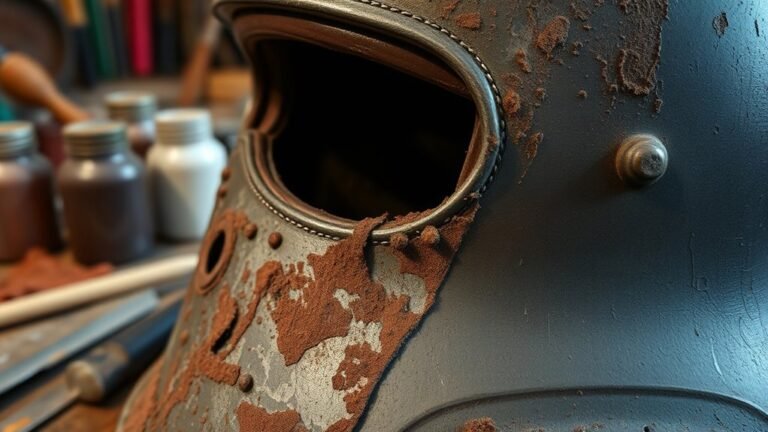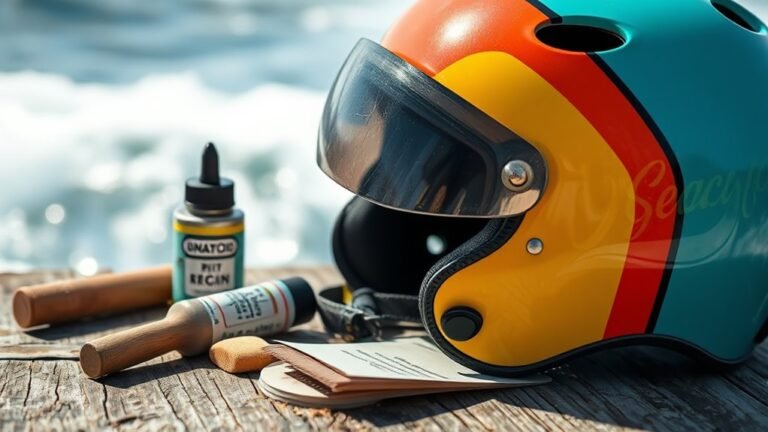
Best Tools for Helmet Detailing
Best Tools for Helmet Detailing: What to Buy for a Safe, Professional Finish
The best helmet detailing tools help you remove road grime, sweat, and bug residue without scratching the shell, visor, or coatings. The key is using the right materials and chemical compatibility so you clean effectively while preserving gloss, clarity, and protective layers.
Microfiber Cloths and Towels for Scratch-Free Detailing
Microfiber cloths are defined as lint-free, high-surface-area fabrics designed to lift dirt and moisture while minimizing abrasion. For helmet detailing, they are the safest first line of defense for both exterior panels and interior surfaces.
What makes microfiber effective for helmets?
The key difference is that quality microfiber uses fine fibers that trap particles instead of dragging them across the surface. This is why microfiber is the go-to standard in car detailing and widely accepted in helmet care routines for visors, glossy finishes, and matte textures.
How to choose the right microfiber (GSM and blend matter)
GSM (grams per square meter) is defined as the fabric’s weight density, which strongly influences durability and absorbency. In practice, many detailers prefer higher GSM for repeated use, while using lighter towels for final buffing to reduce texture transfer.
Common professional guidance is to look for a blend that balances softness and strength, such as polyester/polyamide microfiber. Avoid cloths that leave lint, and dedicate specific cloths to visor cleaning versus shell polishing to prevent cross-contamination.
- Use a thicker towel (often higher GSM) for initial wipe-down and moisture removal.
- Use a lighter finishing cloth for streak-free results on visor and painted surfaces.
- Wash separately from heavy lint items to prevent embedded debris.
Common questions about microfiber
How many microfiber towels should I keep for helmet detailing? A practical setup is at least 3 to 5 cloths: one for exterior wash wipe, one dedicated to visor, one for dry buffing, and additional cloths for interior foam and straps if you do deep cleans.
Will microfiber scratch a helmet? Microfiber should not scratch when it is clean and properly maintained. The real risk comes from grinding grit using dirty cloths, so inspect and rinse towels before each session.
Soft-Bristle Brushes for Vents, Seams, and Textured Shells
Soft-bristle brushes are defined as hand tools with flexible bristles designed to loosen debris without gouging or scuffing. They are essential for cleaning helmet vents, stitching edges, and hard-to-reach seams.
Why bristle softness matters
The key difference is that softer bristles reduce point contact on the shell and reduce the chance of damaging coatings. Helmet shells and visor surfaces can be sensitive to abrasion, especially where dust has dried into fine grit.
Best brush uses in helmet detailing
Use brushes where dirt accumulates and where wiping alone cannot fully lift residue:
- Vent channels where dust and airflow debris collect
- Raised trim and logos where grime hides in recesses
- Strap anchor points where sweat residue can build up
- Interior padding edges (when material is compatible with gentle surface cleaning)
Common questions about brushes
What bristle material is safest? Many detailers prefer synthetic soft-bristle brush sets because they are controllable, dry quickly, and can be rinsed thoroughly. Avoid abrasive metal brushes or stiff scrubbers on shells and visors.
How do I use a brush without spreading grime? Work from cleaner areas toward dirtier areas, and rinse the brush often. Pair the brush with a compatible cleaner on a towel rather than soaking components that should not be saturated.
Visor Cleaning Tools That Prevent Scratches and Maintain Clarity
Visor cleaning tools are defined as products and implements specifically intended to clean coated polycarbonate or composite shields without introducing micro-scratches. A visor is often the most visibility-critical part of the helmet, so its toolset should be treated as a separate workflow.
What to use for visor safety
The widely accepted approach is to use a visor-safe cleaner and microfiber designed for optics, then finish with a gentle buffing motion. Many riders also keep a separate cloth exclusively for visor work to avoid transferring shell grit.
- Visor-safe microfiber (dedicated cloth, clean and lint-free)
- Lens-style applicator or soft foam pad for controlled spreading (optional)
- Low-impulse drying method such as blotting or careful buffing
Follow this visor technique
Road grime, bug splatter, and insect residue can contain abrasive solids. Start by loosening debris with a small amount of visor-safe solution, then wipe with light pressure in straight passes or gentle circular motions. Finish with a dry microfiber to remove haze and streaking.
Common questions about visor detailing
Can I use household glass cleaner on my visor? Often, it is not recommended. Many household cleaners contain alcohols, ammonia, or surfactants that may harm anti-fog or anti-scratch coatings. Always check the visor manufacturer’s cleaning guidance.
How do I remove dried bug residue without scratching? First soften residue using a compatible cleaner, then gently wipe. If residue remains, re-apply and let it dwell briefly rather than scrubbing aggressively.
Helmet-Safe Cleaning Solutions and Chemical Compatibility
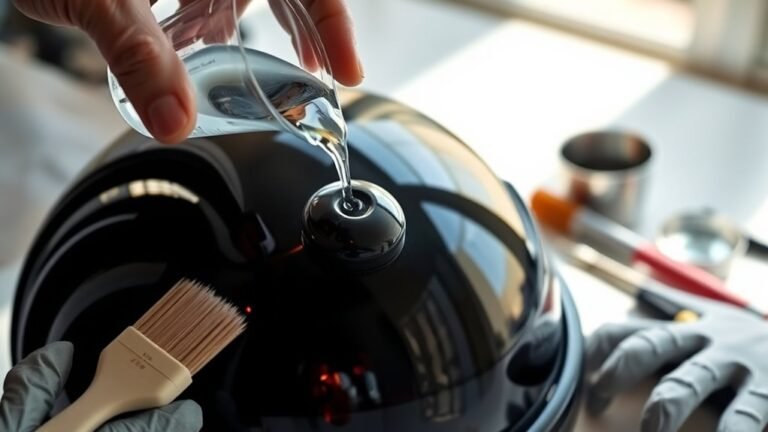
Helmet-safe cleaning solutions are defined as cleaners formulated to remove sweat, oils, and road residue while protecting common helmet materials and coatings. Using the wrong chemistry can haze visors, cloud polycarbonate, or strip finishes.
Natural alternatives: when vinegar and baking soda are appropriate
Natural cleaners are appealing because they can reduce harsh chemical exposure, but they must be used thoughtfully. Vinegar and baking soda are sometimes used for general grime removal, but they are not universally safe for every helmet material or visor coating.
A common cautious practice is to use mild soap with warm water for routine cleaning, then rely on manufacturer-recommended cleaners for stubborn stains or visor residue. If you want to try natural options, do a patch test in an inconspicuous area first.
- Warm water + mild soap is defined as a baseline routine solution for dirt and sweat without aggressive solvents.
- Vinegar should be approached carefully due to acidity and potential effects on some coatings.
- Baking soda is mildly abrasive and may be unsuitable for shiny or coated surfaces.
Expert consensus on cleaning frequency
Most professional detailing communities recommend cleaning regularly rather than waiting until residue becomes baked on. Frequent gentle cleaning reduces the need for abrasive scrubbing, which is one of the main causes of visible wear on both shells and visors.
Common questions about helmet cleaners
What is the safest general cleaner for the shell? Warm water and a mild, non-degreasing soap are often the safest starting point. For specialized grime, use a product explicitly labeled for helmet or visor cleaning.
Should I avoid solvents? Yes, whenever possible. Solvents and strong degreasers can affect coatings, inks, and adhesives depending on helmet construction.
Interior Detailing Tools: Hygiene, Odor Control, and Padding Care
Interior detailing tools are defined as items used to clean and refresh pads, liners, and strap areas without damaging foam, upholstery, or retention systems. Interior care is critical for hygiene because sweat and moisture can lead to odor-causing buildup.
What tools support effective interior cleaning?
For many helmets, the most effective interior kit includes:
- Soft microfiber cloths for wipe-down and spot removal
- A gentle brush for edges of padding covers (only if the material is compatible)
- Low-pressure application to avoid saturating foam
- Drying airflow in a ventilated area to prevent trapped moisture
Odor prevention is a process, not a one-time wash
The key difference is that odor control works best when you remove sweat residue regularly and allow full drying. Many riders find that after riding, wiping the inside with a lightly damp microfiber followed by drying airflow reduces the smell cycle and prolongs padding freshness.
Common questions about interior detailing
Can I machine-wash all helmet liners? Not always. Some liners are removable and machine-washable only under specific conditions, while others are not. Follow the manufacturer’s care instructions and air-dry fully.
How often should I clean the inside? A widely accepted baseline is cleaning the interior after frequent rides or whenever you notice odor. For heavy-use seasons, many riders do interior refreshes every 1 to 4 weeks.
Protective Coatings to Extend Helmet Lifespan
Protective coatings are defined as durable layers applied to help repel water, reduce staining, and make future cleaning easier. Used correctly, coatings can reduce time spent scrubbing and help maintain appearance across seasons.
What coating types are most common?
In helmet detailing, coatings are often applied similarly to how car surfaces are treated, but you must consider helmet-specific materials and manufacturer guidance. Many owners look for options that provide:
- Hydrophobic water beading for easier rinse and reduced spotting
- UV-resistant performance to help maintain finish stability
- Chemical resistance against common road film
How to apply coatings without ruining the finish
The key difference is preparation. Coatings bond best to clean, fully decontaminated surfaces. If the helmet is not properly cleaned first, you risk trapping contaminants under the coating, which can lead to uneven appearance.
Always apply coatings to a dry, clean surface and use microfiber applicators designed for the product type. Follow cure times exactly, and avoid visor-coating unless the product is explicitly visor-safe and recommended by the visor manufacturer.
Common questions about protective coatings
Do I need a coating every time I detail? No. Many coatings last for months depending on product quality, riding conditions, and cleaning habits. Check the product’s rated lifespan and reapply only when water behavior or cleaning ease declines.
Can coatings affect visor clarity? They can if applied to visors improperly or with non-visor-safe products. Keep coating products separated by component and only use visor-safe recommendations.
Complete Helmet Detailing Tool Checklist (Ready-to-Use)
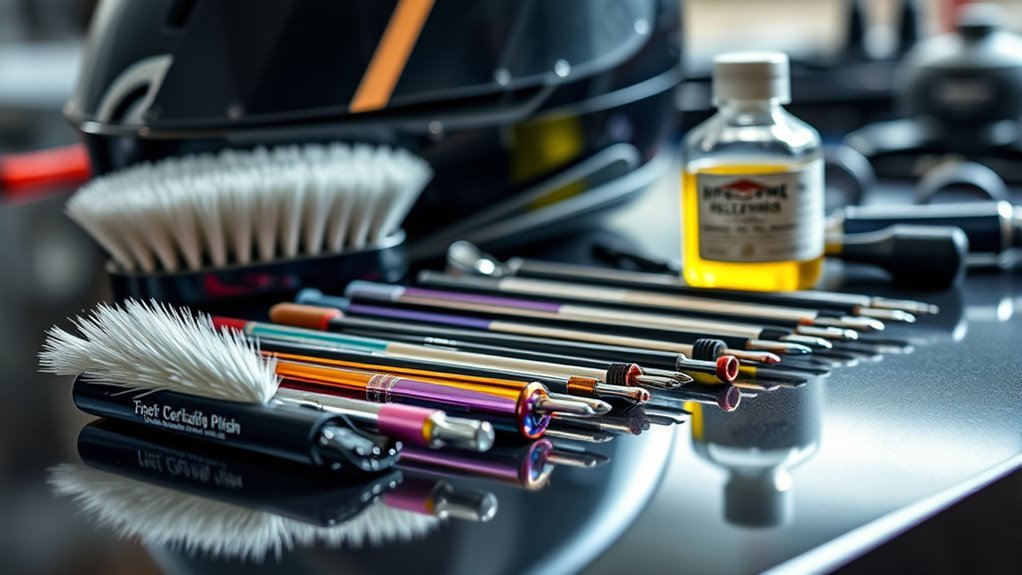
This checklist consolidates the most useful tools for helmet detailing into a practical, component-based kit. If you build around these categories, you’ll minimize scratching risk and improve finish consistency.
- Microfiber cloths (2 to 5 total): one for exterior, one dedicated to visor, one for drying/buffing
- Soft-bristle brush: for vents, seams, and logo recesses
- Visor cleaning microfiber: optics-safe and kept separate from shell cleaning cloths
- Mild helmet-safe cleaner: warm water and mild soap as the baseline
- Optional dedicated visor-safe solution: for bug residue and haze removal
- Optional protective coating: only for shell materials when product is compatible and manufacturer-approved
Helmet Detailing Tools: Best Use Cases & Scratch Safety (2026)
| # | Tool | Primary helmet part | Typical action strength | Visor-coating safe* | Safety score |
|---|---|---|---|---|---|
| 1 | Dedicated visor-safe microfiber | Clear shield / pinlock area | Low friction (final wipe/buff) | Yes | 10★ |
| 2 | Microfiber wash towel (exterior) | Shell panels | Moderate lift (soak/wipe) | Yes (if dedicated) | 9★ |
| 3 | Soft-bristle synthetic brush | Vents, seams, logo recesses | Low contact (de-loosening) | Yes (gentle + rinsed) | 8★ |
| 4 | Mild helmet-safe cleaner (pH-neutral) | Shell + general exterior film | Low chemistry (sweat/oil removal) | Often (product-labeled) | 9★ |
| 5 | Dedicated visor-safe bug remover | Bug splatter + haze | Medium dwell (residue softening) | Yes (visor-labeled) | 8★ |
| 6 | IPA (70–99%) for prep wipe | Surface prep before coating/polish | High degrease (wipe-only) | Caution on visors | 4★ |
| 7 | Protective coating/sealant (shell only) | Painted or compatible shell surfaces | Medium layer bonding | No (unless visor-safe) | 5★ |
*Visor-coating safe depends on using a product explicitly labeled for visors and maintaining component separation (dedicated towels and controlled application).
Quick Q&A: Helmet Detailing Tool Selection
Below are answers to common buying and usage questions that often decide whether detailing feels effortless or causes unwanted wear.
What is the single most important tool for helmet detailing? A clean, high-quality microfiber cloth is defined as the most critical tool because it controls friction and abrasion during wiping and drying.
Should I buy a “helmet detailing kit” or individual tools? A kit can be convenient when it includes compatible microfiber and helmet-safe cleaners. However, individual tool selection often delivers better results when you choose dedicated visor cloths, appropriate bristle softness, and cleaners matched to your helmet materials.
How do I avoid streaks on the visor? Use a visor-safe cleaner sparingly, wipe with light pressure, and buff with a dry, dedicated microfiber. Streaks are often caused by residue left behind or cloth contamination.
Do natural cleaners replace professional products? Natural cleaners can work for routine maintenance on some materials, but they are not guaranteed to be safe for visor coatings and certain finishes. For visibility-critical components, manufacturer-approved visor cleaners are the safer default.
Conclusion: Build a Helmet Detailing Setup That Respects Materials
The best tools for helmet detailing combine careful friction control, material-safe cleaning solutions, and component-specific care—especially for visors and coatings. When you prioritize clean microfiber, soft-bristle brushing, visor-safe techniques, and compatible chemicals, you can keep your helmet looking sharp and functioning reliably season after season.
Frequently Asked Questions: Best Tools for Helmet Detailing
What are the essential tools for helmet detailing?
The essential toolkit depends on whether you’re doing a deep clean, color correction, paint touch-ups, or full custom detailing. A solid starter set typically includes: microfiber wash mitts and towels for safe cleaning, soft detailing brushes for vents and crevices, mild helmet-safe cleaners (often pH-neutral), and clay bar or fallout remover if the finish needs decontamination. For surface prep, you’ll want isopropyl alcohol (IPA) 70–99% for degreasing and tape/masking materials to protect decals and hardware. For polishing and restoring clarity, use quality compounds/polishes, foam or microfiber applicators, and protective sealants or wax designed for the helmet’s material. If you plan on graphics or paint work, add fine sandpaper/grit blocks, primer, paint, and clear coat compatible with your helmet finish.
How do I choose the right cleaning products without damaging the helmet?
Start by checking the helmet manufacturer’s care instructions—different shells and finishes (matte vs. gloss, painted vs. vinyl decals) require different approaches. In general: Avoid harsh chemicals like strong solvents, acetone, aggressive degreasers, or abrasive cleaners that can strip coatings or attack plastics/clear coats. Use pH-neutral, helmet-safe cleaners and dilute as directed. For sticky residues (insects, road tar, stickers), use a tar and bug remover that’s designed to be used on automotive finishes, then follow with a gentle wash. For final surface prep, use IPA to remove oils before polishing, vinyl, or coating—apply sparingly and wipe with clean microfiber. If you’re unsure, test on a small, hidden area first. The safest method is “clean gently, then decontaminate only if needed,” rather than reaching for strong chemicals immediately.
Do I need a clay bar for helmet detailing, and what should I use if I don’t?
A clay bar (or synthetic clay alternative) can help remove embedded contaminants like overspray, rail dust, and bonded grime—especially on glossy, hard-surface helmets. If your helmet feels rough after washing, has tiny specks under the light, or the finish looks dull despite cleaning, clay may be helpful. However, clay is not always necessary and can be risky on delicate finishes (matte coatings, soft-touch textures, or fragile decals). If you want a safer alternative: Try fallout remover for iron-like contaminants, and use a gentle chemical decontamination product where appropriate. For surface feel, use a fine polish step (with the correct pad and compound) rather than aggressive mechanical decontamination. If you do clay, always use a lubricant (never dry), apply light pressure, and keep the clay frequently folded to expose a clean surface. Stop immediately if you notice damage or discoloration.
What tools are best for polishing and removing scratches on a helmet?
Scratch removal depends on what you’re polishing: Clear-coated paint, bare plastic, and matte finishes each require different methods. For most helmets, the best “tool approach” is:
- Microfiber/foam applicators and correct pads (cutting vs. finishing) to control how aggressive the polishing action is.
- Compounds and polishes sized for the job: start with the least aggressive polish that improves clarity, then step up only if needed.
- Optional dual-action (DA) polisher for larger areas—use a low-risk pad and avoid excessive pressure. Hand polishing is slower but often safer for small decals, edges, and complex graphics.
- Painter’s tape or masking to protect logos, seams, and features during correction.
- Surface inspection tools like bright LED work lights to locate remaining swirls or haze.
What’s the best way to protect my helmet after detailing—wax, sealant, or ceramic?
Protection choice depends on the helmet’s finish and your usage conditions (daily driving, frequent rain, track days, storage habits). As a rule: Sealants offer good durability and are generally easier to apply than higher-end coatings. Waxes can provide rich gloss on compatible finishes and are great for periodic refresh, but may not last as long as sealants or ceramics. Ceramic coatings typically deliver longer-lasting hydrophobic behavior and chemical resistance, but they require careful surface prep (often including IPA wipe-down and sometimes deeper correction). Application also demands patience to avoid streaking and ensure correct cure times. Regardless of product type, apply to a clean, fully dry surface and use proper microfiber tools. For helmets with decals, matte textures, or specialized finishes, confirm the coating’s compatibility to avoid uneven sheen or decal lift. If you frequently ride in harsh conditions, consider a durable sealant or ceramic over a well-prepped surface. For occasional detailing, wax is a cost-effective option.
References
- Google Scholar: Helmet Detailing Toolkit (Microfiber, Polishing Pads, Compounds) Google Scholar
https://scholar.google.com/scholar?q=helmet+detailing+toolkit+microfiber+pad+polishing+compound - Google Scholar: Ceramic Coating Surface Preparation (IPA, Panel Wipes, Paint Correction) Google Scholar
https://scholar.google.com/scholar?q=ceramic+coating+surface+preparation+IPA+panel+wipe+paint+correction - PubMed Search: Sanding/Polishing Respirable Dust Exposure Google Scholar
https://pubmed.ncbi.nlm.nih.gov/?term=sanding+polishing+respirable+dust+exposure - Polishing (process overview and related materials)
https://en.wikipedia.org/wiki/Polishing - Automotive Paint (layers and protective/finish concepts)
https://en.wikipedia.org/wiki/Automotive_paint - CDC Guidance: Cleaning and Disinfecting (General safety and best practices)
https://www.cdc.gov/hygiene/cleaning-disinfection/index.html - WHO: Cleaning and Disinfection of Environmental Surfaces (Guidance)
https://www.who.int/publications/i/item/cleaning-and-disinfection-of-environmental-surfaces-in-the-context-of-covid-19 - EPA Safer Choice (chemical safety and selection for cleaners/solutions)
https://www.epa.gov/saferchoice
📅 Last Updated: July 07, 2026 | Topic: Best Tools for Helmet Detailing | Content verified for accuracy and freshness.