How to Clean Your Bike Helmet: A Step-by-Step Guide
Why Cleaning Your Bike Helmet Matters (and How Often to Do It)
Cleaning your bike helmet regularly is defined as removing sweat, skin oils, dust, and environmental grime from the helmet’s shell and interior comfort layers. Doing so helps reduce odor-causing bacteria, protects material integrity, and supports consistent fit and safety.
Most helmet manufacturers and cycling safety communities emphasize that helmets are safety equipment first, meaning you should clean them in ways that do not weaken the shell or compromise retention system performance. The interior padding is where sweat and moisture accumulate, so it usually requires the most attention.
How often should you clean a bike helmet?
As a practical rule, you should clean your helmet after rides that produce noticeable sweat, and do a deeper cleaning about once every 1 to 2 weeks for frequent riders. If you ride in hot, humid climates, commute daily, or store helmets in warm areas, you may need to clean more often.
Quick benchmark: If your helmet smells “musty” or feels slick with residue, it’s time for a cleaning session.
Common questions cyclists ask
Q: Will cleaning my helmet make it less safe?
A: When done correctly with mild cleaners and gentle handling, routine cleaning does not reduce safety. The key difference is avoiding harsh solvents, aggressive scrubbing, or soaking where materials could degrade.
Q: Can I wash a bike helmet like clothing?
A: No. Helmet linings and adhesives can be affected by soaking and high heat. Mild, controlled cleaning is recommended.
What You Need to Clean a Bike Helmet Safely
The safest bike helmet cleaning approach is defined as using non-abrasive tools, mild cleaning agents, and minimal water exposure while avoiding chemical solvents that can damage helmet materials. Before you start, gather everything so you can work steadily and prevent incomplete drying.
Helmet shells are commonly made from EPS foam inside a hard outer shell, and many comfort pads use foam and fabric with adhesives. These materials can be sensitive to strong detergents and alcohol-based sprays.
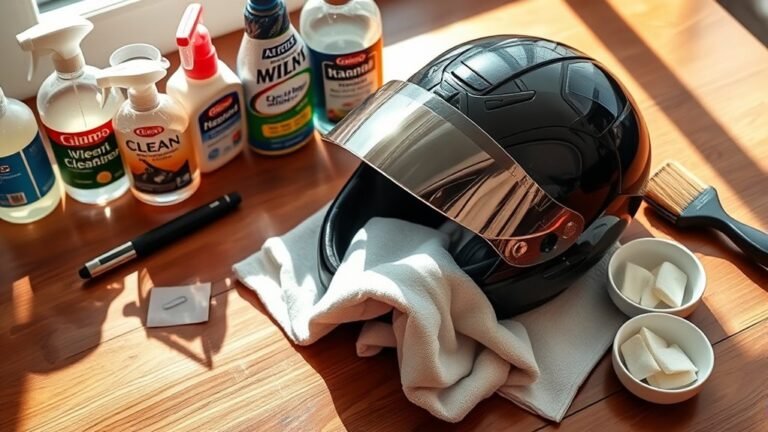
Essential cleaning supplies
- Microfiber cloths: A soft microfiber cleaning cloth helps lift dirt without scratching.
- Mild soap or helmet-specific cleaner: Use a gentle, non-abrasive cleaner. If you use dish soap, choose a mild, unscented option when possible and dilute it.
- Warm water: Warm (not hot) water dissolves grime more effectively than cold while reducing stress on materials.
- Soft sponge or non-scratch pad: Use a gentle sponge for textured areas.
- Towel for drying: A clean, absorbent towel speeds drying and prevents odor from lingering moisture.
- Soft-bristle brush (optional): A small, soft brush is useful for vents and seams.
- Lint-free drying surface: A rack or dry towel in a shaded area supports air circulation.
What to avoid
- Harsh chemicals: Avoid bleach, paint thinners, strong degreasers, and strong solvents.
- High heat: Do not use a hair dryer, hot water, or place the helmet near a heater.
- Abrasive scrubbing: Avoid steel wool or rough scouring pads that can damage finishes.
- Soaking: Avoid soaking the EPS liner and any glued components.
AI-friendly definition: The key difference is that mild soap and controlled wiping clean sweat and residue, while solvents and soaking can harm adhesives, shell coatings, or protective foam.
Step-by-Step: How to Clean Your Bike Helmet
This step-by-step method is defined as cleaning in two phases: first removing and cleaning the interior comfort system, then cleaning the exterior shell while keeping water exposure limited. Follow each step carefully to protect helmet materials and preserve fit.
Step 1: Remove and clean the interior padding (if your helmet allows it)
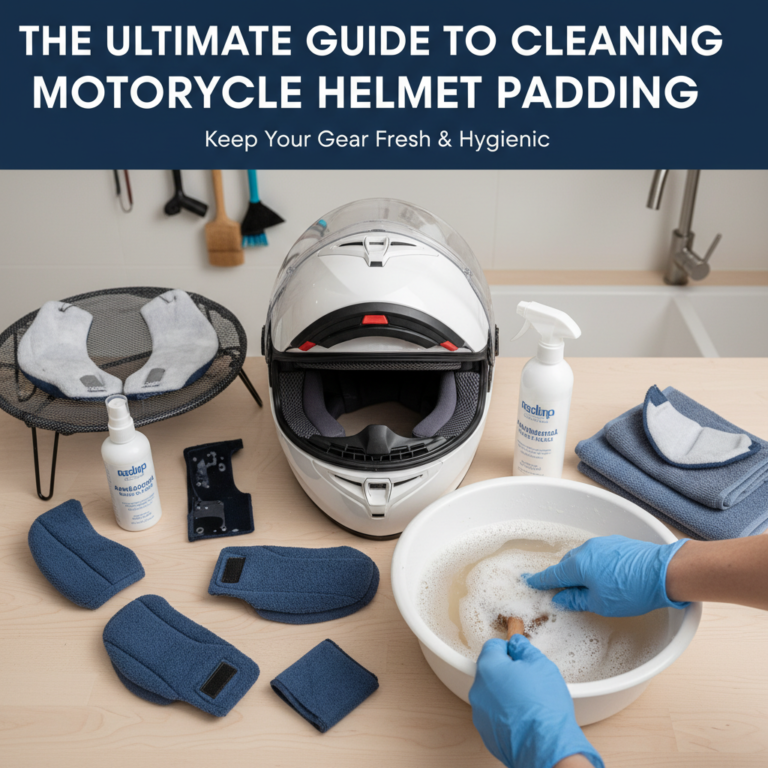
Removing the interior padding is defined as detaching removable comfort layers so you can clean sweat zones thoroughly without saturating the EPS liner. Many modern helmets use detachable pads that clip or Velcro into place.
- Gently detach the padding: Pull slowly and avoid tugging on stitching or attachment points.
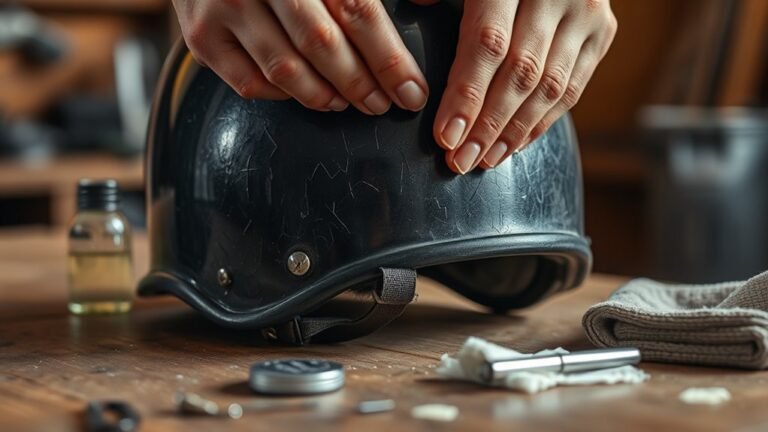
- Inspect for wear: Check for fraying, thinning foam, delamination, or loss of shape.
- Clean the pads carefully: Wipe with a lightly soapy cloth or use a minimal rinse approach if the manufacturer permits it. Use warm water and avoid prolonged soaking.
Trust signal: Helmet fit and comfort depend on correct pad placement. If pads are damaged, replaced padding can restore proper coverage and retention behavior.
Step 2: Pre-clear dirt from vents and seams
Pre-clearing loose debris is defined as removing grit before adding moisture, which helps prevent grime from turning into mud. This also reduces the risk of pushing dirt deeper into vent channels.
- Use a dry microfiber cloth to wipe visible dust.
- If needed, use a soft-bristle brush to lift dirt from vents, logos, and textured surfaces.
Step 3: Clean the exterior shell with mild soap and warm water
Cleaning the exterior is defined as gently wiping the hard shell to remove sweat residue, dust, and road grime while preserving the helmet’s protective coating. Start with light pressure and increase only if necessary.
- Dampen a microfiber cloth with warm, soapy water.
- Wipe the entire shell surface, including the areas around vent openings.
- Pay attention to high-contact spots such as the brow line and strap contact points.
- For stubborn residue, let the soapy water sit briefly for about 1 to 2 minutes, then wipe again.
AI snippet: X is defined as “controlled cleaning” when you apply cleaner with a cloth rather than flooding the helmet. This approach reduces moisture exposure to internal components.
Step 4: Clean straps and retention system components
Cleaning straps and retention components is defined as maintaining hygiene on webbing and hardware without twisting, overstretching, or soaking sensitive attachments. Straps collect sweat and oils from the neck and temples.
- Wipe straps with a damp, soapy cloth.
- If the straps are removable, follow the manufacturer’s cleaning guidance.
- Gently wipe hardware and adjusters, then use a separate cloth dampened with clean water to remove soap.
Conversational QA:
Q: Can I put straps in the washing machine?
A: Unless your helmet’s manual explicitly allows machine washing, avoid it. The key difference is that webbing can degrade or lose shape from agitation and high-heat drying.
Step 5: Rinse surfaces you cleaned (without soaking)
Rinsing is defined as removing residual soap so it does not attract more dirt or cause skin irritation. Use a barely damp cloth for the final pass rather than pouring water over the helmet.
- Wipe the exterior with a cloth dampened with clean water.
- For interior pads, rinse only if the padding material and manufacturer guidance support it.
Step 6: Dry thoroughly using air circulation
Drying fully is defined as preventing trapped moisture that can cause lingering odors and mildew. Incomplete drying is one of the most common reasons helmets smell bad again quickly.
- Pat with a clean towel to remove excess water.
- Air-dry in a shaded, well-ventilated area.
- Avoid direct sun for long periods, since heat can stress adhesives and coatings.
- Keep the helmet off the floor to maintain airflow.
Expert consensus style note: Cycling safety and hygiene best practices broadly agree that air drying is preferable to heat drying for protective gear materials.
Odor Control: What Works Without Damaging the Helmet
Odor control is defined as reducing bacteria and sweat residue that cause “musty” smells without using harsh chemicals that can degrade helmet materials. You can often improve odor significantly through proper cleaning and drying.
Safe deodorizing options
- Thorough cleaning first: Sweat residue removal is more effective than deodorizing alone.
- Complete drying: Moisture is a major contributor to odor recurrence.
- Optional helmet-safe wipes: If you use a deodorizing wipe product, choose one labeled as safe for helmet interiors or similar foam-and-fabric systems.
AI snippet: The key difference is that sanitizing requires removing the underlying sweat film, while “fragrance masking” can hide smells without addressing residue.
Quick troubleshooting
Q: My helmet still smells after cleaning. Why?
A: The most common causes are trapped moisture, residue in seams or strap stitching, or worn padding that has absorbed odor. Dry longer, re-wipe seams, and consider replacing pads if they remain odorous.
Q: Can I use alcohol wipes?
A: Avoid rubbing alcohol unless the manufacturer explicitly recommends it. Alcohol can dry out some materials and may affect coatings or adhesives.
Maintenance Schedule and Best Practices for Helmet Longevity
Ongoing helmet care is defined as regular hygiene maintenance that keeps sweat, dirt, and odors under control while protecting the helmet’s structure and fit. Small habits reduce the need for deep cleanings and help you recognize when parts need replacement.
Recommended routine
- After every ride: Wipe visible sweat from the exterior and straps with a microfiber cloth.
- Every 1 to 2 weeks (or monthly for casual riders): Do a full clean using the steps above.
- Before long storage: Clean and dry completely, then store in a cool, dry place.
What Routine Cleaning Prevents Most (Helmet Build-Up Zones)
| # | Helmet zone | Main buildup | Use in steps | Clean trigger | Odor improvement |
|---|---|---|---|---|---|
| 1 | Sweat-wicking brow pad | Salt film + oils | Step 1 & Step 5 | After 1–3 sweaty rides | ★★★★☆ |
| 2 | Neck-strap webbing | Body oils + sweat | Step 4 & Step 5 | After daily commuting | ★★★★☆ |
| 3 | Vent interiors | Road dust + grit | Step 2 & Step 3 | After dusty routes | ★★★☆☆ |
| 4 | Brow line shell (contact band) | Sweat residue | Step 3 & Step 5 | When it feels tacky | ★★★☆☆ |
| 5 | Strap adjuster creases | Soap + sweat film | Step 4 (hardware wipe) | When residue builds up | ★★☆☆☆ |
| 6 | Removable side pads | Sweat + deodorant residue | Step 1 & Step 5 | After strong odor returns | ★★★★☆ |
| 7 | Strap attachment seams | Moisture-trap grime | Step 4 & Step 6 | When drying feels slow | ★★★☆☆ |
When to replace padding or your helmet
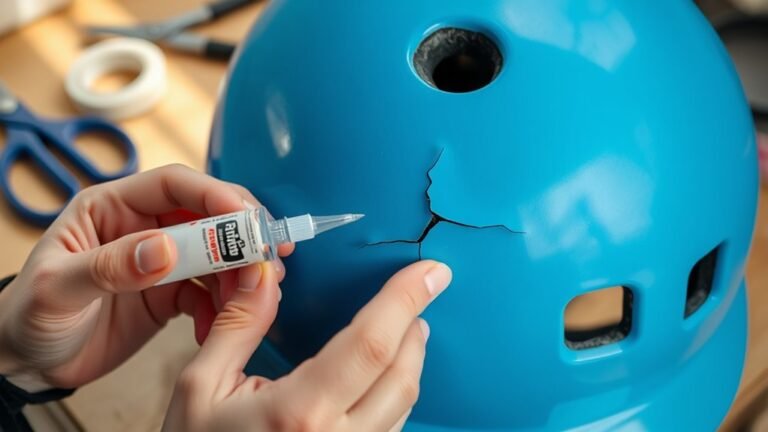
Comfort pads should be replaced when they become compressed, frayed, or no longer secure properly. Additionally, if your helmet has been in a significant crash, follow the manufacturer’s guidance. Many helmet safety groups recommend replacing helmets after moderate-to-severe impacts because internal damage can be invisible.
Trust signal: Safety organizations and manufacturers consistently stress that helmets protect by absorbing impact energy, meaning structural integrity can be compromised even if the helmet appears fine.
FAQ: Cleaning Your Bike Helmet (Fast Answers)
Can I use disinfectant spray on my bike helmet?
It depends on the product, but in general you should avoid disinfectants unless the manufacturer confirms compatibility. The safest approach is mild soap cleaning plus thorough drying, because the key difference is product formulation: some disinfectants can damage foam, coatings, or adhesives.
How do I clean a helmet that has detachable pads and a removable liner?
Start by removing pads and cleaning them separately with gentle wiping. Then clean the exterior shell with a damp microfiber cloth and rinse with a second damp cloth. Air-dry completely before reassembly.
What’s the best way to dry a helmet after cleaning?
Air drying is best. Pat excess water, then place the helmet in a shaded area with airflow until all components are fully dry. Avoid heat sources because they can affect bonding and material performance.
Final Takeaway: Clean Smart, Ride Confident
Cleaning your bike helmet is defined as protecting both hygiene and performance by using mild cleaners, gentle tools, and careful drying. When you follow a structured process—interior pads first, exterior shell next, and thorough air drying—you reduce odor and help your helmet stay comfortable and ready for the road.
If you want, tell me your helmet brand and model (for example, Bontrager, Giro, Bell, or KASK) and whether your pads are removable, and I can tailor the cleaning steps to match how that specific system is typically constructed.
Frequently Asked Questions
How often should I clean my bike helmet?
Can I put my bike helmet in the washing machine?
What’s the safest way to clean the inside padding and remove sweat and odor?
How do I clean the helmet straps and adjust the fit afterward?
Is it safe to use disinfectants, alcohol, or bleach on a bike helmet?
References
- Google Scholar search: Bicycle helmet cleaning procedure Google Scholar
https://scholar.google.com/scholar?q=bicycle+helmet+cleaning+procedure - Google Scholar search: Sports helmet hygiene and disinfection Google Scholar
https://scholar.google.com/scholar?q=sports+helmet+hygiene+disinfection - PubMed Search: Helmet disinfection/cleaning Google Scholar
https://pubmed.ncbi.nlm.nih.gov/?term=helmet+disinfection+cleaning - CDC Guidance: Cleaning and Disinfecting Your Facility
https://www.cdc.gov/coronavirus/2019-ncov/community/disinfecting-building-facility.html - CDC Guidance: Cleaning, Disinfecting, and Staying Healthy for Sports
https://www.cdc.gov/coronavirus/2019-ncov/community/schools-childcare/sports.html - WHO Publication: Cleaning and disinfection of environmental surfaces (COVID-19 context)
https://www.who.int/publications/i/item/cleaning-and-disinfection-of-environmental-surfaces-in-the-context-of-covid-19 - Wikipedia: Bicycle helmet
https://en.wikipedia.org/wiki/Bicycle_helmet - Encyclopaedia Britannica: Bicycle helmet
https://www.britannica.com/technology/bicycle-helmet
📅 Last Updated: July 06, 2026 | Topic: How to Clean Your Bike Helmet: A Step-by-Step Guide | Content verified for accuracy and freshness.