Best Paints for Durable Helmet Finishes
For durable helmet finishes, acrylic paints are an excellent choice due to their quick drying times and easy cleanup. Enamel paints like Rust-Oleum and Krylon offer vibrant, long-lasting colors with great resilience. Automotive paints provide superior adhesion and UV resistance, ideal for various materials. Always clean and prime your helmet before painting, and consider using protective coatings for added longevity. Explore additional techniques and options to enhance your customization further.
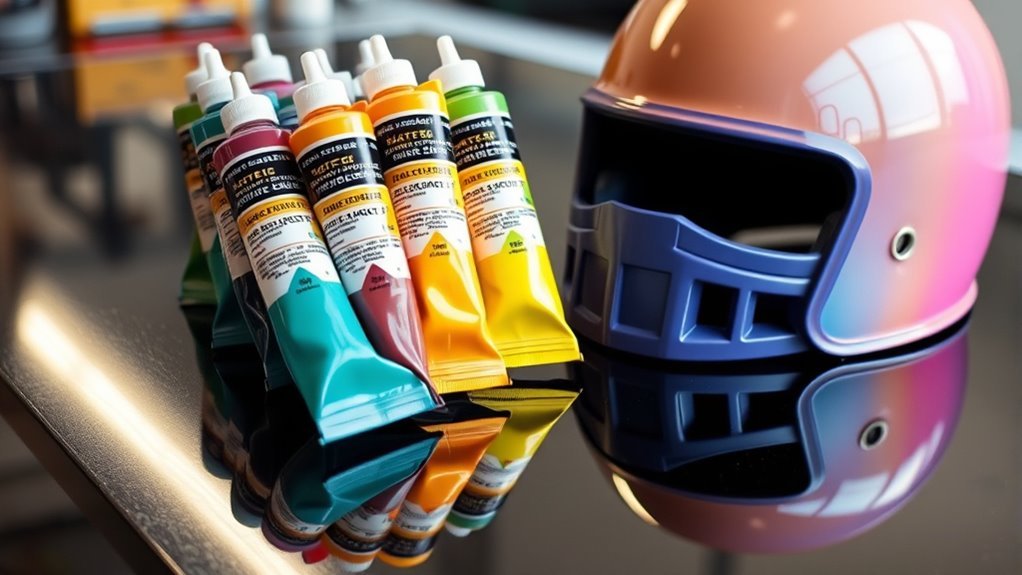
Types of Paints for Helmet Customization
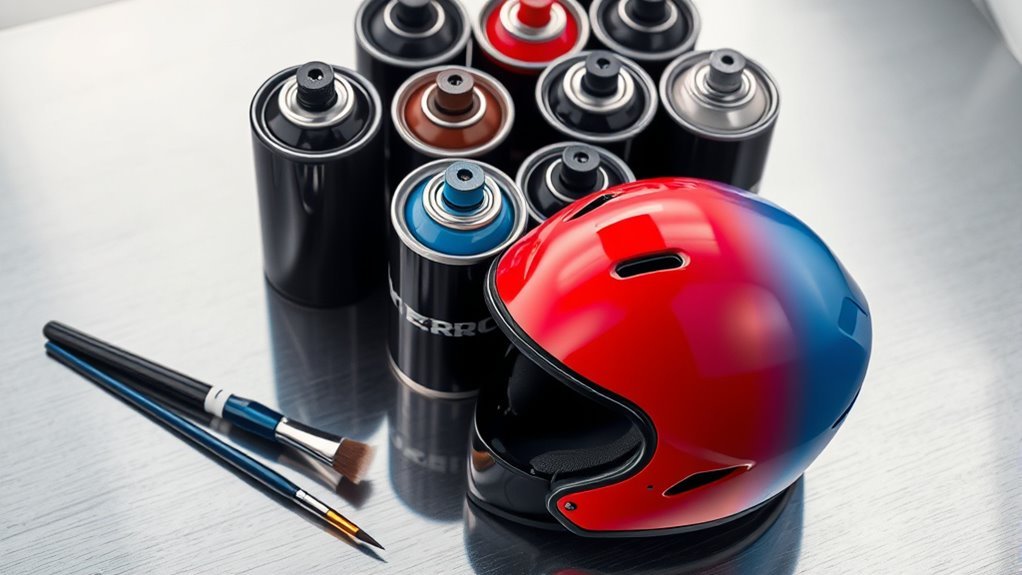
When it comes to customizing helmets, choosing the right type of paint is essential for achieving a durable and visually appealing finish. You’ll find that spray options, like acrylic and enamel paints, provide a smooth, even coat that’s perfect for intricate designs. These paints dry quickly and can be layered for depth. Alternatively, brush techniques allow for more control, especially in detailed areas or when mixing colors. Acrylic paints are versatile, offering easy cleanup and quick drying times, while oil-based paints can provide a rich finish but take longer to cure. Ultimately, your choice depends on your desired effect and level of detail. Experimenting with both methods can help you discover what works best for your unique style.
Spray Paint vs. Brush-On Paint
While both spray paint and brush-on paint have their unique advantages, choosing the right application method can greatly affect your helmet’s finish. Spray techniques allow for even coverage and quicker application, making them ideal for larger surfaces. However, brush-on paint offers precision, enabling you to tackle detailed designs or touch-ups with ease.
| Feature | Spray Paint Advantages | Brush-On Paint Advantages |
|---|---|---|
| Coverage | Smooth, even finish | Precision in detail |
| Application Speed | Fast drying | Controlled application |
| Cleanup | Requires masks | Easier cleanup |
| Customization | Versatile colors | Perfect for intricate work |
Ultimately, your choice hinges on the finish you’re aiming for, balancing speed with detail to reflect your unique style.
Best Acrylic Paints for Helmet Finishes
Choosing the right acrylic paint for your helmet can greatly enhance its appearance and durability, especially since these paints are known for their versatility and vibrant color options. When selecting acrylics, focus on brands that offer exceptional acrylic durability, ensuring your helmet withstands wear and tear. Look for paints that are specifically formulated for use on plastics, as they’ll adhere better and provide a long-lasting finish. For those looking to create unique designs, consider paints that allow for easy color blending, enabling seamless shifts between hues. Always remember to apply a clear coat after painting to protect your work and enhance longevity. With the right acrylics, your helmet can truly become a canvas of personal expression and resilience.
Top Enamel Paint Options
Enamel paints are a popular choice for achieving a durable and glossy finish on helmets. When selecting the right enamel paint, consider options like Rust-Oleum and Krylon, known for their resilience and vibrant color retention. These paints offer excellent adhesion and can withstand harsh conditions, ensuring your helmet looks great for years. Look for paints specifically designed for metal surfaces, as they provide superior durability and a smooth application. Additionally, check for quick-drying formulas to speed up your project. Don’t forget to apply a clear coat for added protection against scratches and UV damage, enhancing the overall paint finishes. With the right enamel paint, you can achieve both aesthetic appeal and long-lasting results on your helmet.
Advantages of Using Automotive Paints
When you choose automotive paints for your helmet, you’re opting for superior adhesion properties that guarantee a durable finish. These paints also feature enhanced UV resistance, protecting your design from fading over time. Additionally, the wide color selection allows for customization that meets your specific aesthetic preferences.
Superior Adhesion Properties
Since automotive paints are designed to withstand the harsh conditions of the road, they offer superior adhesion properties that are vital for helmet finishes. These paints undergo rigorous adhesion testing to guarantee they bond effectively with various substrates. This is significant for maintaining durability and longevity, especially when your helmet faces impacts or abrasions. The superior surface compatibility of automotive paints means they can adhere well to plastics, metals, and other materials commonly used in helmet construction. By choosing automotive paints, you’re assuring that your helmet not only looks great but also provides reliable protection. This combination of strength and aesthetic appeal empowers you to express your style without compromising on safety.
Enhanced UV Resistance
While many paints may offer some level of UV protection, automotive paints are specifically formulated to withstand prolonged exposure to sunlight without fading or degrading. This enhanced UV resistance guarantees that your helmet maintains its vibrant color and structural integrity, even in harsh environments. Automotive paints contain advanced additives that optimize fade resistance, preventing the unsightly discoloration that can occur with inferior products. When you choose automotive paint, you’re not just getting a finish; you’re investing in a durable solution that can endure the elements while offering a sleek appearance. This level of protection allows you to ride freely, knowing your helmet’s finish will withstand the test of time, keeping you looking sharp and confident on every adventure.
Wide Color Selection
Automotive paints not only excel in UV resistance but also offer an impressive array of color options. This vast selection empowers you to express your individuality and creativity. Whether you’re after bold, vibrant hues or subtle, sophisticated tones, automotive paints can accommodate your vision. You can easily keep up with evolving color trends or create custom palettes that reflect your personal style. With options for metallic, matte, and pearlescent finishes, the versatility of automotive paints guarantees that your helmet won’t just be protective but also a statement piece. By selecting the right automotive paint, you can achieve the perfect balance of durability and aesthetics, allowing you to ride in style while enjoying freedom on the road.
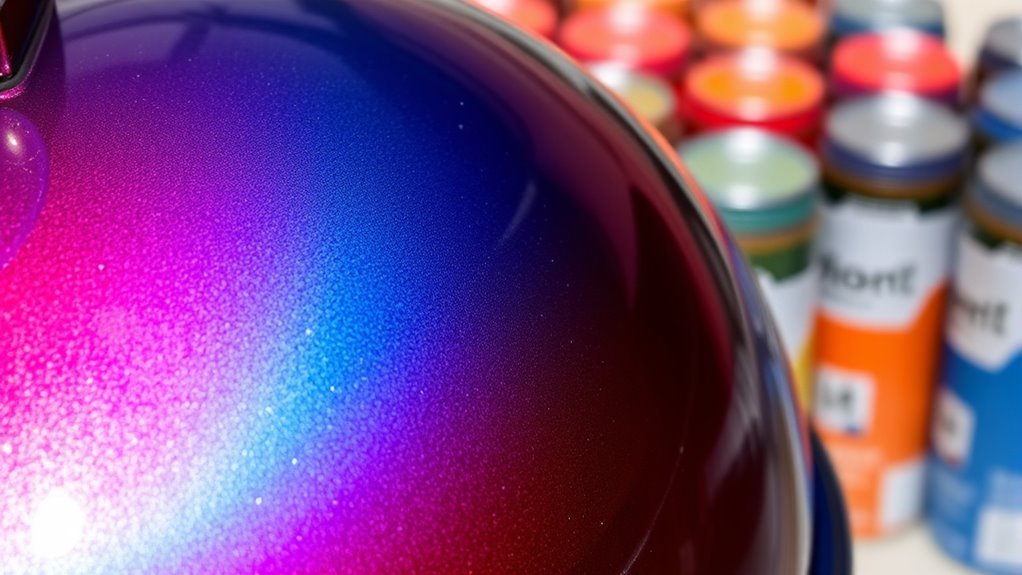
Specialty Paints for Unique Effects
When you’re looking to make your helmet stand out, specialty paints can offer unique effects that elevate its appearance beyond standard finishes. Metallic finishes provide a sleek, reflective quality that catches the eye, while glow-in-the-dark paints create an enchanting look, especially in low-light conditions. These options not only enhance aesthetics but also add a layer of individuality to your gear.
Here’s a quick overview of popular specialty paints:
| Effect | Description | Best Use |
|---|---|---|
| Metallic Finishes | High shine, reflective surface | Racing or performance |
| Glow in the Dark | Absorbs light, glows at night | Night rides or events |
| Pearl Finishes | Iridescent color shifts | Custom designs |
| Chameleon Paint | Color changes with angle | Unique artistic helmets |
Prep Work: Preparing Your Helmet for Painting
To achieve a professional finish on your helmet, you’ll need to start with thorough surface cleaning to remove any dirt or oils. Next, sanding the surface promotes adhesion, ensuring that the paint adheres properly. Finally, applying a primer is essential as it creates a uniform base for the paint, enhancing both durability and appearance.
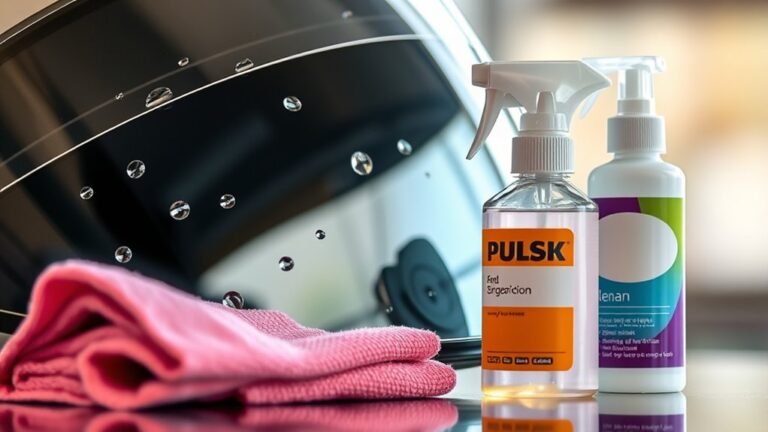
Clean the Surface Thoroughly
A clean surface is crucial for achieving a professional-looking paint finish on your helmet. Proper surface preparation involves removing dirt, grease, and any existing coatings. You’ll want to use effective cleaning solutions to guarantee ideal adhesion of the paint. Here’s a quick reference to guide your cleaning process:
| Step | Action | Cleaning Solution |
|---|---|---|
| 1 | Remove debris | Mild soap and water |
| 2 | Degrease surface | Isopropyl alcohol |
| 3 | Rinse thoroughly | Clean water |
| 4 | Dry completely | Lint-free cloth |
Following these steps will help you create a smooth, clean base for painting, maximizing durability and finish quality. Don’t skip this crucial prep work!
Sanding for Adhesion
Sanding your helmet’s surface is essential for promoting paint adhesion and ensuring a long-lasting finish. Begin by selecting the right grit; start with a medium grit (around 120-220) to remove any gloss and imperfections. This initial step helps create a textured surface for the paint to grip onto. After that, switch to a finer grit (320-400) for a smooth finish, which prepares the surface for ideal paint application. Employ consistent sanding techniques, applying even pressure across the helmet to avoid uneven surfaces. Remember to sand in circular motions rather than linear to enhance adhesion. Once you’ve finished, clean the surface thoroughly again to remove any dust or debris before moving on to the next step in your painting process.
Primer Application Importance
After preparing your helmet’s surface through sanding, applying primer is an important next step in the painting process. Primer types, such as epoxy or polyurethane, create a strong bond between the helmet and paint, guaranteeing durability. This bond prevents peeling and enhances the overall finish.
The benefits of using primer extend beyond adhesion; it also enhances color vibrancy and helps in achieving a smoother surface. By filling in minor imperfections, primer allows the paint to lay evenly, resulting in a professional-looking finish.
Choosing the right primer guarantees that your helmet not only looks great but also withstands the rigors of use. So, don’t skip this vital step—your helmet deserves the best foundation for its paint job.
Application Techniques for a Flawless Finish
While achieving a flawless finish on your helmet may seem challenging, employing the right application techniques can make all the difference. Mastering both brush techniques and spray techniques is essential. For intricate designs, brush techniques allow for precision and detail. Conversely, spray techniques provide an even coat over larger areas.
| Technique | Use Case |
|---|---|
| Brush Techniques | Detailed designs |
| Spray Techniques | Large surface coverage |
| Airbrush | Gradients and effects |
| Roller | Quick, smooth finishes |
Always verify your surface is clean and primed. Apply multiple thin layers, allowing each to dry thoroughly before the next. This approach minimizes runs and drips, guaranteeing a professional-grade finish that stands out.
Protective Coatings to Enhance Durability
To guarantee your helmet withstands the rigors of use, selecting the right protective coatings is essential. You’ll want to explore various types, understand their application techniques for maximum longevity, and implement maintenance practices to extend their lifespan. Each step plays a critical role in enhancing the durability of your helmet finish.
Types of Protective Coatings
When selecting protective coatings for helmet finishes, it’s essential to understand the different types available, as each offers unique benefits that can greatly enhance durability. Here are some common types of coatings and their protective finishes:
| Type of Coating | Benefits | Best Use |
|---|---|---|
| Polyurethane | Excellent UV resistance | Outdoor helmets |
| Epoxy | Strong adhesion and chemical resistance | Racing or high-impact helmets |
| Acrylic | Flexibility and ease of application | Custom designs and graphics |
Choosing the right type of coating can guarantee your helmet withstands the elements while maintaining its aesthetic appeal. By understanding these protective finishes, you’ll make informed decisions that enhance your helmet’s longevity and performance.
Application Techniques for Longevity
Applying protective coatings properly is key to maximizing their effectiveness and guaranteeing helmet longevity. Start with clean, dry surfaces to promote adhesion. When using brush techniques, opt for high-quality brushes to avoid streaks and guarantee even coverage. Apply the first coat using a smooth, steady hand, allowing it to dry completely before adding additional layers. Layering methods are essential; thin, multiple coats yield better durability than a single thick application. Each layer should be lightly sanded for ideal bonding, enhancing the overall finish. Finish with a clear protective topcoat for added resilience against abrasions and environmental factors. By mastering these application techniques, you can considerably extend the life of your helmet’s protective finish.
Maintenance for Extended Life
While proper application techniques lay the foundation for a durable helmet finish, regular maintenance is crucial for extending its life. To protect your investment, adopt effective cleaning techniques. Use a mild soap solution and soft cloth to remove dirt and grime, avoiding abrasive materials that could scratch the surface. Additionally, consider applying a protective coating periodically; this can enhance durability and resist environmental wear.
Storage solutions also play a critical role. Keep your helmet in a cool, dry place away from direct sunlight to prevent fading and warping. Invest in a helmet bag or dedicated storage container to shield it from dust and impacts. By integrating these maintenance practices, you’ll guarantee your helmet remains in prime condition for years to come.
Maintenance Tips for Painted Helmets
Although maintaining a painted helmet may seem straightforward, it requires specific care to preserve its finish and longevity. Employ effective cleaning techniques, like using a soft cloth and mild soap, to remove dirt and debris without damaging the paint. Always rinse thoroughly and dry completely to avoid streaks.
For ideal storage solutions, keep your helmet in a cool, dry place away from direct sunlight. Consider using a padded bag or container to prevent scratches.
| Cleaning Technique | Storage Solution | Additional Tips |
|---|---|---|
| Soft cloth and soap | Padded bag or container | Avoid extreme temperatures |
| Rinse and dry | Cool, dry location | Regularly inspect for damage |
| No abrasive cleaners | Keep away from sunlight | Use helmet covers when not in use |
Frequently Asked Questions
Can I Use Regular Household Paint on Helmets?
You shouldn’t use regular household paint on helmets. It often lacks the necessary durability and flexibility, raising safety concerns. The paint adhesion might not hold up against impacts or environmental factors, potentially compromising the helmet’s integrity. Instead, opt for paints specifically designed for helmets, which guarantee better adhesion and maintain safety standards. Your safety’s paramount, so it’s worth investing in the right materials for reliable protection while enjoying your freedom.
How Long Does Paint Last on a Helmet?
Paint longevity on a helmet typically ranges from a few months to several years, depending on the quality of the paint and how well you maintain it. Regular helmet maintenance, like cleaning and storing it properly, can greatly extend the life of your paint. Avoid exposing your helmet to harsh chemicals or extreme conditions, as these can degrade the finish. If you want it to last, invest in high-quality paint and care for your helmet diligently.
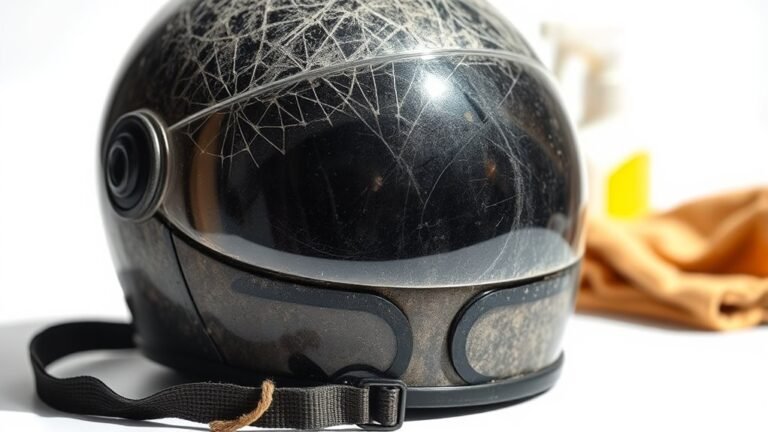
Is It Safe to Paint Over Existing Helmet Graphics?
It’s generally not safe to paint over existing helmet graphics. Think of your helmet as a knight’s armor; each layer should be tested for strength and safety. Painting over old graphics can compromise paint adhesion, risking the helmet’s structural integrity. If you seek freedom on the road, guarantee your helmet is up to standard. Always strip old paint before applying a new coat to maintain helmet safety and guarantee a secure finish.
What Is the Best Way to Remove Old Paint?
To remove old paint, you can use several paint removal techniques, such as chemical strippers or sandpaper. For a gentler approach, try using a heat gun to soften the paint before scraping it off. Always guarantee you’re in a well-ventilated area and wear protective gear. Following these helmet maintenance tips will help preserve the underlying surface. Remember, patience is key to avoid damaging your helmet as you work.
Can I Customize a Helmet With Decals After Painting?
Yes, you can customize your helmet with decals after painting. For ideal decal application, verify the paint is fully cured—typically 24-48 hours. Clean the surface to remove any dust or oils, as this promotes better adhesion. Choose high-quality decals that can withstand wear and tear. Consider applying a clear coat over the decals to protect them further, enhancing both durability and aesthetics in your helmet customization project. Enjoy your creative expression!
References
- https://en.wikipedia.org/wiki/Helmet
- https://www.cdc.gov/niosh/topics/eye/helmet.html
- https://www.ncbi.nlm.nih.gov/pmc/articles/PMC2769472/
- https://www.acns.org/
- https://www.ashrae.org/technical-resources/technical-papers
- https://www.nhtsa.gov/road-safety/motorcycle-safety
- https://www.researchgate.net/publication/323576678_Finishing_and_Protective_Paints_for_Protective_Equipment
- https://www.sciencedirect.com/science/article/pii/S0142941819303281