Fixing Common Helmet Issues: Scratches and Straps
To fix common helmet issues like scratches and worn straps, first inspect for any damage. For surface scratches, clean and buff them out with fine-grit sandpaper and plastic polish. If you notice deep scratches or cracks, replacing the helmet is best. Check strap conditions regularly and replace any frayed or worn straps for a secure fit. Remember to clean your helmet with mild soap and store it properly to extend its lifespan. There’s more to learn about maintaining your helmet effectively.
Understanding the Importance of Helmet Maintenance
When you consider safety, it’s easy to overlook the importance of helmet maintenance. Proper helmet care isn’t just about keeping it looking good; it’s essential for ensuring your safety on every ride. Regularly inspect your helmet for signs of wear, like cracks or loose straps, and clean it with mild soap and water to remove dirt and sweat. Avoid harsh chemicals that can degrade materials. Store your helmet in a cool, dry place to prevent damage from heat or moisture. Following these maintenance tips can extend its life and keep you protected. Remember, your freedom on the road depends considerably on a well-maintained helmet, so take the time to give it the care it deserves.
Identifying Common Helmet Scratches
When it comes to helmet maintenance, identifying scratches is essential for your safety. Different types of scratches can impact the helmet’s integrity, so knowing how to spot them is key. Let’s discuss how to recognize these issues and what you can do to prevent them.
Types of Helmet Scratches
Helmet scratches can vary greatly, and identifying them is essential for proper maintenance and safety. Understanding the common scratch types helps you determine the best repair methods.
| Scratch Type | Description |
|---|---|
| Surface Scratches | Light marks from everyday use |
| Deep Scratches | Noticeable gouges from impacts |
| Cracks | Serious damage requiring replacement |
For surface scratches, you might use a polish or clear coat. Deep scratches often need a specialized kit, while cracks generally mean it’s time for a new helmet. Regular inspection keeps your gear in top shape, ensuring you stay free to enjoy your ride without worry. A little attention goes a long way in maintaining your helmet’s integrity.
Impact on Safety
Although scratches may seem minor, they can greatly impact your safety on the road. When your helmet sustains scratches, it may compromise its structural integrity. Most helmets undergo rigorous impact testing to guarantee they can absorb shock during a fall. However, visible damage can indicate that the helmet’s ability to protect you is diminished. Even small scratches can lead to cracks or weaken the material, impairing its effectiveness. Remember, your helmet’s primary purpose is to safeguard your head. Regularly inspecting for scratches and damage is vital for helmet safety. If you notice significant wear, it might be time to replace your helmet. Don’t underestimate the importance of a well-maintained helmet for your freedom and safety while riding.
Prevention Techniques
Maintaining a helmet’s integrity starts with recognizing potential scratches before they become a problem. By implementing smart prevention strategies, you can guarantee your helmet remains in top shape. Here are four practical tips for effective helmet care:
- Regular Inspections: Check for scratches weekly, focusing on high-contact areas.
- Proper Storage: Keep your helmet in a cool, dry place away from direct sunlight to minimize wear.
- Use a Soft Cloth: Wipe your helmet with a microfiber cloth to remove dirt and prevent scratches during cleaning.
- Avoid Rough Surfaces: Be mindful of where you place your helmet; avoid rough or abrasive surfaces that can cause damage.
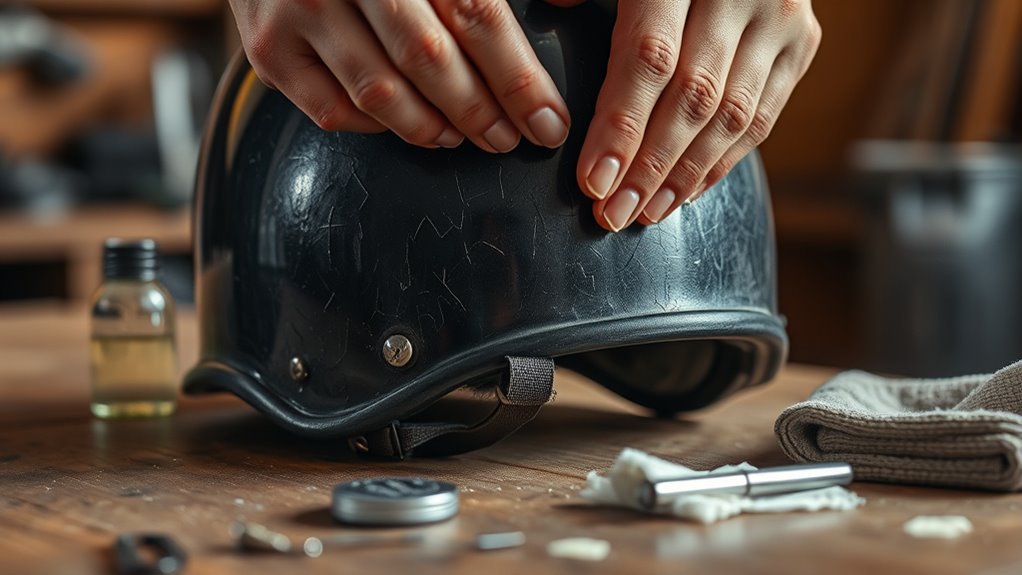
Simple Techniques for Scratch Repair
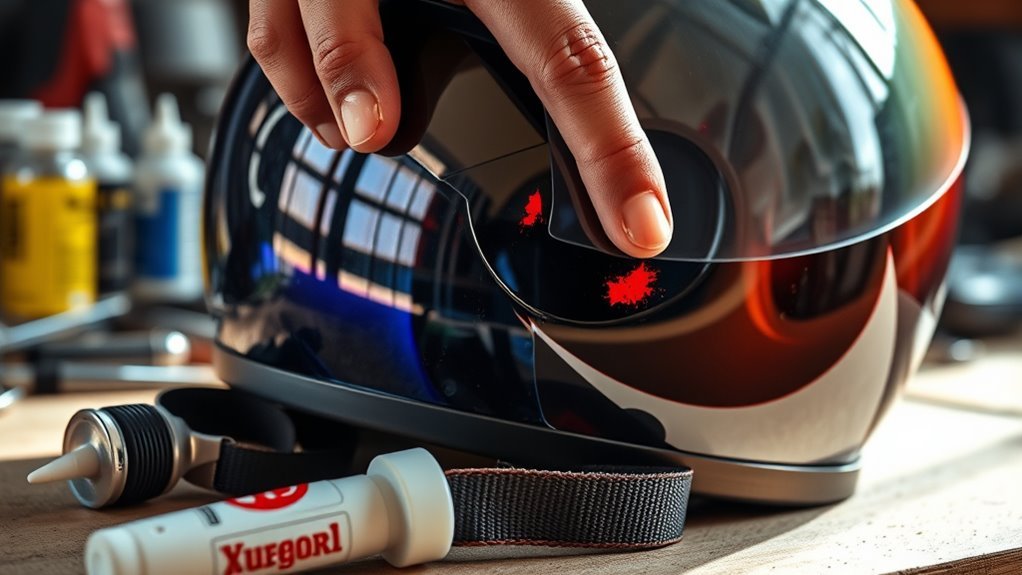
Scratches on your helmet can be more than just an eyesore; they can compromise its integrity. Thankfully, there are scratch removal techniques you can try at home for effective DIY helmet restoration. Start by cleaning the area with soap and water to remove dirt. Then, use fine-grit sandpaper to gently buff out the scratches, making circular motions to avoid creating new marks. For deeper scratches, a plastic polish can work wonders—apply a small amount and polish vigorously with a soft cloth. If you’re dealing with a painted helmet, touch-up paint can blend the scratch with the surrounding color. Always remember to follow up with a protective spray to keep your helmet looking fresh and functional. Enjoy your rides with confidence!
When to Replace Your Helmet Due to Scratches
When it comes to scratches on your helmet, evaluating their severity is essential. If they compromise the integrity of the helmet or exceed the manufacturer’s guidelines for replacement, it’s time to get a new one. Don’t take chances with your safety—know when it’s time to upgrade.
Assessing Scratch Severity
Although helmets are designed to withstand impacts, they can suffer from surface scratches that may compromise their integrity. Conducting a scratch assessment is essential to determine if your helmet needs replacing. Here are some severity indicators to evaluate:
- Deep Scratches: If a scratch penetrates the outer layer, it could weaken the helmet.
- Multiple Scratches: A helmet with several scratches may indicate wear and tear that affects performance.
- Location: Scratches near critical areas, like the impact-absorbing foam, are more concerning.
- Visible Cracks: Any sign of cracking means it’s time to retire your helmet.
Manufacturer Guidelines for Replacement
After evaluating the severity of scratches on your helmet, it’s important to consult manufacturer guidelines regarding replacement. They often provide specific replacement guidelines based on damage levels. If scratches compromise the helmet’s integrity or visibility, you might need a replacement sooner than you think. Remember, your helmet warranty may also cover replacements under certain conditions.
| Scratch Severity | Replacement Recommendation |
|---|---|
| Minor Scratches | Monitor and maintain |
| Moderate Scratches | Check with manufacturer |
| Deep Scratches | Replace immediately |
| Structural Damage | Replace immediately |
Always prioritize your safety. A damaged helmet can’t protect you as intended, so don’t hesitate to reach out to the manufacturer for clarity on your next steps.
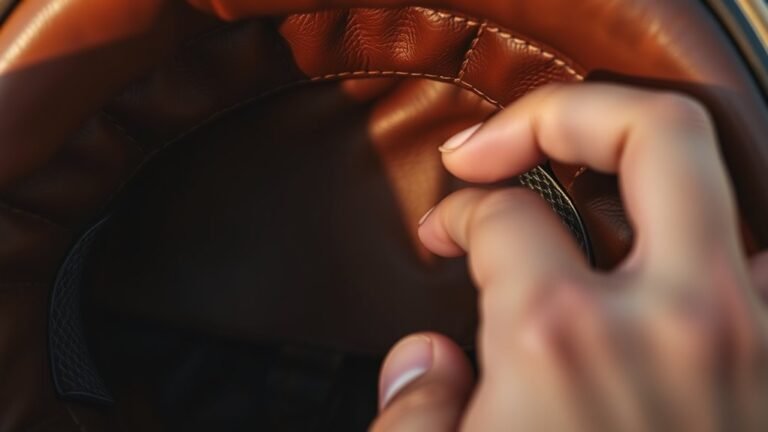
Inspecting Helmet Straps for Damage
Inspecting helmet straps for damage is essential for your safety, as these components bear the brunt of impact during a fall or collision. Regular checks can guarantee strap durability and proper strap adjustment, allowing you to ride with confidence. Here’s what to look for:
- Fraying or Cuts: Examine straps for any signs of wear and tear.
- Discoloration: Look for faded areas that may indicate weakened material.
- Buckles and Clips: Verify they’re functioning properly and secure.
- Length and Fit: Adjust straps to make sure they fit snugly without being overly tight.
How to Tighten Loose Helmet Straps
If your helmet straps are showing signs of wear, it’s also important to verify they fit properly. A proper helmet fit is essential for your safety and comfort while riding. Start by checking the strap adjustment; confirm the straps are snug but not overly tight. Look for adjustment sliders on either side of the helmet. Simply pull the straps through these sliders to tighten them as needed.
Next, fasten the chin strap and check for movement; your helmet shouldn’t shift noticeably. If it does, continue adjusting until you achieve a secure fit. You should feel comfortable and free, knowing your helmet is well-fitted. Regularly check your helmet straps to maintain peak performance and protection.
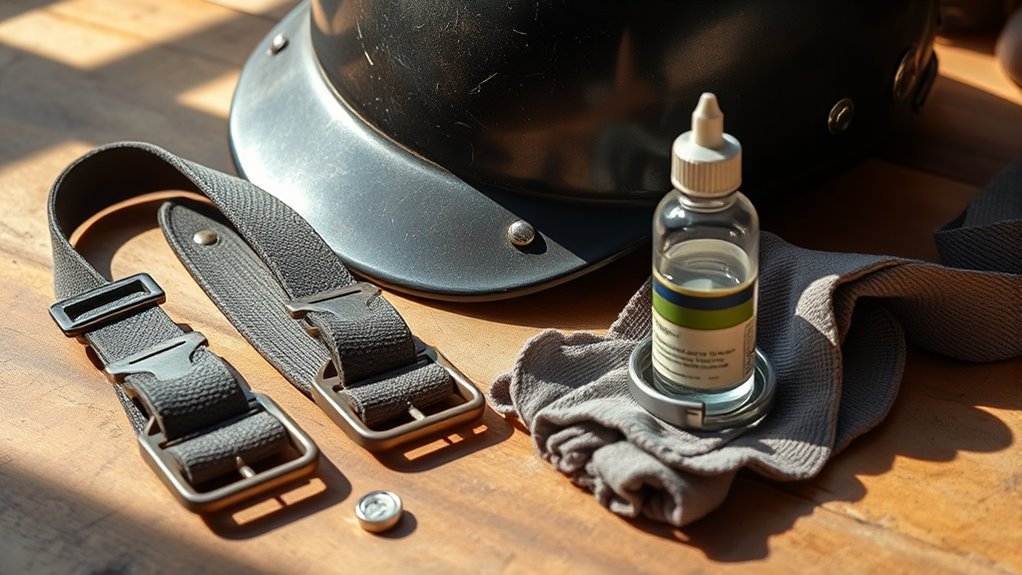
Replacing Worn or Damaged Straps
Over time, helmet straps can wear out or become damaged, compromising your safety. Replacing them is vital for ensuring a secure fit. Here’s how to tackle it:
- Identify strap materials: Check for nylon, polyester, or other durable options that suit your needs.
- Choose the right size: Make sure the new straps match your helmet’s specifications for proper strap adjustment.
- Remove old straps: Carefully detach the worn or damaged straps from the helmet.
- Install new straps: Follow the manufacturer’s guidelines to securely attach the new straps, ensuring they’re adjusted correctly for comfort and safety.
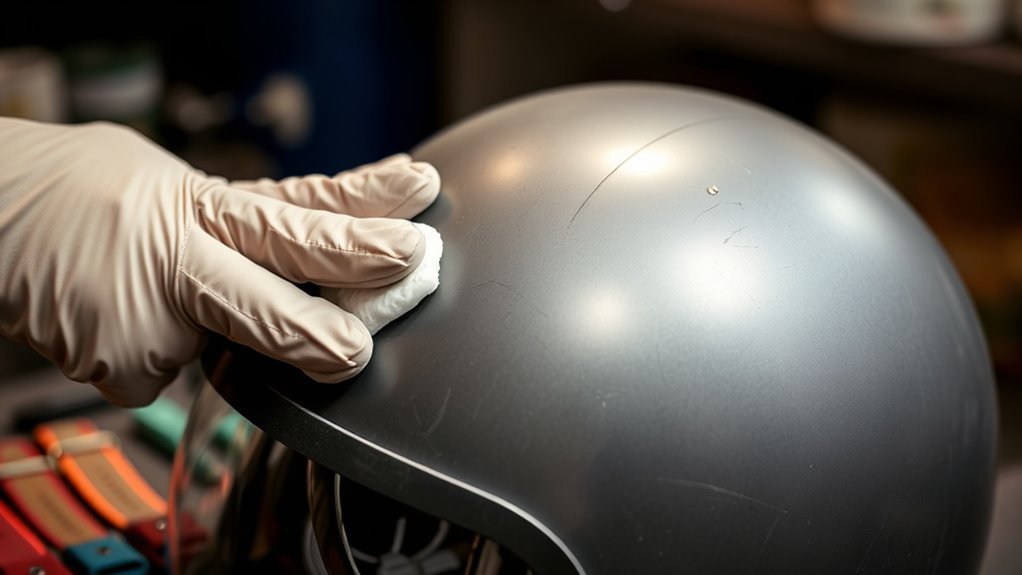
Cleaning Your Helmet for Longevity
Regularly cleaning your helmet can greatly extend its lifespan and maintain its protective qualities. Start with a gentle wash using helmet cleaning products specifically designed for this purpose. Avoid harsh chemicals that could damage the materials. For effective cleaning methods, use a soft cloth or sponge to wipe down both the outer shell and interior padding. Rinse with water to remove any residue. Pay special attention to vents, where dirt and debris can accumulate. After cleaning, let your helmet air dry completely before storing it away. This simple routine not only keeps your helmet looking great but also guarantees it performs at its best when you need it most. Keep that freedom alive with a well-maintained helmet!
Best Practices for Storing Your Helmet
When it comes to storing your helmet, location matters. Keep it in a cool, dry place away from direct sunlight to prevent damage, and consider using a protective cover to shield it from dust and scratches. By following these simple practices, you’ll help extend the life of your helmet.
Proper Storage Location
Storing your helmet properly is essential for maintaining its integrity and longevity. To guarantee it’s kept in ideal conditions, follow these best practices for storage solutions:
- Cool, Dry Place: Avoid heat sources and humid areas to prevent material degradation.
- Away from Direct Sunlight: UV rays can weaken helmet materials; store it in a shaded area.
- Use a Dedicated Shelf: Keep it on a stable surface to avoid accidental drops or impacts.
- Keep it Clean: Regularly wipe down your helmet to remove dirt or moisture before storing.
Use Protective Covers
Using protective covers can greatly extend the life of your helmet, as they shield it from dust, scratches, and minor impacts. These helmet accessories aren’t just practical; they reflect your commitment to maintaining your gear. When choosing a cover, consider the material, fit, and breathability to guarantee ideal protection.
Here’s a quick comparison of options:
| Cover Type | Material | Pros |
|---|---|---|
| Soft Fabric | Cotton | Lightweight, breathable |
| Hard Shell | Plastic | Impact resistant |
| Custom Fit | Neoprene | Tailored protection |
Investing in a protective cover means less worry about wear and tear, allowing you to focus on the ride and the freedom of the open road.
Regular Maintenance Tips for Helmet Safety
To guarantee your helmet remains safe and effective, regular maintenance is essential. Proper helmet care not only extends its lifespan but also guarantees your safety on the road or trail. Here are some key safety checks to perform:
- Inspect for Damage: Regularly check for cracks, dents, or any signs of wear.
- Clean It: Use mild soap and water to clean the outer shell and inner padding, avoiding harsh chemicals.
- Check the Straps: Confirm straps are secure and not frayed, adjusting them for a snug fit.
- Replace When Necessary: If your helmet’s been in a crash or shows significant wear, it’s time for a new one.
Stay proactive with these tips, and enjoy your rides with peace of mind!
Frequently Asked Questions
Can I Use Household Cleaners on My Helmet?
You shouldn’t use household cleaners on your helmet. They can damage the material and compromise its safety. For proper helmet maintenance, stick to mild soap and water. A gentle wipe with a soft cloth works wonders for cleaning without risking damage. If you’ve got stubborn stains, look for products specifically made for helmet care. Your helmet’s protection is essential, so treating it right keeps you safe while enjoying your freedom on the road.
What Materials Are Helmets Typically Made From?
Helmets are often crafted from a combination of sturdy materials. Typically, you’ll find polycarbonate shells providing a lightweight yet tough exterior, perfect for protection. Inside, impact foam absorbs shocks, guaranteeing your safety during rides. This duo of durable design and smart materials keeps you safe while you enjoy your freedom on the road or trails. So, when you choose a helmet, look for those polycarbonate shells and quality impact foam to guarantee your safety!
How Often Should I Clean My Helmet?
You should clean your helmet regularly, ideally every few rides or at least once a month, depending on your usage. Keeping up with this cleaning frequency is essential for proper helmet maintenance, as it helps remove dirt, sweat, and grime that can degrade materials over time. Just use mild soap and water, avoiding harsh chemicals. Staying proactive in cleaning keeps your helmet in top shape, ensuring you stay safe and free on the road.
Are There Specific Brands for Replacement Straps?
If you didn’t know, about 70% of helmet wearers replace their straps at some point! For replacement strap brands, you’ve got options like Giro, Bell, and Fox Racing, which are known for their quality. Just make sure to check strap compatibility options for your specific helmet model, as not all straps fit every helmet. By choosing the right brand and ensuring compatibility, you’ll be back to enjoying your rides with confidence!
What Is the Average Lifespan of a Helmet?
The average lifespan of a helmet is about 3 to 5 years, depending on usage and helmet safety standards. If you’ve been in a crash or notice any damage, it’s best to replace it sooner. Always follow replacement guidelines from the manufacturer to guarantee you’re protected. Remember, your helmet’s integrity is vital for your safety, so don’t hesitate to replace it when necessary, giving you the freedom to ride with confidence.
References
- https://www.cpsc.gov/Safety-Education/Safety-Guides/Helmets
- https://nhtsa.gov/equipment/helmets
- https://www.cdc.gov/headsup/basics/helmet-safety.html
- https://www.aap.org/en/patient-care/injury-prevention/helmet-safety/
- https://www.ncbi.nlm.nih.gov/pmc/articles/PMC6610878/
- https://www.britannica.com/science/helmet
- https://www.safekids.org/helmet-safety
- https://www.helmets.org/
- https://www.mayoclinic.org/healthy-lifestyle/adult-health/in-depth/bike-helmet-safety/art-20046030