How to Measure Your Head for a Perfect Helmet Fit
To measure your head for a perfect helmet fit, use a flexible measuring tape placed just above your ears and eyebrows. Make sure it’s snug but not tight, then record the measurement in centimeters or inches. If you don’t have a tape, you can use a string and measure it against a ruler. Consult a helmet size chart that aligns with your measurement, and keep in mind that head shape also influences fit. There’s more to learn about selecting the right helmet for your activities.
Understanding Helmet Types
When choosing a helmet, it’s essential to understand the different types available, as each is designed for specific activities and levels of protection. Helmet styles vary considerably; for instance, a road cycling helmet features aerodynamic designs for speed, while a mountain biking helmet offers additional coverage and ventilation. Skateboarding and BMX helmets prioritize impact resistance and comfort.
Each style plays an important role in helmet safety, ensuring that you have the right protection for your chosen activity. It’s crucial to select a helmet that meets safety standards relevant to your sport. By understanding these helmet types, you can enjoy your activities with confidence, knowing you’ve made an informed choice for your safety and freedom.
Tools Needed for Measuring
To accurately measure your head for a helmet fit, you’ll need a few essential tools. A measuring tape or a piece of string will help you obtain the correct circumference, while a marker allows you to note the measurements clearly. Having a notepad handy to record these details will guarantee you have all the information necessary for selecting the right helmet size.
Measuring Tape or String
You’ll need a measuring tape or a piece of string to accurately gauge your head size for a helmet fit. These tools are essential for employing effective measuring techniques that guarantee your head circumference is properly assessed. Here’s how to proceed:
- Measuring Tape: Use a flexible measuring tape for direct measurement.
- String: If you don’t have a measuring tape, a piece of string can work well.
- Ruler: If using string, you’ll need a ruler to measure its length.
- Paper: Keep a note handy to jot down your measurements for reference.
Marker for Measurements
Accurate measurements require a reliable marker to secure precision. When measuring your head for a helmet fit, consider various marker types, like a fabric marker, pen, or chalk. Each has its benefits depending on your measurement techniques.
| Marker Type | Ideal Use |
|---|---|
| Fabric Marker | Soft surfaces |
| Permanent Pen | Hard surfaces |
| Tailor’s Chalk | Smooth, temporary |
| Pencil | Detailed markings |
Choose a marker that won’t smudge or disappear quickly. A consistent marker affirms your measurements remain clear and accurate, allowing you to find the perfect helmet fit. Don’t underestimate the importance of the right tools in achieving freedom during your rides.
Notepad for Recording
A notepad is an indispensable tool for recording your head measurements when fitting a helmet. Accurate documentation is vital to guarantee a perfect fit. Depending on your preference, you can choose from various notepad sizes, but make certain it’s portable and easy to use. Here are some effective recording techniques:
- Write down the measurement numbers as you take them to avoid forgetting.
- Note the date of your measurements for future reference.
- Record any adjustments made to your measuring technique.
- Keep a section for different helmet sizes you may try on later.
Using a notepad effectively will streamline your helmet fitting process, assuring that you get the freedom and comfort you desire.
Measuring Your Head Size
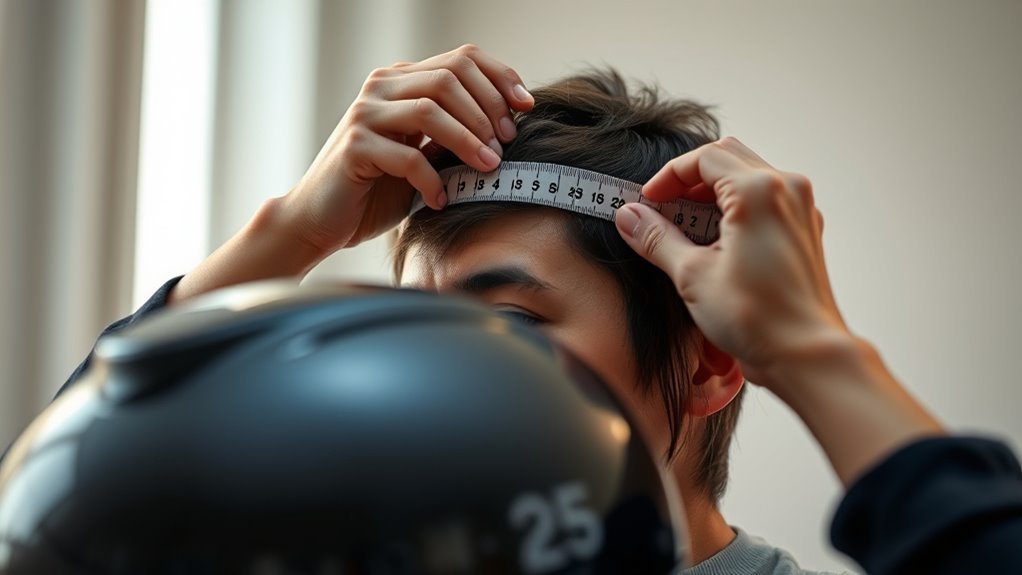
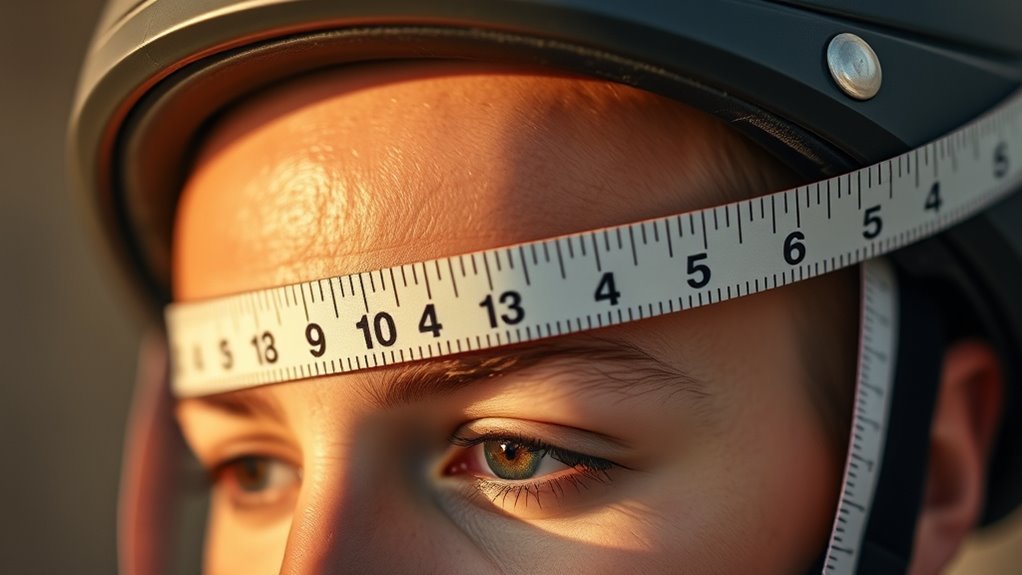
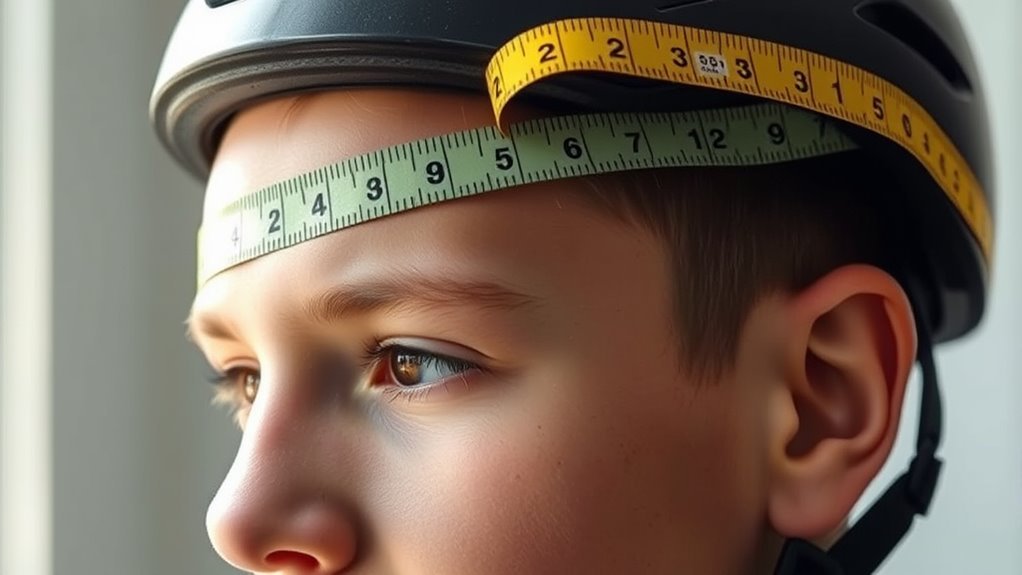
To guarantee a proper helmet fit, measuring your head size is essential. Start by gathering a flexible measuring tape and confirming it’s clean and free of twists. Place the tape around your head, just above your ears and eyebrows, where the helmet will sit. Make certain it’s snug but not overly tight, as this can distort your head circumference measurement. Record the measurement in centimeters or inches. If you don’t have a measuring tape, you can use a piece of string and then measure it against a ruler. Employing these fitting techniques helps confirm your helmet won’t shift or cause discomfort while you enjoy your freedom on the road or trail. Accurate measurements lead to ideal safety and performance.
Determining Your Helmet Size
Once you’ve measured your head size, the next step is determining your helmet size based on that measurement. To guarantee a proper fit, refer to a helmet size chart that corresponds to your measurement. Here are some common sizing mistakes to avoid:
- Ignoring the shape: Remember, head shape can affect fit; don’t just rely on size.
- Not considering padding: Helmets may feel tighter or looser once worn; check for adjustable padding.
- Choosing the wrong type: Different activities require specific helmet types; confirm it matches your needs.
- Overlooking the chin strap: A secure chin strap is essential for safety and comfort.
Trying on the Helmet
Once you’ve selected a helmet, it’s essential to adjust the straps for a secure fit. Make certain the helmet sits level on your head and doesn’t move when you shake your head gently. Finally, assess the comfort level; it should feel snug but not cause any pressure points.
Adjusting the Straps
Adjusting the straps of your helmet is essential for achieving a secure and comfortable fit. Proper strap length and strap positioning can make a significant difference in your riding experience. Follow these steps to guarantee your helmet fits correctly:
- Loosen the straps: Start by loosening the straps to easily put on your helmet.
- Wear the helmet: Place it on your head, making sure it sits level.
- Adjust strap length: Pull the straps until they comfortably hug your jaw without pinching.
- Check strap positioning: Confirm the Y-configuration of the straps meets just below your ears for ideal support.
Taking these steps helps you feel free and confident as you ride, knowing your helmet is properly adjusted.
Checking the Fit
Checking the fit of your helmet is essential to guarantee safety and comfort while riding. Start with a fit assessment by placing the helmet on your head, verifying it sits level and snug. You shouldn’t feel any pressure points, but there should be no gaps between your head and the helmet. Move your head side to side and up and down; the helmet shouldn’t shift excessively. Next, conduct a comfort evaluation by wearing the helmet for a few minutes. Confirm it doesn’t pinch or cause discomfort. Pay attention to the padding; it should conform to your head shape. If the helmet feels loose or tight, adjust the straps or padding accordingly to achieve the ideal fit, maximizing both protection and comfort.
Testing Comfort Level
Although you may have already assessed the helmet’s fit, trying it on for comfort is equally important. A comfort assessment guarantees that you’ll enjoy freedom during your rides, without distractions. Follow these steps for an effective fit evaluation:
- Put on the helmet and guarantee it sits evenly on your head.
- Adjust the straps to feel snug without pinching or rubbing.
- Move your head side to side and up and down; the helmet should stay securely in place.
- Wear it for a few minutes; check for pressure points or discomfort.
If any part feels bothersome, consider trying a different model or size. Your helmet should feel like a natural extension, enhancing your experience rather than hindering it.
Adjusting the Fit
Once you’ve measured your head and selected an appropriate helmet, it’s crucial to fine-tune the fit for ideal safety and comfort. Start by adjusting the interior padding to guarantee snugness without pressure points. Next, focus on strap positioning; the chin strap should rest comfortably under your chin, with minimal slack.
| Adjustment Type | Description |
|---|---|
| Fit Adjustments | Modify padding for snug fit |
| Strap Positioning | Guarantee chin strap is tight |
| Side Straps | Align with ears for comfort |
| Back Straps | Adjust for stability and comfort |
Checking for Proper Fit
A proper fit is essential for maximizing both safety and comfort when wearing a helmet. To guarantee a snug fit and proper alignment, follow these steps:
- Position: Place the helmet level on your head, ensuring it sits just above your eyebrows.
- Straps: Adjust the side straps to form a “V” shape under your ears, keeping them snug but not tight.
- Chin Strap: Buckle the chin strap and pull it until it feels snug. You should be able to fit one finger between the strap and your chin.
- Shake Test: Gently shake your head. The helmet should stay in place without shifting or rolling.
Understanding Safety Certifications
Ensuring your helmet fits properly is only one part of the equation; understanding safety certifications is equally important for making an informed choice. When selecting a helmet, look for certification labels that indicate compliance with established safety standards. In the U.S., the most recognized certifications are from the Consumer Product Safety Commission (CPSC) and the Snell Memorial Foundation. These labels confirm that the helmet meets rigorous testing for impact resistance and durability. In Europe, the EN 1078 standard serves a similar purpose. By choosing a helmet with these certifications, you’re ensuring that you’re protected against potential head injuries while enjoying your freedom on the road or trail. Always prioritize safety as you pursue your adventures.
Maintenance and Care for Your Helmet
Regular maintenance is essential for extending the lifespan of your helmet and guaranteeing it remains effective in protecting you. Follow these cleaning tips and storage practices to keep your helmet in top shape:
- Clean the exterior: Use mild soap and water, avoiding harsh chemicals that could damage the shell.
- Inspect the padding: Regularly check for wear and tear; replace it if necessary to guarantee comfort and safety.
- Store properly: Keep your helmet in a cool, dry place away from direct sunlight to prevent degradation.
- Avoid impacts: Don’t toss or drop your helmet; treat it with care to maintain its protective qualities.
Frequently Asked Questions
Can I Use a Cloth Measuring Tape Instead of a Rigid One?
Yes, you can use a cloth measuring tape instead of a rigid one. However, guarantee you maintain tape accuracy during measurement techniques. Cloth tapes can be flexible, which might lead to slight discrepancies if not held taut. For precise results, position the tape snugly around your head, avoiding any slack. Ultimately, a well-measured head will lead to a more comfortable and secure fit, allowing you the freedom to enjoy your activities without worry.
How Often Should I Measure My Head for Helmet Size?
You should measure your head every six months to guarantee your helmet fits perfectly. Changes in hair length, weight fluctuations, or even age can subtly alter your head shape. Use precise measurement techniques, like a soft measuring tape, and follow frequency guidelines to avoid compromising safety. Remember, a well-fitting helmet can be the difference between freedom and risk when you’re out there enjoying your ride. Don’t wait too long; safety first!
Are There Specific Brands That Run Larger or Smaller?
Yes, some brands do run larger or smaller than others, so it’s essential to check brand sizing before purchasing. For example, some popular helmet reviews indicate that brands like Arai and Shoei tend to fit snugly, while Bell might offer a roomier fit. Always consult the sizing chart specific to each brand and read user reviews to get insights on how the helmet fits in real-world scenarios. This guarantees you find your perfect fit.
What Should I Do if My Head Size Falls Between Two Sizes?
When in doubt, “measure twice, cut once.” If your head size falls between two sizes, opt for the larger size for comfort and adjust using padding options. Many helmets offer size adjustment features, allowing you to customize the fit. Remember, a snug fit is essential for safety, but it shouldn’t be overly tight. Test the helmet’s comfort level by wearing it for a short period before making your final decision.
Will Hair Styles Affect My Helmet Size Choice?
Yes, hairstyles can definitely affect your helmet size choice. Hair thickness impacts how snugly the helmet fits, so if you have thick hair or wear it in a bulky style, you may need to size up for comfort. Consider hairstyle variations when selecting a helmet, as a low-profile style might require a different fit than a voluminous one. Always prioritize a secure fit to guarantee safety while accommodating your personal style.