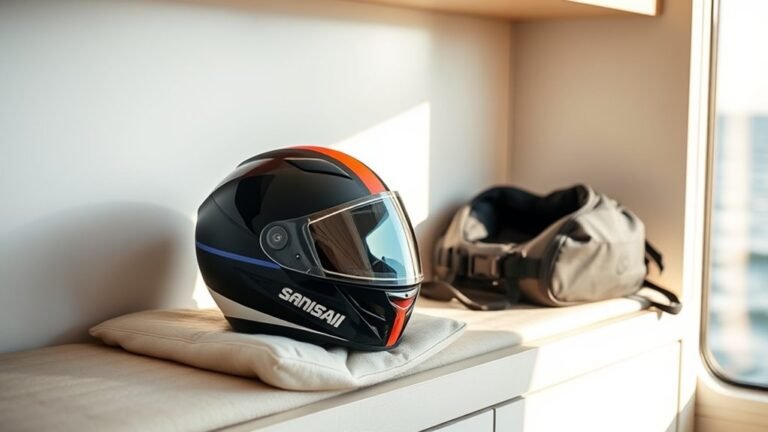
The Ultimate Secret to Painting a Motorcycle Helmet
You absolutely can paint a motorcycle helmet, but it requires the right materials and techniques to ensure safety and durability. Customizing your helmet not only allows you to express your personal style but also requires careful attention to the safety features that helmets offer. In this guide, we’ll explore everything you need to know about customizing your helmet while maintaining its protective qualities.
Understanding Helmet Safety Standards

Motorcycle helmets are meticulously designed to meet specific safety standards, such as those established by the Department of Transportation (DOT) in the United States or the Economic Commission for Europe (ECE). These standards dictate the materials and construction methods used to ensure maximum protection during accidents. When you consider painting your helmet, it’s crucial to understand that certain materials and methods can compromise these safety features.
Before you start painting, always check if your helmet is compatible with the painting materials you intend to use. Some helmets are made from polycarbonate or fiberglass, while others might have an inner foam layer designed to absorb impact. Using incompatible paints or solvents can degrade these materials, potentially rendering your helmet unsafe. Researching your specific helmet model and its compatibility with painting products is a vital first step.
Choosing the Right Paint


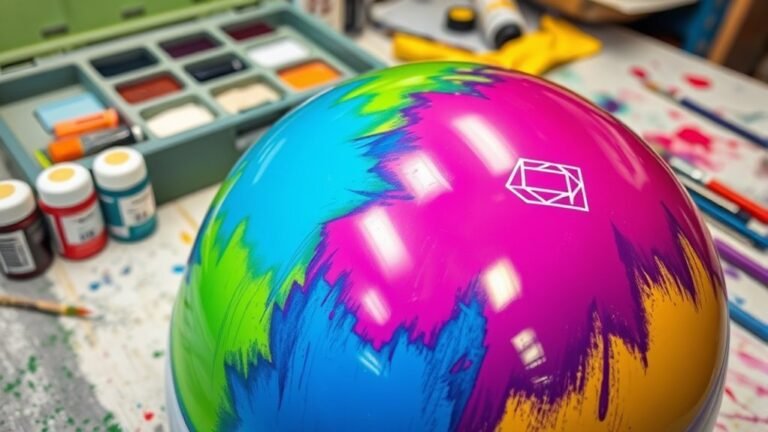
Selecting the right paint is essential for achieving a durable and aesthetically pleasing finish. For motorcycle helmets, you should use a flexible paint designed specifically for plastics, as this will prevent cracking and flaking over time. Standard spray paint may not provide the necessary flexibility and adherence, leading to an unsatisfactory result.
Consider spray paints that are specifically formulated for automotive or helmet use. These paints often contain additional properties that make them suitable for high-impact scenarios and various weather conditions. Brands like Dupli-Color and Rust-Oleum offer products that are well-regarded in this niche. Always opt for high-quality paints, as they will likely provide better coverage, durability, and adherence to the helmet’s surface.
Preparing Your Helmet for Painting
Preparation is key to achieving a professional-looking finish. Begin by cleaning the surface of the helmet thoroughly to remove any oils, dirt, or residues that could interfere with paint adhesion. Using a mild soap and water solution, wipe down the helmet and allow it to dry completely.
Next, use fine-grit sandpaper (around 320-grit) to lightly scuff the surface of the helmet. This process increases the surface area for the paint to adhere to, ensuring a more durable bond. Be cautious not to sand too aggressively, as you don’t want to compromise the helmet’s integrity. After sanding, clean the helmet again to remove any dust particles.
Essential Tools and Materials
Before diving into the painting process, gather all the necessary tools and materials. You will need:
– Painter’s tape: To mask off areas that you don’t want to paint, such as the visor and any branding labels.
– Primer: A flexible primer designed for plastics will help the paint adhere better and improve the overall finish.
– Paint: As mentioned, select high-quality, flexible paint suitable for helmets.
– Clear coat: A clear protective layer will enhance glossiness and provide additional protection against scratches and UV damage.
– High-quality brushes or spray equipment: If you prefer a brush application, ensure that you use quality brushes to avoid streaks. Alternatively, a spray gun or aerosol cans can provide a more even finish.
Step-by-Step Painting Process
Once you have prepared your helmet and gathered your materials, it’s time to start painting. Follow these steps:
1. Apply Primer: Start by applying an even coat of primer over the entire helmet. Hold the spray can or spray gun about 6-12 inches away from the surface to avoid drips. Allow the primer to dry completely according to the manufacturer’s instructions.
2. Paint Application: After the primer has dried, apply the first layer of paint. Use multiple thin coats rather than a single thick coat, allowing each layer to dry completely before applying the next. This technique helps to prevent drips and allows for better color saturation.
3. Design Elements: If you’re adding intricate designs or patterns, consider using stencils or painter’s tape to create clean lines and shapes. Be patient and allow each section to dry as needed before moving on to the next.
Final Touches and Curing
After you’ve achieved your desired look with several layers of color, it’s time to protect your design. Apply a clear coat evenly over the painted surface. This layer not only adds glossiness but also provides essential protection against scratches, UV rays, and wear over time.
Once you have applied the clear coat, allow the helmet to cure for at least 48 hours before using it. Curing is crucial, as it allows the paint and clear coat to bond properly and harden, ensuring the longevity of your custom design.
Maintenance Tips for Your Painted Helmet
To keep your newly painted helmet looking great and functioning safely, regular maintenance is essential. Clean the helmet using mild soap and water, avoiding harsh chemicals or abrasive cleaners, as these can damage the paint.
Inspect the paint job regularly for any chips or wear, especially in high-contact areas. If you notice any damage, address it promptly by touching up the paint to prevent further deterioration. Store your helmet in a cool, dry place to avoid exposure to extreme temperatures and UV radiation, which can fade and damage the paint over time.
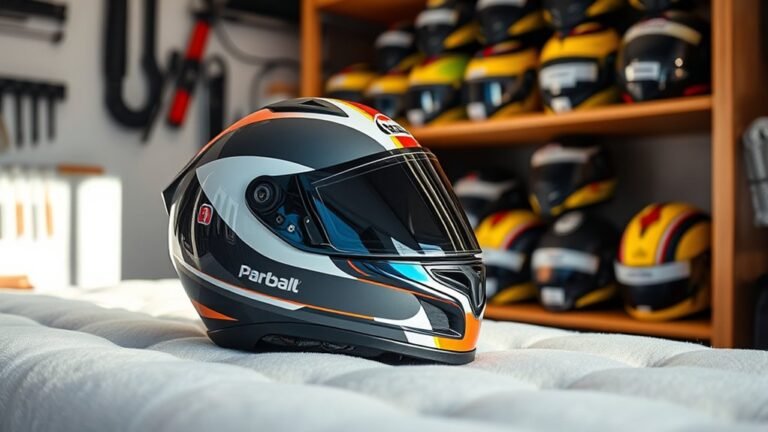
In conclusion, painting your motorcycle helmet can be a rewarding project that reflects your personal style while ensuring safety remains a priority. By following the correct procedures and using the right materials, you can create a custom helmet that not only looks fantastic but also meets the necessary safety standards. Ready to give it a try? Grab your supplies, and start customizing!
References
- https://en.wikipedia.org/wiki/Helmet
- https://www.nhtsa.gov/motorcycles/motorcycle-helmets
- https://www.cdc.gov/motorvehiclesafety/motorcycle/helmets.html
- https://www.ama-cycle.org/
- https://www.usc.edu/dept/engineering/
- https://www.sae.org/standards/content/j2904_202006/
- https://www.ipswich.qld.gov.au/documents/Environment/Helmet_Safety_Information.pdf