How to Create a Helmet With Moving Parts
To create a helmet with moving parts, start by selecting a base helmet that meets safety ratings like DOT or ECE. Gather essential tools such as a 3D printer, CAD software, and hand tools. Next, design the moving parts focusing on functionality and ergonomics. Integrate mechanical components carefully to guarantee smooth operation. Finally, test and adjust for peak performance, then finish with custom decals or lighting for aesthetics. There’s more to explore about each step involved.
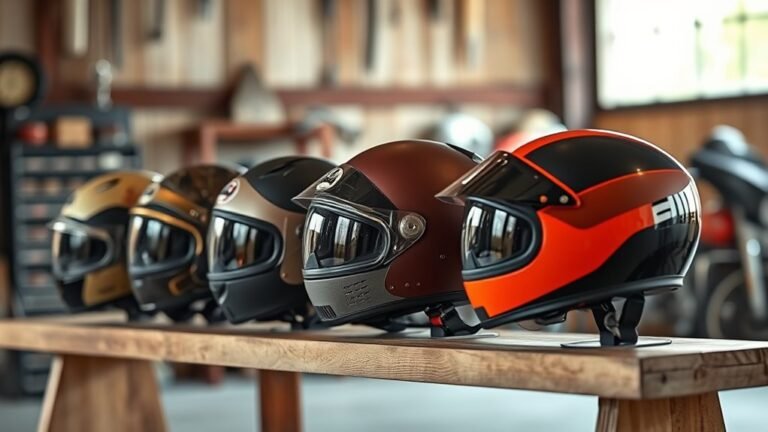
Choosing the Right Base Helmet
Choosing the right base helmet is essential for guaranteeing both safety and functionality when adding moving parts. Different helmet styles, such as full-face, modular, or open-face, cater to various activities and preferences. Each style offers distinct advantages, but you must prioritize safety ratings to ensure protection. Look for helmets that meet or exceed standards set by organizations like DOT, ECE, or Snell, as they provide reliable benchmarks for safety. Additionally, make sure the helmet’s design accommodates your intended modifications without compromising integrity. A well-chosen base helmet not only enhances your creative freedom but also safeguards your well-being. Balancing aesthetics and functionality will ultimately lead to a customized helmet that meets your needs while adhering to safety standards.
Essential Tools and Materials
To create a helmet with moving parts, you’ll need a specific set of tools and materials that facilitate both assembly and functionality. Understanding the required tools is essential for efficient construction, while selecting the right materials guarantees that the moving components operate smoothly. In this section, we’ll outline what you need to gather for a successful project.
Required Tools Overview
While starting on the journey to create a helmet with moving parts, it’s crucial to gather the right tools and materials to guarantee precision and functionality. You’ll need a 3D printer, as 3D printing techniques allow for intricate designs and custom components. A reliable computer-aided design (CAD) software is essential for modeling your ideas. Don’t forget to have safety gear, like goggles and gloves, to protect yourself during the process. Additionally, a variety of hand tools such as pliers, screwdrivers, and a heat gun will be necessary for assembling your helmet. Consider a drill for creating precise holes for moving parts, ensuring everything fits seamlessly. With these tools, you’ll be equipped to bring your vision to life.
Materials for Movement
When constructing a helmet with moving parts, selecting the right materials is critical for ensuring durability and functionality. You’ll need components that facilitate movement while maintaining structural integrity. Consider the following:
- Spring mechanisms: These provide the necessary tension and flexibility for movement, allowing parts to return to their original position.
- Pivot points: Choose robust materials for pivot points, as they’ll bear the weight and stress of moving parts.
- Lightweight composites: Opt for materials like carbon fiber or fiberglass to keep the helmet light without sacrificing strength.
Designing Your Moving Parts
As you commence designing your moving parts, it is essential to prioritize functionality and ergonomics. Your mechanical design should account for user comfort while guaranteeing the parts operate seamlessly. Begin by sketching your ideas, drawing from artistic inspiration that resonates with your vision. Think about how each component interacts; for example, consider pivot points and the materials’ weight distribution. Use CAD software to visualize movements and test for potential friction or obstruction. Confirm that your designs allow for easy assembly and maintenance, promoting long-term usability. Remember, the goal is to create a helmet that not only protects but also empowers the wearer, blending practicality with creativity. Achieving this balance will enhance the overall experience of your innovative creation.
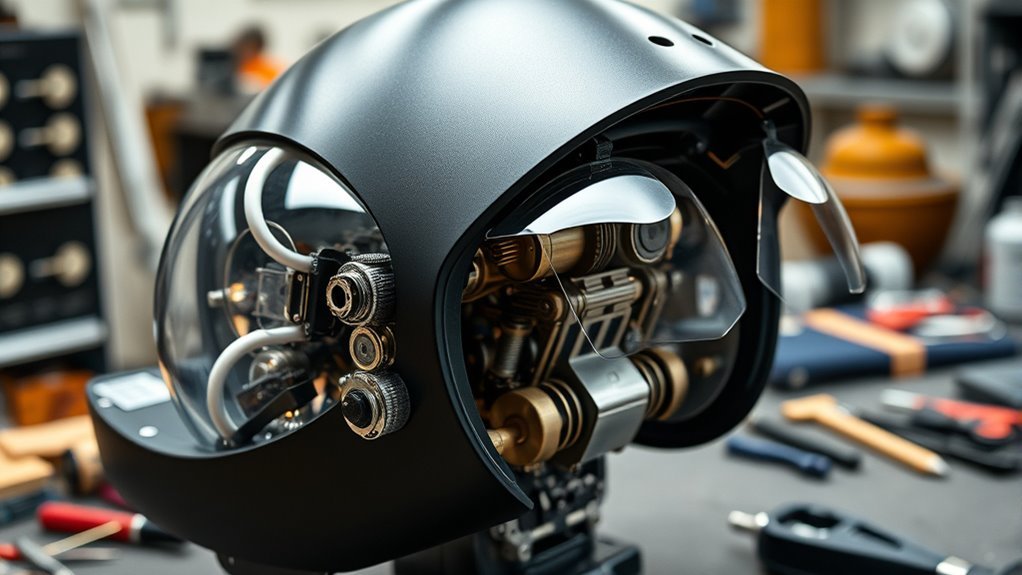
Integrating Mechanical Components
To effectively integrate mechanical components into your helmet design, you must confirm that each element works harmoniously within the overall system. This requires a solid understanding of mechanical engineering and adherence to key design principles. Here are some factors to evaluate:
- Component Compatibility: Ascertain parts fit and function together without friction or obstruction.
- Weight Distribution: Balance the helmet’s weight to avoid discomfort during use.
- Material Selection: Choose materials that offer both durability and flexibility, enhancing movement.
Testing and Adjusting Functionality
Although you may have designed a helmet with moving parts that appear functional, rigorous testing is essential to confirm that all components perform as intended under various conditions. Start with functionality testing by simulating different scenarios, such as rapid movements or impacts, to observe how the mechanisms respond. Pay attention to any stuttering or resistance in movement. Utilize adjustment techniques to fine-tune the components; this could involve modifying tension or alignment to enhance performance. Document each test meticulously, noting any issues that arise and how adjustments improve or hinder functionality. This iterative process not only confirms operational reliability but also bolsters your confidence in the helmet’s capabilities, allowing for a more liberating experience when wearing it.
Finishing Touches and Customization
As you complete your helmet project, consider the impact of paint and finish options on both aesthetics and durability. Incorporating LED lighting can enhance visibility and add a modern touch, while custom decals and designs allow for personal expression. Each of these elements not only contributes to the helmet’s overall appeal but also reflects your unique style and purpose.
Paint and Finish Options
When customizing your helmet, selecting the right paint and finish options is essential, as these choices not only enhance aesthetics but also impact durability and functionality. Consider the following elements when making your decision:
- Spray Techniques: Use various spray techniques for a smooth, even finish.
- Color Combinations: Experiment with bold color combinations to create a unique look.
- Protective Coatings: Apply a protective clear coat to safeguard against wear and tear.
Adding LED Lighting
Integrating LED lighting into your helmet not only elevates its visual appeal but also enhances safety by improving visibility in low-light conditions. When planning your LED placement, consider aligning the lights along the edges for maximum visibility. The power source can be a compact rechargeable battery tucked inside the helmet.
Here’s a quick reference table to help you decide on your setup:
| LED Placement | Power Source Type | Advantages |
|---|---|---|
| Front | Rechargeable Battery | Increased visibility |
| Sides | Battery Pack | Enhanced aesthetics |
| Rear | Solar Panel | Eco-friendly option |
Custom Decals and Designs
Custom decals and designs can greatly transform your helmet, allowing for personalization that reflects your style and identity. To achieve the best results in your decal application, consider the following:
- Choose custom graphics that resonate with your personality or interests.
- Select high-quality materials that withstand wear and tear, guaranteeing longevity.
- Plan your layout strategically to maximize visual impact and coherence.
As you apply the decals, take your time to confirm proper adhesion and positioning. This not only enhances the aesthetics but also maintains the integrity of the helmet’s structure. Remember, your helmet is a canvas—embrace the freedom to express yourself with unique designs that make a statement while keeping you safe on your adventures.
Frequently Asked Questions
Can I Use Recycled Materials for My Helmet Project?
Absolutely, you can use recycled materials for your helmet project! Incorporating items like plastic bottles or old foam can enhance your helmet design while being environmentally friendly. Just guarantee the materials provide adequate protection and stability. Consider how they’ll support any moving parts you want to include. By creatively repurposing these materials, you not only save costs but also contribute to sustainability, allowing you the freedom to innovate in your design.
How Do I Ensure Safety While Using Power Tools?
When you’re handling power tools, think of it like wielding a lightsaber—safety’s your top priority. Always wear safety gear, including goggles, gloves, and ear protection. Ascertain your workspace is clear and well-lit to avoid accidents. Familiarize yourself with each tool’s operation before use, practicing proper tool handling techniques. Maintain focus, and don’t rush; precision is key. Remember, taking these precautions lets you express your creativity while keeping safety in mind.
What Is the Best Way to Paint My Helmet?
To paint your helmet effectively, consider using spray paint or acrylic paint, as these paint types adhere well and offer vibrant colors. For helmet painting techniques, start with a clean surface, apply a primer, and use light coats to avoid drips. You might also try stencils for detailed designs. Allow each coat to dry completely before adding another layer, ensuring a smooth, durable finish that reflects your personal style and freedom of expression.
Can I Add Lights or Electronics to My Helmet?
Yes, you can definitely add lights or electronics to your helmet. For LED integration, start by planning your circuit design carefully. Make certain you’ve got a power source, like a battery, that’s compact yet powerful enough. Use lightweight materials to avoid adding bulk. Consider waterproofing your components to protect them from the elements. With a bit of creativity and technical know-how, you can make your helmet not just functional but visually striking too.
How Do I Properly Clean and Maintain My Helmet?
To properly clean and maintain your helmet, start with gentle soap and warm water for the outer shell, avoiding harsh chemicals. Regularly inspect the padding for signs of wear and replace it if necessary. For visor care, use a microfiber cloth to prevent scratches. Don’t forget to dry it thoroughly after cleaning, as moisture can lead to mold. Following these helmet cleaning and maintenance tips guarantees longevity and safety during your rides.