How to Fix Common Helmet Painting Mistakes
To fix common helmet painting mistakes, start by evaluating the damage. Sand any heavy spray areas to create a smoother surface. Make sure your helmet is clean and dry before applying more paint, using thin, even coats to avoid drips. If you notice color mismatches, blend new paint with existing layers using feathering techniques. Allow plenty of drying time and finish with a clear coat for protection. Want to know more about enhancing your helmet finish?
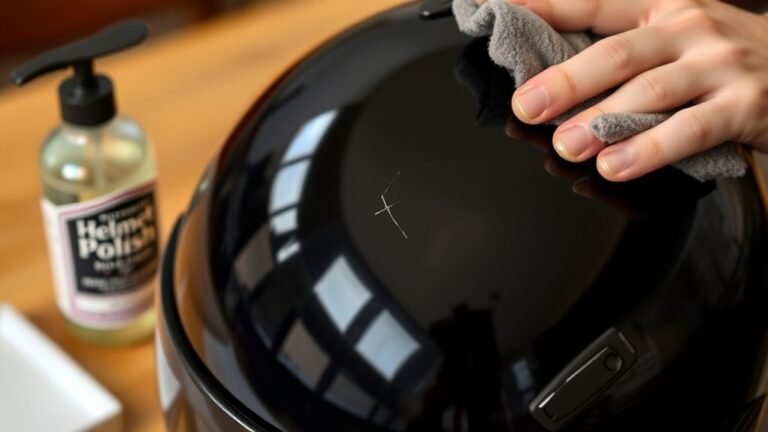
Assessing the Damage: Identifying Common Mistakes
When painting a helmet, you might encounter several common mistakes that can compromise your design. Proper mistake identification is essential for ensuring your artwork stands out. First, conduct a thorough paint assessment—look for uneven surfaces, drips, or misaligned designs. These issues can greatly detract from the overall aesthetic. Pay attention to the color consistency; any patchiness might indicate poor application or inadequate drying. Don’t overlook the importance of primer; if it’s absent or improperly applied, your paint won’t adhere well. Finally, check for dust or debris embedded in the finish, which can ruin the smoothness of your design. By pinpointing these mistakes early, you can take the necessary steps toward achieving the freedom of a flawless helmet paint job.
Fixing Heavy Spray Paint Application
Heavy spray paint application can lead to an undesirable finish, often characterized by runs, drips, or an overall thick appearance. To fix these texture issues and reduce heavy coverage, follow these steps:
- Strip the Paint: Use a paint stripper to remove the heavy layers, ensuring you wear protective gear.
- Sand the Surface: Gently sand the affected areas with fine-grit sandpaper, smoothing out the drips and uneven textures.
- Reapply Paint: Once the surface is clean and smooth, reapply paint in light, even coats. Aim for multiple thin layers instead of one heavy coat.
This approach not only corrects the errors but also restores the helmet’s aesthetic and functionality, allowing for a professional finish you’ll be proud of.
Achieving an Even Finish: Techniques for a Smooth Look
To achieve an even finish on your helmet, proper surface preparation is essential; it sets the stage for ideal paint adhesion. Using the right spray techniques can greatly enhance coverage, while applying multiple thin coats helps prevent runs and drips. By focusing on these elements, you’ll guarantee a smooth, professional-looking result.
Surface Preparation Importance
Although it might seem like a minor step, proper surface preparation is essential for achieving an even finish when painting your helmet. Without it, you’ll struggle with paint adhesion and risk surface contaminants ruining your hard work. To guarantee a flawless application, follow these steps:
- Clean the Surface: Use a degreaser to remove dust, oils, and grime that can interfere with paint adhesion.
- Sand the Helmet: Lightly sand the surface to create a rough texture, allowing the paint to bond better.
- Wipe Down Again: After sanding, wipe the surface with a lint-free cloth to eliminate any remaining particles.
Proper Spray Techniques
After confirming your helmet’s surface is clean and prepared, the next step is mastering proper spray techniques to achieve a smooth, even finish. Start by maintaining the correct spray distance—typically around 6 to 12 inches from the surface. This distance helps you avoid drips and uneven patches. Adjust the nozzle to control the spray pattern; a wider pattern is ideal for larger areas, while a narrow one allows for precision in detailed spots. Keep the canister moving in steady, even strokes, overlapping each pass by about 50% to guarantee uniform coverage. Don’t rush it; patience is key to achieving that professional look. With these techniques, you’ll enhance your helmet’s appearance and showcase your personal style with freedom.
Multiple Thin Coats
While you might be tempted to apply a single thick coat of paint for quicker results, using multiple thin coats is crucial for achieving a smooth, even finish on your helmet. Here are some thin coat techniques that highlight the multiple layer benefits:
- Preparation: Start with a well-prepped surface; clean and sand the helmet for better adhesion.
- Application: Hold the spray can about 6-10 inches away, applying light, even strokes to avoid drips.
- Curing: Allow each coat to dry fully before applying the next; this guarantees proper bonding and a flawless look.
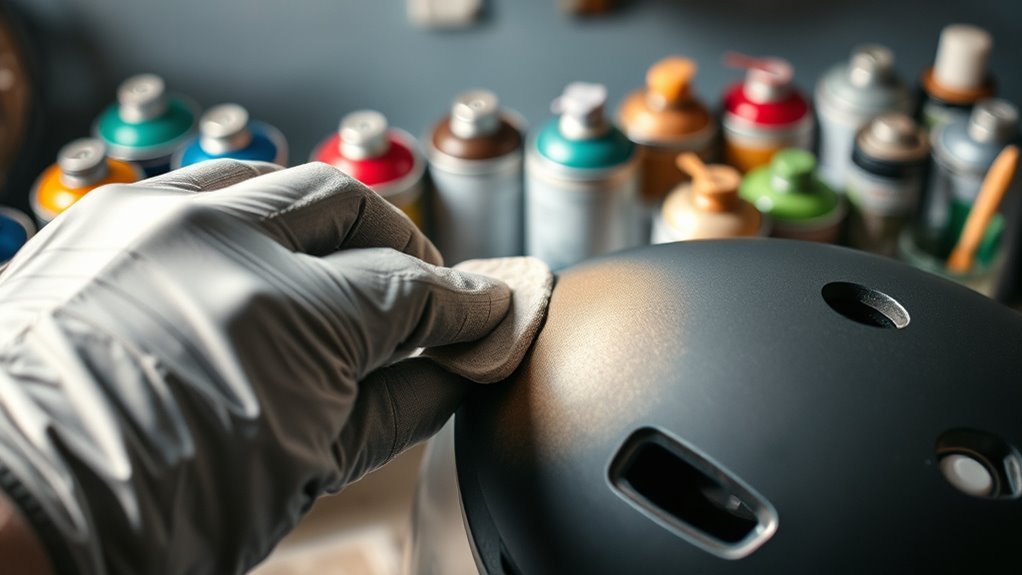
Proper Surface Preparation: Cleaning and Sanding
Before diving into the painting process, it’s crucial to guarantee your helmet’s surface is properly prepared. Start with thorough surface cleaning; use a mild detergent mixed with water to remove dirt and oils. Rinse well and let it dry completely. This guarantees that paint adheres effectively. Next, employ sanding techniques to create a smooth, even surface. Use fine-grit sandpaper (around 400-grit) to gently scuff the helmet’s exterior, removing any gloss and imperfections. Sand in circular motions to avoid creating deep scratches. After sanding, clean the helmet again to eliminate dust particles. This meticulous preparation will help you achieve a flawless finish, giving your helmet the freedom to shine with your personal touch and style.
Addressing Drips and Runs in Paint
Drips and runs in paint can occur due to various factors, including improper application techniques or using paint that’s too thick. To achieve a smooth finish, it’s essential to understand effective smoothing techniques that can rectify these imperfections. Let’s explore how to identify the common causes and apply the right methods for correction.
Common Causes of Drips
When painting a helmet, it’s essential to understand that drips can occur for several reasons, often stemming from improper application techniques or environmental factors. To achieve effective drip prevention, consider these common causes:
- Inconsistent Paint Consistency: If the paint’s too thick, it won’t level out properly, leading to drips.
- Excessive Overlap: Applying too much paint in one area can result in pooling, which turns into drips as it dries.
- Humidity and Temperature: High humidity or low temperatures can affect the drying process, causing paint to run.
Effective Smoothing Techniques
Although addressing drips and runs in paint can seem intimidating, applying effective smoothing techniques can restore your helmet’s finish. Start by using proper smoothing tools, like fine-grit sandpaper or a sanding block, to gently level the drip. Sand in a circular motion, ensuring you maintain an even pressure to avoid further damage. After smoothing, clean the area thoroughly to remove dust. For blending techniques, consider using a spray can for touch-ups—hold it at a distance to achieve a soft mist that seamlessly merges with the existing paint. Finally, allow the paint to cure completely before applying a clear coat, which will enhance the finish and protect your hard work.
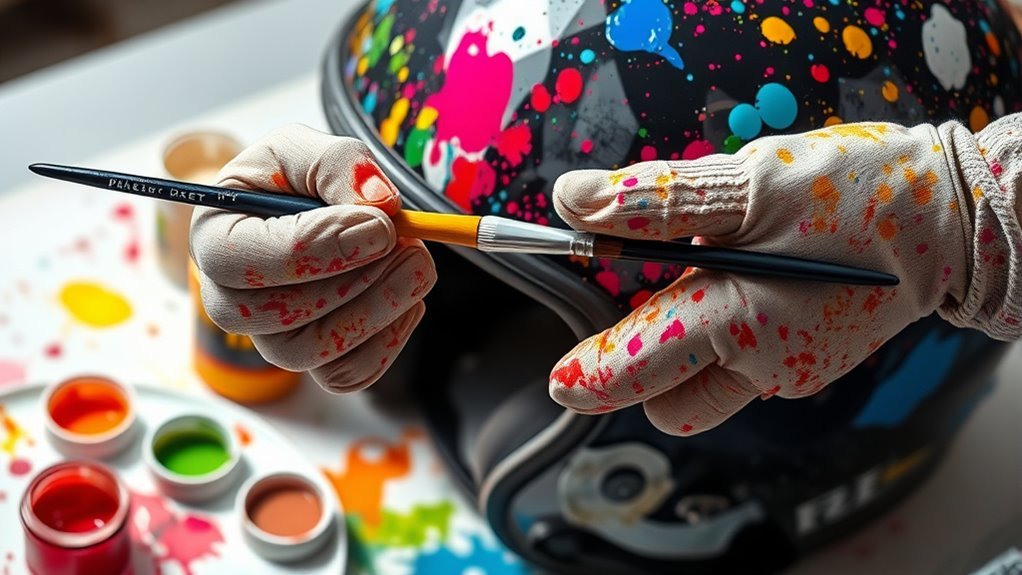
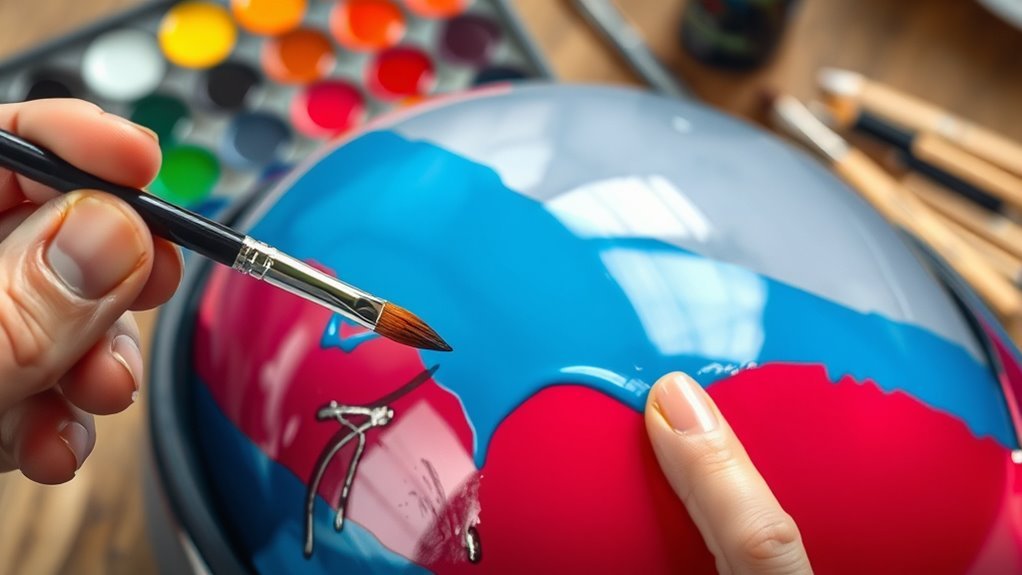
Correcting Color Mismatches: Blending and Touch-Ups
To effectively correct color mismatches on your helmet, you’ll need to focus on blending and touch-ups that seamlessly integrate the repaired areas with the existing paint. Utilizing color theory and blending techniques will help achieve a harmonious look. Follow these steps:
- Select the Right Paint: Match the base color as closely as possible, considering the undertones.
- Layering Technique: Apply thin layers of paint, gradually building up to the desired opacity while allowing each layer to dry.
- Feathering Edges: Use a fine brush to carefully feather the edges of the new paint into the old, creating a smooth connection.
Sealing Your Work: Choosing the Right Clear Coat
As you complete your helmet painting project, selecting the right clear coat is crucial for protecting your work and enhancing its appearance. You’ll find various clear coat options—spray, brush-on, or wipe-on—each offering unique benefits. For ideal finish durability, consider using an automotive-grade clear coat, as it’s designed to withstand harsh conditions. Make sure to assess the compatibility with your paint type to avoid issues like peeling or bubbling. A high-gloss finish can amplify colors, while a matte finish provides a more understated look. Before applying, verify your painted surface is clean and dry to achieve maximum adhesion. Finally, apply multiple thin coats rather than one thick layer to guarantee an even, long-lasting finish that keeps your helmet looking sharp.
Preventing Future Mistakes: Tips for a Successful Paint Job
After sealing your helmet with the right clear coat, it’s time to focus on preventing future mistakes during your painting process. To achieve a flawless finish, keep these tips in mind:
- Color Selection: Choose colors that complement each other. Test swatches on a small area before committing to the entire helmet.
- Paint Types: Use high-quality paint designed for plastic or fiberglass surfaces. This guarantees adhesion and durability, preventing peeling or fading.
- Environment: Paint in a well-ventilated area with controlled temperature and humidity. This reduces the risk of dust settling and helps the paint cure properly.
Final Touches: Adding Personalization Without Overdoing It
How can you add a personal touch to your helmet without overwhelming its design? Start by choosing custom decals that reflect your personality while maintaining a cohesive look. Opt for designs that complement rather than clash with your base colors. Consider using subtle accents—like pinstriping or small logos—along the edges or back of the helmet. These details can enhance the overall aesthetic without taking center stage. Balance is key; too many personal touches can distract from the helmet’s original design. Remember to use high-quality materials for durability and to guarantee a professional finish. Finally, step back and assess your work; simplicity often speaks louder than complexity in customization. This way, your helmet stays true to you while looking sleek and polished.
Frequently Asked Questions
Can I Paint a Helmet With Regular Spray Paint?
Yes, you can paint a helmet with regular spray paint, but it’s risky. For instance, if you paint your helmet with standard spray paint, you might compromise its structural integrity, impacting helmet safety. The paint can interfere with the materials, leading to potential failures during impact. It’s best to use paint specifically designed for helmets, ensuring durability and safety while allowing you to express your style without risking your protection.
How Long Should I Wait Before Applying a Clear Coat?
You should wait at least 24 hours after your base coat has dried before applying a clear coat. This drying time guarantees the paint adheres properly and minimizes the risk of smudging or bubbling. If you’re in a humid environment, consider extending the wait to 48 hours. Always check the manufacturer’s instructions for specific recommendations, as they can vary. Taking your time here will lead to a more durable and professional-looking finish.
Is It Safe to Paint a Helmet Used for Safety?
It’s not safe to paint a helmet used for safety. When you apply paint, you risk compromising the helmet’s structural integrity. Paint effects might look great, but they can hide cracks or weaken materials, which is critical when protecting your head. Instead, consider using specifically designed helmet-safe products that won’t interfere with its safety features. Remember, your freedom rides on the reliability of your gear—don’t let aesthetics jeopardize that!
What Tools Do I Need for Helmet Painting?
You’ll need several tools for helmet painting. Start with sandpaper for proper helmet preparation, ensuring a smooth surface. Choose paint types suitable for plastic or fiberglass, like acrylic or spray paint. A primer can enhance adhesion, while clear coats protect your design. Use painter’s tape for clean lines, and don’t forget a respirator and gloves for safety. Finally, have a soft cloth handy to wipe down the helmet before you begin.
How Do I Remove Old Paint From a Helmet?
To remove old paint from a helmet, you’ll need to employ effective paint removal techniques. Start with a gentle adhesive remover or isopropyl alcohol, applying it with a soft cloth. Scrub lightly, avoiding damage to the helmet surface. For stubborn spots, consider using fine-grit sandpaper, but remember to be cautious. Always prioritize helmet care tips to maintain integrity. Ironically, the more you want freedom in design, the more careful you must be with your helmet.
References
- https://www.wikihow.com/Fix-Painting-Mistakes
- https://www.artistsnetwork.com/art-techniques/mistakes-in-painting-and-how-to-fix-them/
- https://www.hgtv.com/how-to/how-to-fix-painting-mistakes
- https://www.ussport.org/
- https://www.nsf.gov/news/special_reports/fixit/
- https://www.arts.gov/
- https://www.pbs.org/wgbh/americanexperience/features/edison-fixing-mistakes/
- https://www.cdc.gov/niosh/topics/paints/default.html