How to Seal and Paint a 3D Printed Helmet
To seal and paint your 3D printed helmet, gather high-quality sealants, sandpaper, primer, and paint. Clean the helmet, fill imperfections, and sand it smooth. Choose a suitable sealant like epoxy or polyurethane, then apply it evenly. Prime the surface for better paint adherence, and select your desired paint finish. Consider adding textures or decals for unique flair. Finally, seal your paint with a clear coat. You’ll discover more techniques for creating that professional finish as you continue.
Gather Your Materials
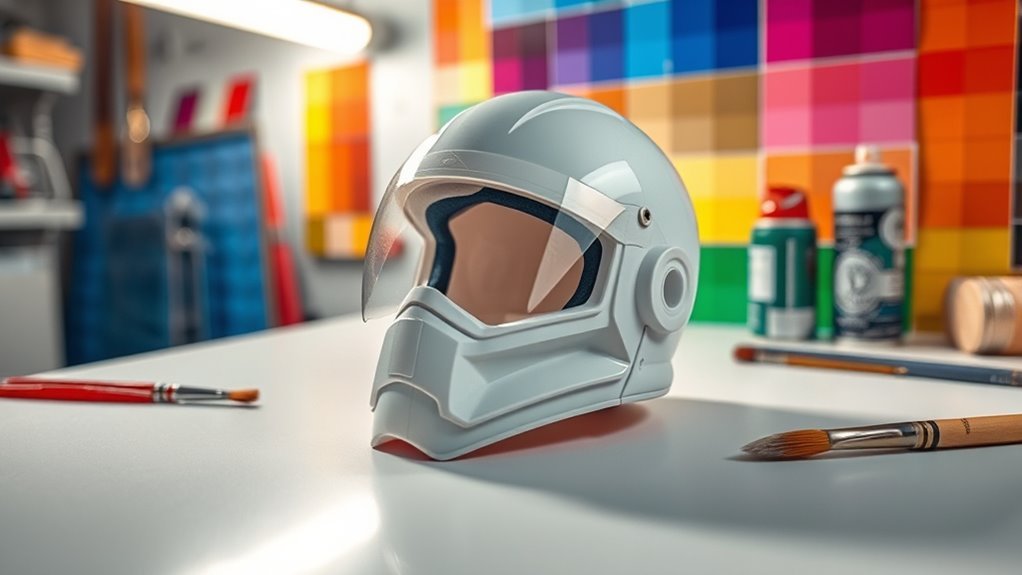
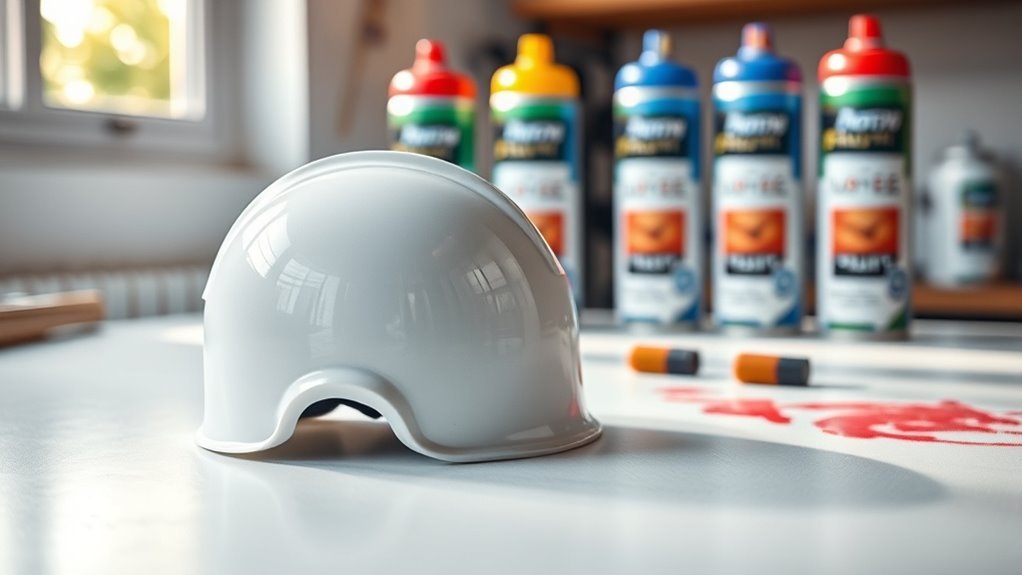
To get started on sealing and painting your 3D printed helmet, you’ll need a few essential materials. First, grab a high-quality sealant; this helps protect your helmet design from moisture and damage. Next, pick up sandpaper in various grits to smooth out any imperfections left from the 3D printing process. You’ll also want primer to create an even surface for your paint. Don’t forget acrylic or spray paint in your desired colors to bring your vision to life. Finally, gather brushes or sponges for application, along with a clear coat for a polished finish. With these materials in hand, you’re ready to elevate your 3D printed helmet into a stunning piece of wearable art that expresses your individuality.
Prepare the 3D Printed Helmet
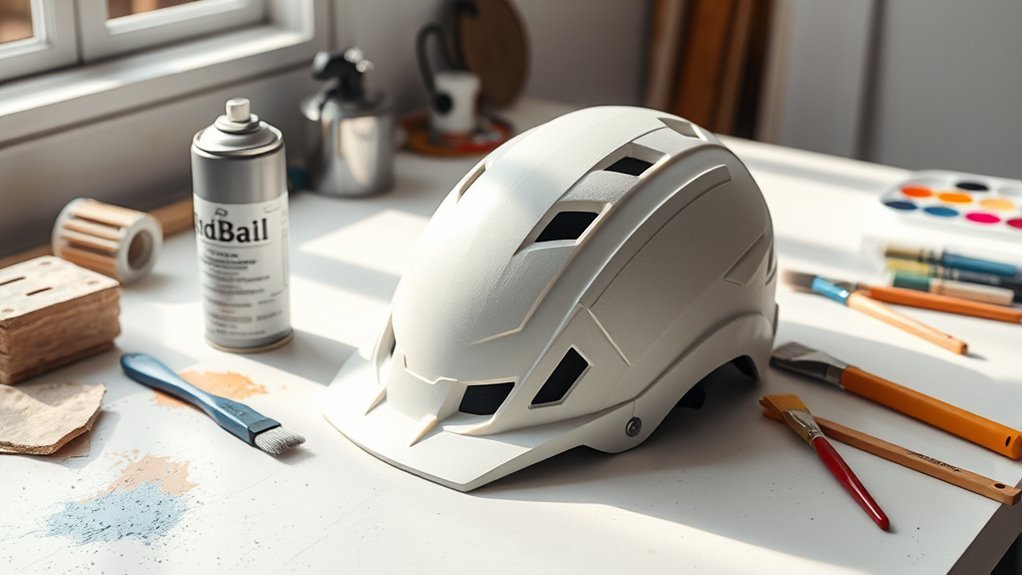
Before you start painting, you need to prepare your 3D printed helmet properly. Clean the surface to remove any dust or oils, then fill in any gaps and imperfections with a suitable filler. Finally, sand down the surface for a smooth finish that’ll make your paint application flawless.
Surface Cleaning Techniques
While you might be enthusiastic to plunge into painting your 3D printed helmet, it’s crucial to start with proper surface cleaning techniques to guarantee the best results. Different surface cleaning methods can remove dust, oils, and residues from the print process. Here’s a quick reference table for effective cleaning materials:
| Surface Cleaning Method | Cleaning Material | Usage Tips |
|---|---|---|
| Rubbing Alcohol | Isopropyl alcohol | Wipe down surfaces |
| Soap and Water | Mild dish soap | Scrub with a soft sponge |
| Compressed Air | Air canister | Blow dust out |
| Acetone | Pure acetone | Use sparingly on ABS |
| Soft Cloth | Microfiber cloth | Buff to a shine |
Implement these techniques, and you’ll set yourself up for a flawless paint job!
Filling Gaps and Imperfections
After ensuring your 3D printed helmet is clean and free of contaminants, the next step is to address any gaps and imperfections in the surface. For effective gap filling, use a high-quality epoxy or polyester resin, which you can easily apply with a small spatula or brush. Focus on areas where the print has left noticeable voids. For imperfection correction, consider using spot putty or filler specifically designed for plastics; this will help create a smoother surface. Apply the filler in thin layers, allowing it to cure fully between applications. Once you’ve achieved a level surface, you’ll be primed and ready for the next steps in your sealing and painting process, revealing the true potential of your helmet.
Sanding for Smooth Finish
To achieve a smooth finish on your 3D printed helmet, you’ll want to sand the surface carefully, ensuring any remaining imperfections are eliminated. Start with coarse grit sandpaper to tackle larger flaws, then gradually switch to finer grits for a polished look. Different sanding techniques, like wet sanding, can help minimize dust and enhance the finish. For a sanding tools comparison, consider using a sanding block for flat surfaces or a rotary tool for intricate areas. Each tool has its strengths, so choose based on your helmet’s design. Remember, patience is key; take your time sanding to get that flawless finish you desire before moving on to sealing and painting. Happy sanding!
Choose the Right Sealing Method
Choosing the right sealing method for your 3D printed helmet is essential, as it directly impacts both the durability and finish of your paint job. You’ve got various sealing material options to evaluate, each with its own advantages. Here are three different sealing methods you might want to explore:
- Epoxy Resin: Provides a strong, waterproof seal and enhances detail.
- Spray Sealants: Easy to apply with even coverage, but may require multiple coats for full sealing.
- PVA Glue: A cost-effective option that offers decent sealing while being easy to sand.
Each method has its pros and cons, so think about what fits your project best. Your choice will ultimately influence how your helmet turns out, so choose wisely!
Apply the Sealant
Now that you’ve chosen the right sealing method, it’s time to select an appropriate sealant for your helmet. Consider factors like durability and finish to guarantee maximum protection. Next, we’ll explore effective application techniques to achieve a smooth, even coat.
Choose Appropriate Sealant
When applying a sealant to your 3D printed helmet, it’s essential to select one that not only adheres well to the material but also provides the desired finish. Different sealant types offer various benefits, so you’ll want to choose wisely. Here are three options to evaluate:
- Epoxy Sealants: Ideal for maximum strength and durability, they bond well to many plastics.
- Acrylic Sealants: These are great for flexibility and easy cleanup, providing a smooth finish.
- Polyurethane Sealants: Perfect for outdoor use, they offer excellent weather resistance.
Make sure to follow application tips such as working in a well-ventilated area and applying thin layers for the best results. Your helmet deserves the best protection and appearance!
Application Techniques Explained
Applying your chosen sealant requires precision for ideal results. Start by prepping your workspace: make sure it’s well-ventilated and protected from overspray. Use light, even strokes when applying the sealant, whether you’re using a brush or spray painting. For spray application techniques, hold the can about 6-12 inches away from the surface to avoid drips. Move in a steady side-to-side motion, overlapping each pass slightly for uniform coverage. Allow each layer to dry fully before adding another, which can take anywhere from 15 minutes to a few hours, depending on your sealant. Don’t rush the process; patience is key. Once sealed, your helmet will be ready for a stunning paint job that showcases your creativity and freedom of expression.
Sanding for a Smooth Finish
Sanding is essential for achieving a smooth finish on your 3D printed helmet, and several key steps can make a significant difference. Mastering effective sanding techniques will elevate your project, so follow these steps:
- Start with Coarse Grit: Use 80-120 grit sandpaper to remove any obvious imperfections and layer lines.
- Progress to Medium Grit: Move to 220-320 grit to smooth out the surface further, ensuring you’re not creating new scratches.
- Finish with Fine Grit: Finally, use 400-600 grit for a silky-smooth finish, preparing it for sealing and painting.
Selecting Paint for Your Helmet
Choosing the right paint for your helmet can make all the difference in both appearance and durability. Start by considering your desired paint finishes—matte, gloss, or satin can dramatically change your helmet’s vibe. A matte finish offers a stealthy look, while gloss adds vibrancy and depth.
Next, focus on color selection. Think about the statement you want to make; bold colors can express your personality, while more subdued tones might offer a sleek, professional look.
Don’t forget about the paint’s compatibility with your helmet material. Acrylic paints work well on most plastics, but make sure to check labels for any specific requirements. Ultimately, the right paint will not only enhance your helmet aesthetically but also protect it for the adventures ahead.
Priming the Surface
Before you plunge into painting your 3D printed helmet, priming the surface is essential for achieving a smooth and durable finish. Proper priming techniques will set you up for success. Here are three key steps to take into account:
- Choose the Right Primer Type: Select a primer compatible with your helmet material—acrylic, spray, or epoxy primers can work wonders.
- Surface Preparation: Clean the helmet thoroughly to remove dust and oils. This guarantees peak adhesion.
- Application Method: Use even strokes when applying primer. A spray can often provide a more uniform layer compared to a brush.
Following these steps not only enhances the paint’s adherence but also elevates your helmet’s overall appearance. Enjoy the process of customizing your creation!
Painting Techniques for Best Results
To achieve a professional finish on your 3D printed helmet, understanding surface preparation steps is vital. You’ll also want to compare paint types to find the best fit for your project and learn effective sealing techniques to protect your work. Let’s explore these essential aspects to guarantee your helmet stands out.
Surface Preparation Steps
Proper surface preparation is essential for achieving the best results when painting your 3D printed helmet. Taking the time to enhance the surface texture and print quality can make a significant difference. Here are three key steps to follow:
- Sanding: Start with sandpaper (around 120-220 grit) to smooth out any rough areas. This helps create a uniform surface.
- Filling: Use a filler primer or epoxy to fill in any gaps or imperfections. This will enhance the overall appearance and durability.
- Cleaning: Wipe the helmet down with isopropyl alcohol to remove dust and oils. A clean surface guarantees better paint adhesion.
Paint Types Comparison
When selecting the right paint for your 3D printed helmet, understanding the differences between paint types is essential for achieving a professional finish. Acrylic paints are water-based, offering vibrant colors and easy cleanup, but they may require more coats for full coverage. Enamel paints, on the other hand, are oil-based, providing a durable, glossy finish, though they can take longer to dry.
As for application methods, spray paints allow for smooth, even coverage, making them ideal for large areas, while brush application grants you precision for detailed work. Consider your project’s needs: if you’re after speed and uniformity, go spray; for intricate designs, choose brush. Each choice impacts the final look and durability, so choose wisely!
Sealing Techniques Explained
Although sealing your 3D printed helmet may seem like an afterthought, it’s vital for enhancing both appearance and durability. Proper sealing techniques guarantee your helmet withstands the test of time and environmental factors. Here are three effective sealing methods you can use:
- Epoxy Resin: This provides a strong, waterproof finish and excellent adhesion.
- Acrylic Spray Sealant: A quick-drying option that offers UV protection and a smooth finish.
- Polyurethane Coating: Perfect for flexibility and added durability, reducing wear and tear.
Choosing the right sealant types is fundamental. Each method serves different needs, so pick one that aligns with your desired finish and use case. Enjoy the freedom to customize your helmet while guaranteeing it lasts!
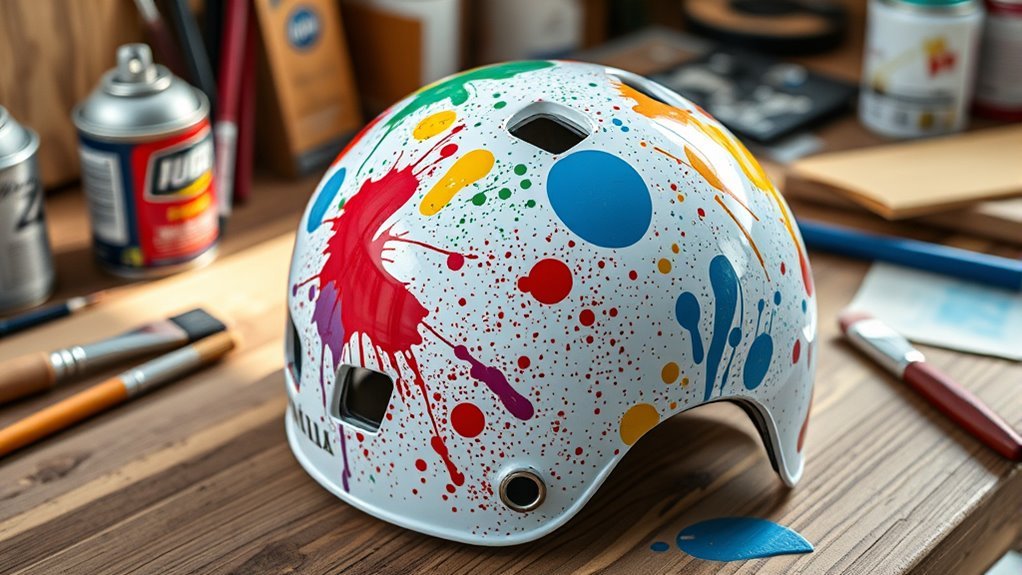
Adding Details and Finishing Touches
As you finalize your 3D printed helmet, adding details and finishing touches can elevate its overall appearance and authenticity. Start by enhancing colors with high-quality paints or airbrush techniques; this allows you to achieve depth and vibrancy. Next, consider adding textures to mimic real-world materials, like weathering effects or fabric patterns. Use sponges or brushes to apply subtle gradients and highlights, giving your helmet a more dynamic look. Don’t forget about decals or stencils to incorporate unique designs that resonate with your style. Adding small details like rivets or trims can also create a more intricate finish. These enhancements will transform your helmet from a simple print into a striking piece of art that stands out.
Final Sealing and Care Instructions
To guarantee your 3D printed helmet withstands time and wear, applying a final sealant is essential after painting. This final care step protects your hard work and guarantees durability. Here are some maintenance tips to keep your helmet looking fresh:
- Select the Right Sealant – Use a clear acrylic or polyurethane spray suitable for your paint type.
- Apply Even Coats – Spray in light layers, allowing each to dry completely before adding another, guaranteeing a smooth finish.
- Store Properly – Keep your helmet in a cool, dry place, away from direct sunlight and moisture to prevent fading and warping.
Frequently Asked Questions
Can I Use Regular Spray Paint on My Helmet?
You can use regular spray paint on your helmet, but it’s essential to take into account the helmet materials. Not all paints adhere well or are compatible with the plastic or resin typically used in 3D printing. For best results, opt for paints designed specifically for plastics, as they’ll provide better adhesion and durability. Always test on a small area first to verify you won’t damage the surface. Happy painting!
How Long Does the Sealant Take to Dry?
Sealant drying times can vary, but generally, you’re looking at about 30 minutes to an hour for the surface to feel dry. Think of it like waiting for a loaf of bread to rise; patience is key! If you rush it, you might end up with uneven coverage or smudging. For best results, let it cure for 24 hours before applying paint. So, take a moment, and let that sealant do its magic!
Is It Necessary to Sand Between Paint Layers?
Yes, it’s essential to sand between paint layers for ideal paint adhesion. Using proper sanding techniques, you can create a smoother surface that helps the next layer stick better. Start with a fine-grit sandpaper to avoid damaging the previous coat, then wipe away any dust before applying the next layer. This step might seem tedious, but it’s vital for achieving a professional finish and ensuring your helmet looks great and lasts longer.
What Type of Primer Works Best for Plastics?
For fantastic finishes, use spray primer options specifically designed for plastics. These primers enhance plastic adhesion, ensuring your paint adheres flawlessly. Look for products labeled as “plastic primer” or “flexible primer,” as they bond well and prevent peeling. You’ll want to apply a thin, even coat to avoid drips. Remember, prepping your surface properly can make a massive difference in the final look, giving your project that polished, professional appearance you’re after.
Can I Use a Heat Gun During the Process?
Yes, you can use a heat gun during the process, but you need to prioritize heat gun safety. Start on a low setting to avoid damaging your 3D print. Employ heat gun techniques like keeping it moving to distribute heat evenly, preventing warping. Always wear protective gear and work in a well-ventilated area. With careful handling, a heat gun can help smooth surfaces and enhance paint adhesion, giving you that polished look you desire.
References
- https://en.wikipedia.org/wiki/3D_printing
- https://www.thingiverse.com
- https://www.3dprintingmedia.network/3d-printing-painting-techniques/
- https://www.instructables.com/
- https://www.sciencedirect.com/topics/engineering/3d-printing
- https://www.makezine.com/projects/3d-printed-helmet/
- https://www.tinkercad.com/learn/3d-design
- https://www.americanart.si.edu/exhibitions/3d-printing-technology
- https://www.3dhubs.com/knowledge-base/3d-printing-finishing-techniques/