How to Clean Your Bike Helmet: A Step-by-Step Guide
Cleaning your bike helmet is essential for maintaining hygiene and ensuring its longevity. Regular cleaning prevents bacteria build-up, removes unpleasant odors, and ensures that the helmet remains in optimal condition for safety. By following a systematic approach, you can effectively clean your helmet, prolong its life, and ensure a safe riding experience.
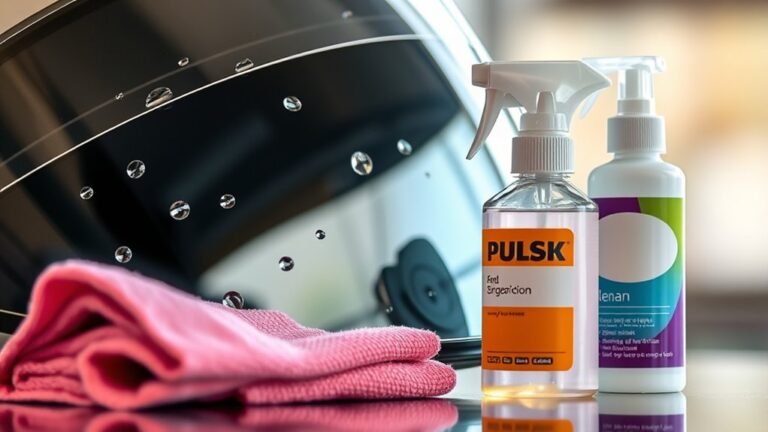
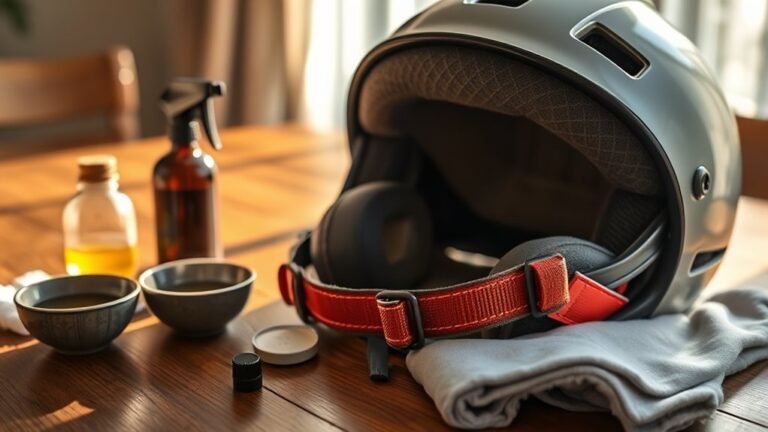
Gather Your Cleaning Supplies

Before you begin the cleaning process, it’s crucial to assemble the necessary supplies. This preparation will streamline the process and make it more efficient. You will need:
– Mild soap or helmet cleaner: Choose a gentle soap or a specialized helmet cleaner designed specifically for cycling helmets. Avoid harsh chemicals that can degrade materials.
– Soft cloth or sponge: A non-abrasive cloth or sponge is ideal for cleaning without scratching the helmet’s surface.
– Warm water: This helps to dissolve dirt and grime more effectively than cold water.
– Towel for drying: A clean, absorbent towel will aid in drying the helmet after washing.
Having these items at hand will help you tackle the cleaning process methodically, ensuring that every part of your helmet is addressed.
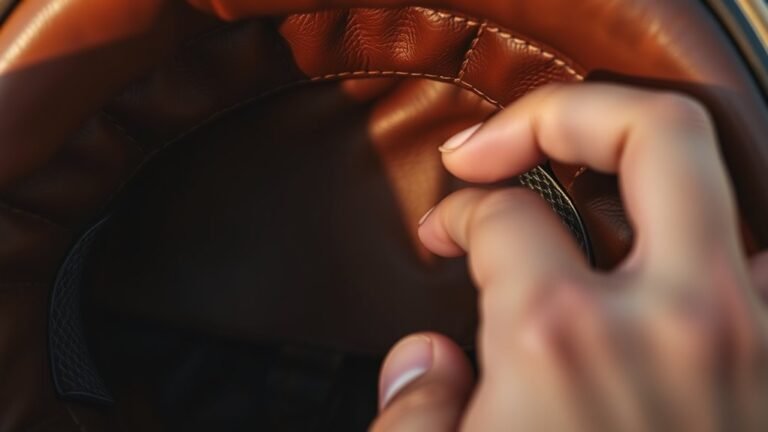
Remove the Interior Padding


The next step involves carefully removing the interior padding from your helmet. Most modern bike helmets come with removable padding, making this process straightforward.
– Carefully take out any removable padding: Gently detach the padding to avoid damaging the attachment points. This step allows you to clean the padding separately, ensuring a thorough clean.
– Check for any damage while removing the padding: As you remove the padding, inspect it for signs of wear and tear, such as fraying or loss of shape. If the padding is damaged, it may need to be replaced to maintain safety and comfort.
Removing the padding not only facilitates a more effective cleaning process but also allows you to assess the condition of the helmet components.
Clean the Exterior Shell
Once you have removed the padding, it’s time to focus on the exterior shell of the helmet. Ensuring that the outer surface is clean is important for both aesthetics and functionality.
– Use a soft cloth or sponge with warm, soapy water: Dampen your cloth or sponge in the soapy water and gently wipe down the entire surface of the helmet. Pay special attention to areas where dirt and debris tend to accumulate, such as vents and the chin strap.
– Avoid abrasive materials that could scratch the helmet surface: Using harsh scrubbers or abrasive pads can lead to scratches that compromise the helmet’s protective features. Stick to soft materials to maintain the integrity of the helmet.
Cleaning the exterior not only improves the look of your helmet but also ensures that any dirt that could potentially affect your riding experience is removed.
Wash the Interior Padding
With the exterior clean, it’s time to wash the interior padding. This step is crucial for removing sweat, oils, and odors that can build up over time.
– Hand wash the padding in warm soapy water: Submerge the padding in the warm, soapy water and gently agitate it. Avoid using a washing machine, as the agitation can distort the shape and integrity of the padding.
– Rinse thoroughly and ensure it is free of soap residue: After washing, rinse the padding under clean, running water. It’s important to remove all soap residues, as leftover soap can lead to skin irritation during future rides.
This process ensures that your padding remains comfortable and hygienic, providing the necessary support while riding.
Drying Your Helmet
Proper drying is essential to prevent moisture-related issues such as mold and mildew, which can compromise the helmet’s integrity.
– Use a towel to gently pat down the exterior and interior: After cleaning, take your towel and gently pat the surfaces to remove excess water. Avoid rubbing, as this can cause damage to the materials.
– Allow the helmet to air dry completely before reassembling: Place the helmet in a well-ventilated area to ensure that it dries thoroughly. Do not use heat sources such as hair dryers or radiators, as excessive heat can warp the helmet materials.
Ensuring your helmet is completely dry before reassembly is key to maintaining its longevity and performance.
Reassemble and Inspect
Once everything is dry, it’s time to put your helmet back together. This step is critical not only for functionality but also for safety.
– Carefully replace the interior padding once everything is dry: Reattach the padding according to the manufacturer’s instructions, ensuring that it fits snugly and securely.
– Conduct a thorough inspection for any wear and tear: As you reassemble, check the helmet for cracks, dents, or any other signs of damage. If you notice any issues, consider consulting the manufacturer or replacing the helmet.
Regular inspection during the reassembly process can prevent potential issues that could compromise your safety while riding.
Tips for Regular Maintenance
After cleaning your bike helmet, establishing a routine for regular maintenance is essential for keeping it in top shape.
– Clean your helmet after every few rides, especially in wet conditions: Regular cleaning prevents the buildup of dirt and grime, which can lead to unpleasant odors and affect comfort.
– Store the helmet in a cool, dry place to prevent mold growth: Keeping your helmet in a well-ventilated area away from direct sunlight can help preserve its materials and prevent moisture-related issues.
Incorporating these maintenance tips into your cycling routine will not only enhance hygiene but also prolong the life of your helmet.
Cleaning your bike helmet not only helps maintain a fresh look but also ensures safety during your rides. Regular upkeep can extend the life of your helmet, making it a critical aspect of cycling care. By following the steps outlined in this guide, you can ensure that your helmet remains clean, safe, and ready for your next adventure.
Frequently Asked Questions
How often should I clean my bike helmet?
You should clean your bike helmet regularly, ideally after every few rides, especially if you’ve been sweating heavily or riding in dusty conditions. Regular cleaning helps maintain hygiene and prolongs the life of the helmet. Additionally, inspect the helmet for any damage after cleaning to ensure it still meets safety standards.
What is the best way to clean the interior padding of a bike helmet?
The best way to clean the interior padding of a bike helmet is to remove the padding if possible, and wash it with mild soap and warm water. Avoid using harsh chemicals or submerging the entire helmet, as this can damage the foam and structural integrity. Allow the padding to air dry completely before reassembling it into the helmet.
Why is it important to clean my bike helmet regularly?
Regularly cleaning your bike helmet is important for both hygiene and safety. Dirt, sweat, and bacteria can accumulate over time, leading to unpleasant odors and potential skin irritations. Additionally, keeping your helmet clean helps ensure that it remains in good condition, allowing for optimal performance and protection while riding.
Which cleaning products are safe to use on a bike helmet?
Safe cleaning products for a bike helmet include mild dish soap mixed with water or specialized helmet cleaning sprays. It’s crucial to avoid abrasive cleaners, bleach, or alcohol-based products, as these can damage the helmet’s materials and affect its protective features. Always check the manufacturer’s cleaning instructions for specific product recommendations.
How should I dry my bike helmet after cleaning it?
After cleaning your bike helmet, you should allow it to air dry completely in a well-ventilated area, away from direct sunlight or heat sources that could warp the materials. Placing the helmet upside down can help drain any residual water and prevent moisture buildup inside. Ensuring the helmet is fully dry before using it again is essential for maintaining hygiene and safety.
References
- https://www.bicycling.com/repair/a20045423/how-to-clean-your-bike-helmet/
- https://www.cpsc.gov/safety-education/safety-guides/bicycles/bicycle-helmets
- https://www.healthline.com/health/how-to-clean-your-bike-helmet
- https://www.nbcnews.com/health/health-news/how-clean-your-bike-helmet-rcna35794
- https://www.rei.com/learn/expert-advice/bike-helmet.html
References
- https://www.bikeleague.org/content/how-clean-your-bike-helmet
- https://www.bicycling.com/repair/a20032580/how-to-clean-your-helmet/
- https://www.cpsc.gov/safety-education/safety-guides/bicycles/bicycle-helmet-safety
- https://www.nhtsa.gov/road-safety/bicycle-safety
- https://www.sportsrec.com/clean-bicycle-helmet-7985172.html
- https://www.bikes.org.au/cleaning-your-bike-helmet
- https://www.rideright.org/bike-safety-tips/bike-helmet-care/