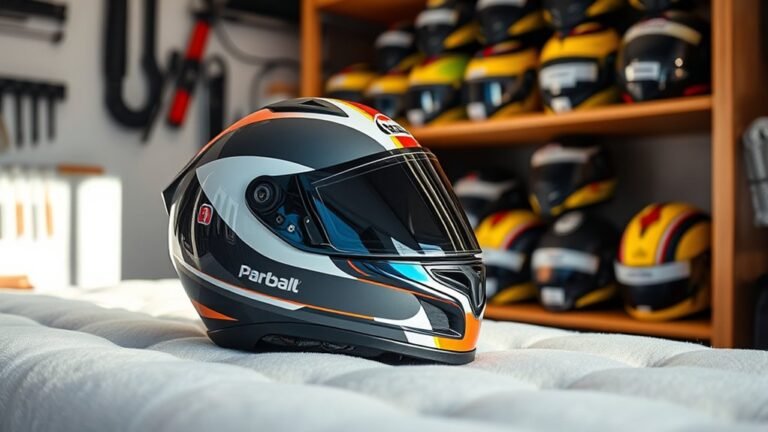
How to Restore a Faded Helmet Finish
To restore a faded helmet finish, start by evaluating its condition for scratches and UV damage. Clean it thoroughly with lukewarm water and a mild soap, and then dry it with a microfiber towel. Remove any scratches gently using a dedicated product or fine-grit sandpaper. Polish the surface using suitable helmet polish before applying a protective coating like clear urethane spray. These steps will enhance durability and appearance, and you’ll find more detailed guidance in the next sections.
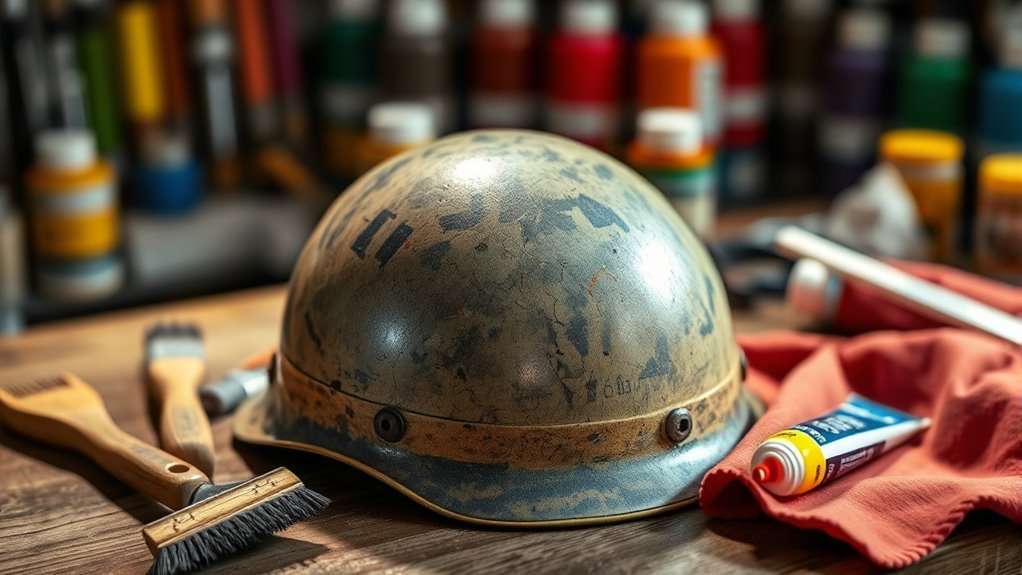
Assessing the Condition of Your Helmet
Before you engage in restoring your helmet, it’s crucial to assess its condition thoroughly. Start by examining the helmet materials; different types, like polycarbonate and fiberglass, react differently to fading. Look for signs of UV damage, which is one of the primary fade causes. Inspect for scratches, dents, or cracks that may compromise its integrity. Pay close attention to the color; if it appears dull or uneven, it’s likely time for restoration. Document any imperfections, as these will guide your restoration process. By understanding the extent of the fading and the condition of the materials, you’ll set yourself up for a successful restoration, ultimately safeguarding your freedom on the road.
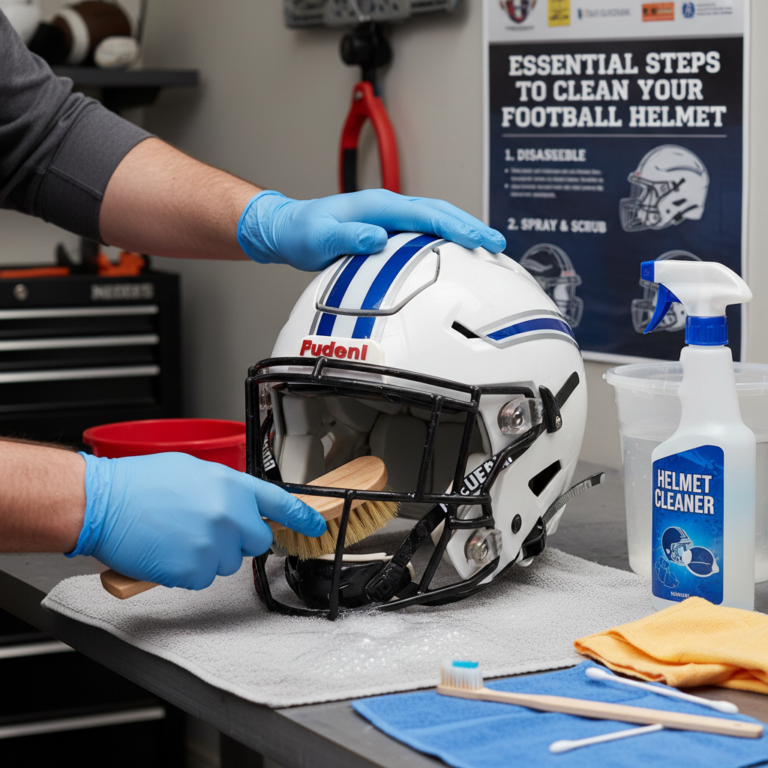
Cleaning Your Helmet Thoroughly
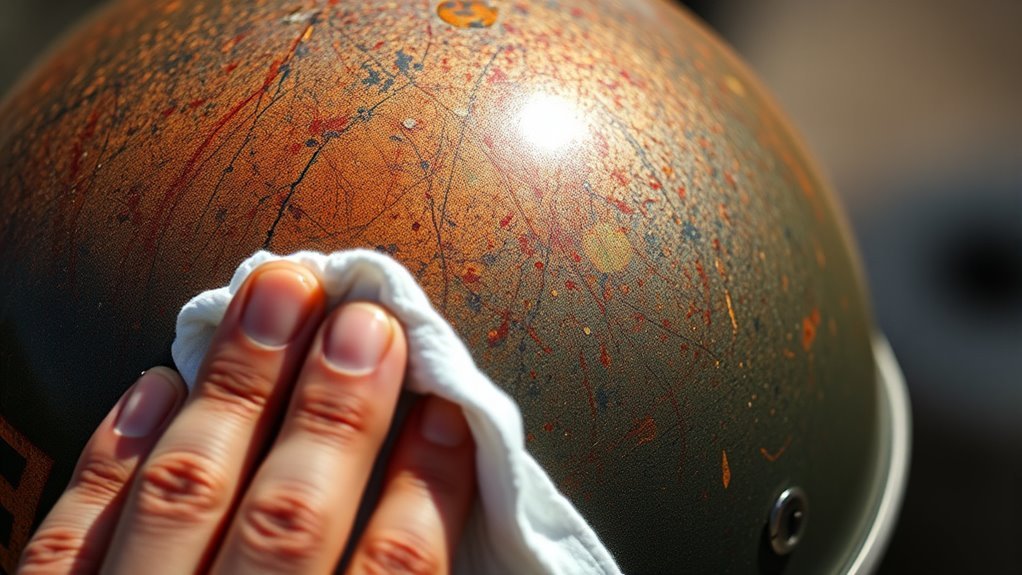
Cleaning your helmet thoroughly is essential for restoring its finish and ensuring its longevity. Follow these steps to effectively clean your helmet, taking care to use appropriate cleaning solutions for the specific helmet materials:
- Remove Accessories: Take off any visors, padding, or accessories to access all surfaces.
- Rinse with Water: Use lukewarm water to remove dirt and debris, preventing scratches.
- Apply Cleaning Solution: Choose a gentle soap or a specialized helmet cleaner. Apply it with a soft cloth to avoid damaging the materials.
- Dry Completely: Use a microfiber towel to dry your helmet, ensuring no moisture remains, which could lead to damage.
Removing Scratches and Scuffs
To effectively restore your helmet’s appearance, you’ll need to tackle any scratches and scuffs that mar its finish. Start with a dedicated scratch removal product, ensuring it’s compatible with your helmet’s material. Apply it gently with a soft cloth, using circular motions to buff out the scratch. For deeper scratches, consider using fine-grit sandpaper to gradually smooth the area, followed by a compound designed for plastic finishes.
Next, address scuffs with a scuff treatment solution; these are often effective for minor surface damage. Again, use a soft cloth and a gentle touch. Always test any product on a small, inconspicuous area first. Completing these steps will greatly enhance your helmet’s overall aesthetic, giving you that fresh, uninterrupted look you desire.
Polishing the Helmet Surface
To effectively polish your helmet surface, you need to choose the right polish specifically designed for the material. Once you’ve selected the appropriate product, apply it using a methodical technique to guarantee an even coat. Finally, buff the surface carefully to achieve a high shine without damaging the finish.
Choosing the Right Polish
When selecting a polish for your helmet, it’s essential to take into account the material and finish of the surface, as using the wrong product can lead to further damage. Here are some key factors to ponder when choosing from various polish types and brands:
- Material Compatibility: Confirm the polish is suitable for your helmet’s material—polycarbonate, fiberglass, or others.
- Finish Type: Determine if you need a glossy or matte finish polish based on your helmet’s original appearance.
- Brand Reputation: Opt for well-reviewed polish brands known for their quality and effectiveness.
- Application Method: Choose a polish that aligns with your preferred application style, whether it’s spray, cream, or liquid.
Application Techniques Explained
Although polishing a helmet surface may seem straightforward, employing the right application technique is essential for achieving ideal results without damaging the finish. Start by using a microfiber cloth, as it minimizes the risk of scratches. Apply a small amount of polish to the cloth, focusing on areas with the most oxidation. Use circular motions to evenly distribute the polish, ensuring you cover every inch of the surface. Avoid excessive pressure; let the polish do its work. For stubborn spots, consider reapplying a small amount and repeating the application technique. Rinse the cloth frequently to prevent residue buildup. By following these restoration methods and application techniques, you’ll enhance your helmet’s appearance while maintaining its integrity.
Buffing for Shine
Buffing your helmet surface is an essential step in restoring its shine and overall appearance. Proper buffing techniques can greatly enhance the shine and protect the helmet’s finish. Follow these steps to achieve ideal results:
- Choose the Right Pad: Select a soft, clean buffing pad suitable for your helmet material.
- Apply Polishing Compound: Use a quality polishing compound specifically designed for helmets.
- Buff in Circular Motions: Gently buff the surface using circular motions, ensuring even coverage without applying excessive pressure.
- Wipe Off Residue: After buffing, wipe off any excess compound with a microfiber cloth to reveal the enhanced shine.
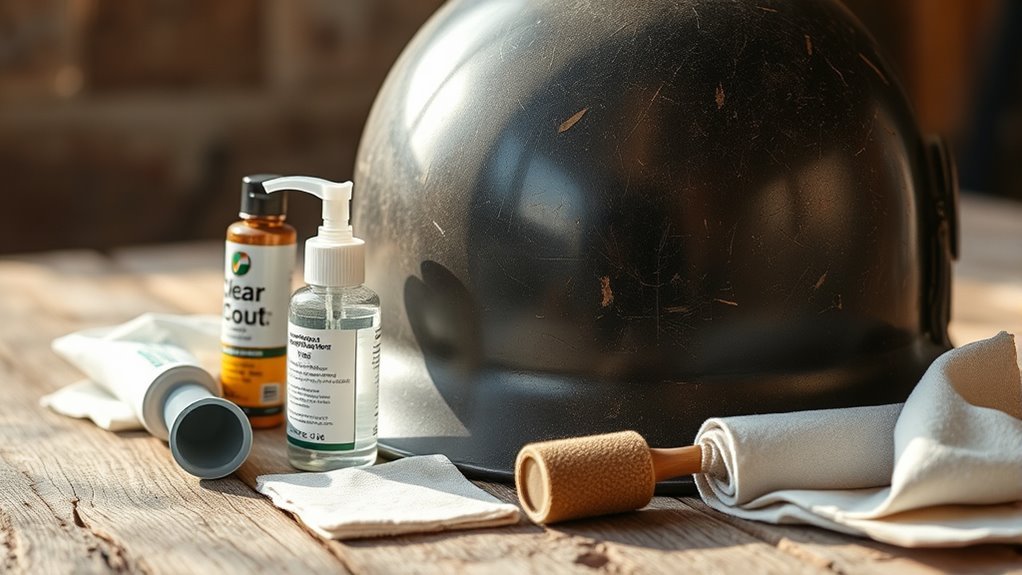
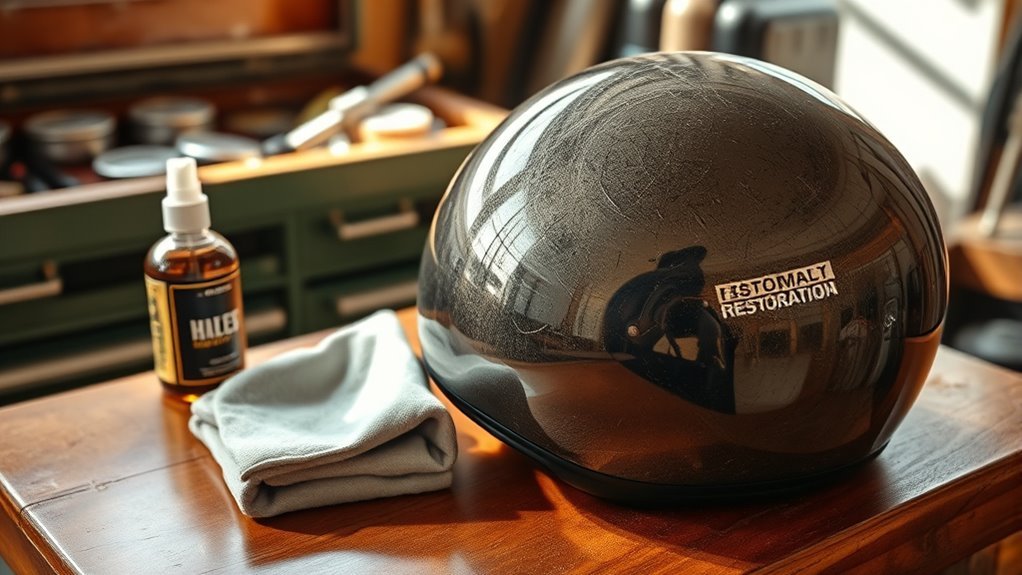
Applying a Protective Coating
To guarantee your helmet’s finish remains protected after restoration, applying a high-quality protective coating is crucial. Begin by selecting a suitable product, such as a clear urethane or acrylic spray, known for its durability and UV resistance. Make sure your helmet’s surface is clean and dry before application. Shake the canister thoroughly and hold it about 6-12 inches away from the surface. Apply in light, even coats, allowing each layer to dry completely before adding another. This process not only enhances the visual appeal but also greatly contributes to helmet longevity. Finish with a final coat for ideal protection. Remember, a well-applied protective coating can shield your helmet from environmental damage, making sure it stays vibrant and intact for years to come.
Restoring Faded Graphics and Colors
To restore faded graphics and colors on your helmet, start by thoroughly cleaning the surface to remove any dirt or debris. Once it’s clean, you’ll apply a color restorer designed for the specific material of your helmet to rejuvenate the graphics. Finally, seal the restored areas with a clear coat to protect the finish and enhance durability.
Cleaning the Helmet Surface
Although restoring faded graphics and colors on your helmet can seem challenging, a systematic approach to cleaning the surface makes a significant difference. Start by ensuring you use appropriate methods for the helmet materials to prevent damage. Follow these steps for effective cleaning:
- Remove debris: Gently brush off dirt and dust with a soft cloth or brush.
- Wash: Use warm water mixed with a mild soap to clean the surface, avoiding harsh chemicals.
- Dry: Pat the helmet dry with a microfiber cloth to avoid scratches.
- Apply surface protection: Use a suitable wax or sealant to shield the helmet from future fading.
This method not only enhances appearance but also prolongs the life of your helmet’s graphics.
Applying Color Restorer
Once the helmet surface has been thoroughly cleaned and dried, the focus shifts to restoring the faded graphics and colors. Begin by selecting a color restorer that closely matches the original hue; color matching is essential for a seamless finish. Apply the restorer in small, controlled sections using a soft cloth or applicator pad. Work it into the surface with even strokes, ensuring you cover the faded areas thoroughly. Allow it to settle for a few minutes before buffing with a clean cloth for a polished look. For ideal results, consider product recommendations from trusted brands known for their longevity and effectiveness. This meticulous approach will breathe new life into your helmet, enhancing its appearance and preserving its character.
Sealing With Clear Coat
Applying a clear coat is an essential step in sealing and protecting the restored graphics and colors of your helmet. Choosing the right clear coat types and applying them correctly will guarantee longevity and vibrancy. Here are some application tips:
- Select the Right Clear Coat: Use a polyurethane or acrylic clear coat for the best results.
- Prepare the Surface: Confirm the helmet is clean and dry before application.
- Apply Evenly: Use a spray can or airbrush for a smooth finish; hold it 6-12 inches away.
- Cure Time: Allow adequate drying time between coats, typically 24 hours, to achieve a durable seal.
Following these steps will help you maintain that refreshed look while enjoying the freedom of the open road.
Maintaining Your Helmet for Longevity
To guarantee your helmet lasts for years, regular maintenance is essential. Prioritize helmet care by conducting routine inspections and cleaning. Use a mild soap solution and a soft cloth to remove dirt and grime, ensuring your protective gear stays in top shape.
| Task | Frequency | Tools Needed |
|---|---|---|
| Inspect for Damage | Monthly | Visual inspection |
| Clean the Exterior | Bi-weekly | Mild soap, soft cloth |
| Check Padding | After each use | Hands |
When to Replace Your Helmet
Regular maintenance is key to prolonging your helmet’s life, but there comes a time when replacement is unavoidable. Understanding the signs of wear can guarantee your helmet safety and enhance your riding experience. Here are four indicators that it’s time to replace your helmet:
- Visible Damage: Cracks, dents, or significant scratches compromise structural integrity.
- Expired Lifespan: Most helmets have a lifespan of 5-7 years; check the manufacturer’s guidelines.
- Excessive Wear: Faded padding or deteriorating straps can affect fit and comfort.
- After an Impact: If your helmet takes a significant hit, replace it immediately, even if no visible damage is apparent.
Prioritize your helmet safety by recognizing these signs, guaranteeing you’re always protected on the road.
Frequently Asked Questions
Can I Use Household Cleaners on My Helmet?
You shouldn’t use household cleaners on your helmet. These products often contain harsh chemicals that can damage helmet materials, compromising safety and performance. Instead, opt for gentle cleaning solutions specifically designed for helmets. Look for pH-balanced options that won’t strip away finishes or weaken structural integrity. Always test a small area first and follow manufacturer guidelines to guarantee your helmet remains in top condition while you enjoy your ride.
How Often Should I Perform Maintenance on My Helmet?
You should perform helmet care at least once a month, following a consistent maintenance schedule. Inspect for cracks or wear, and clean it regularly with appropriate products. If you ride frequently or in harsh conditions, consider increasing maintenance to bi-weekly. Always make certain the interior is fresh and free from moisture or odor. This proactive approach not only prolongs your helmet’s lifespan but also guarantees peak safety and performance when you’re out enjoying your freedom.
Is It Safe to Paint Over a Faded Helmet?
If you’re considering painting over a faded helmet, remember, “measure twice, cut once.” It’s vital to choose the right paint types, like flexible, non-toxic spray paint designed for plastics. Prioritize safety precautions: wear a mask and work in a well-ventilated area. Clean the surface thoroughly to guarantee proper adhesion. Keep in mind that while painting can enhance appearance, it might affect the helmet’s integrity, so proceed with caution.
What Tools Do I Need for Helmet Restoration?
For helmet restoration, you’ll need several essential tools. Start with fine sandpaper for surface prep, a soft cloth for cleaning, and a mild detergent for helmet care. You’ll also want a high-quality paint or clear coat for finishing touches. Additionally, a heat gun can help with adhesion during restoration techniques. Remember, working methodically will guarantee you maintain the helmet’s integrity while achieving the freedom of a fresh, vibrant finish.
Can I Restore a Helmet With a Cracked Shell?
You can’t truly restore a helmet with a cracked shell; its safety is compromised like a ship with a gaping hole. While shell repair techniques exist, they can’t guarantee the structural integrity needed for protection. If you value your freedom to ride safely, consider replacing the helmet instead. It’s better to invest in a new shell that promises safety than to gamble with your well-being over a patched-up piece of gear.
References
- https://www.wikihow.com/Restore-a-Hard-Hat
- https://www.nps.gov/subjects/preservation/cleaning-and-repair.htm
- https://www.cdc.gov/niosh/topics/helmet/
- https://www.helmets.org/
- https://www.safetyandhealthmagazine.com/articles/19881-maintaining-your-safety-helmet
- https://www.tandfonline.com/doi/full/10.1080/15459624.2019.1588620
- https://www.helmets.org/faq.htm