The Ultimate Must-Know Guide to Helmet Sizing
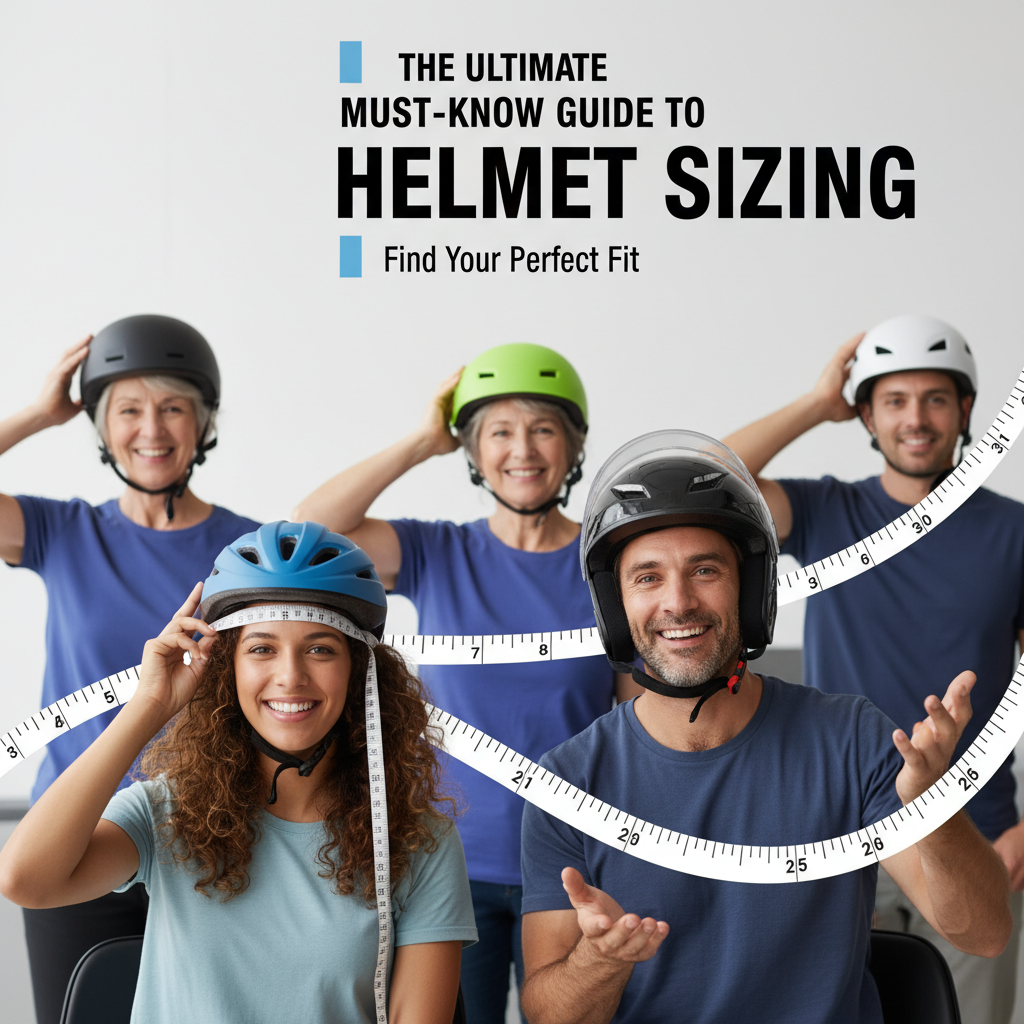
To find the right helmet size, measure the circumference of your head just above your eyebrows, then consult the manufacturer’s size chart for the best fit. This ensures safety and comfort while riding. A properly fitting helmet can significantly reduce the risk of head injuries in the event of an accident. In this guide, we’ll explore the essential steps and tips for checking your helmet size effectively, providing you with the knowledge to choose the safest and most comfortable helmet for your needs.
Understanding Helmet Sizes

Helmet sizes can vary significantly between different brands and models, making it imperative to always consult specific sizing guides before making a purchase. Generally, helmet sizes range from extra small (XS) to extra large (XL), categorized primarily based on head circumference. For most brands, this sizing system corresponds to measurements in centimeters or inches.
For instance, a typical size guide may indicate:
– XS: 20.5 – 21.3 inches (52 – 54 cm)
– S: 21.3 – 22.0 inches (54 – 56 cm)
– M: 22.0 – 23.0 inches (56 – 58 cm)
– L: 23.0 – 24.0 inches (58 – 60 cm)
– XL: 24.0 – 25.0 inches (60 – 62 cm)
It’s essential to note that some manufacturers also provide additional sizing options, such as women’s or youth sizes, as well as fit adjustments for different head shapes—narrow, round, or intermediate. Understanding these variations will help you make a more informed choice.
Tools You’ll Need


To accurately measure your head for a helmet, you’ll need a few simple tools:
– A soft measuring tape: This is the most straightforward option, as it can easily wrap around your head without causing discomfort.
– A piece of string: If you don’t have a measuring tape available, a piece of string can serve as a substitute. However, you will need a ruler or a standard measuring tape to measure the string once you’ve wrapped it around your head.
Having these tools on hand will facilitate a smooth measuring process, ensuring you gather the correct data necessary for finding your ideal helmet size.
Step-by-Step Measurement Process
Measuring your head for a helmet is a straightforward task that requires precision. Here’s a step-by-step process to ensure accurate results:
1. Wrap the measuring tape around your head: Position the tape just above your ears and eyebrows, circling the widest part of your head. This is usually just above your eyebrows and around the back of your head.
2. Check the fit: Ensure that the measuring tape is snug but not overly tight—this will provide the most accurate measurement without compressing your scalp.
3. Record the measurement: Note the circumference in either centimeters or inches. If using a string, mark where it overlaps, then measure that length with a ruler.
Taking the time to measure correctly is critical, as even a slight miscalculation can lead to a poorly fitting helmet, compromising safety and comfort.
Interpreting Size Charts
Once you have your measurement, it’s time to interpret the manufacturer’s size chart. Different brands may have slightly different size standards, so it’s essential to find the specific chart for the helmet you’re considering.
For example, if your head measures 22 inches (56 cm), you might fall into the medium category for one brand but a large in another. This discrepancy underscores the importance of checking each brand’s size chart, especially if you’re switching brands or models. Additionally, some brands offer specialized fit options, catering to various head shapes, which may influence your choice. For example, a brand may have a ‘narrow fit’ line that better accommodates individuals with elongated skull shapes.
Trying on the Helmet
Once you have identified your size based on the measurement and the size chart, it’s time to try on the helmet. Here’s how to ensure you achieve the best possible fit:
1. Position the helmet correctly: The helmet should sit level on your head, covering your forehead without tilting backward or forward.
2. Check for movement: Gently shake your head; the helmet should not slide around. If it does, it may be too large.
3. Assess comfort: Look for any pressure points. A well-fitted helmet should feel snug yet comfortable; you shouldn’t have any discomfort or pain after wearing it for a short time.
If a helmet does not feel right in any of these areas, it’s essential to try a different model or size until you find one that fits securely and comfortably.
Adjusting for a Perfect Fit
Most helmets come with internal padding and an adjustment system that allows you to customize the fit further. Here’s how to adjust your helmet for the perfect fit:
1. Internal Padding: Many helmets come with removable pads of varying thicknesses. If the helmet feels loose, you can replace the pads with thicker ones to achieve a more snug fit.
2. Adjustment System: Most modern helmets feature an adjustment dial or strap system that lets you tighten or loosen the fit easily. This feature is particularly useful for achieving a personalized fit without needing to buy additional accessories.
3. Testing the Fit: After making adjustments, test the helmet again by shaking your head gently. A properly fitted helmet should remain in place without moving excessively.
Taking the time to adjust your helmet properly can make a significant difference in both comfort and safety while riding.
Common Mistakes to Avoid
Even with the best intentions, it’s easy to make mistakes when sizing a helmet. Here are some common pitfalls to avoid:
1. Skipping the measurement step: Always take the time to measure your head before buying. This step is crucial, as relying on previous helmet sizes can lead to incorrect assumptions about your current size.
2. Assuming a size based on your last helmet: Sizes can vary across brands. Just because you wore a medium in one brand doesn’t mean you’ll fit the same size in another brand. Always measure and consult the size chart for each new helmet you consider.
3. Not trying on the helmet: If possible, always try on a helmet before purchasing. This practice can help you identify any potential fit issues that might not be apparent from measurements alone.
Avoiding these mistakes will enhance your chances of finding a helmet that provides optimal safety and comfort.
In conclusion, checking your helmet size is a straightforward process that can significantly impact your safety and comfort. By following the outlined steps, from measuring to adjusting, you can ensure that you choose the right helmet fit for your riding needs. Remember, a properly fitted helmet is not just a comfort choice; it’s a critical safety measure. Don’t take chances with your safety—measure your head today and invest in the right helmet for your riding adventures!
References
- https://en.wikipedia.org/wiki/Helmet
- https://www.cpsc.gov/Safety-Education/Safety-Guides/Helmet-Safety
- https://www.nhtsa.gov/road-safety/motorcycle-safety
- https://www.americanmotorcyclist.com/helmet-guide/
- https://www.nhlbi.nih.gov/health/health-topics/concussions
- https://www.cdc.gov/headsup/basics/index.html
- https://www.safekids.org/helmet-safety
- https://www.aap.org/en/patient-care/injury-prevention/helmet-safety/
- https://www.nsc.org/home-safety/safety-topics/helmet-safety